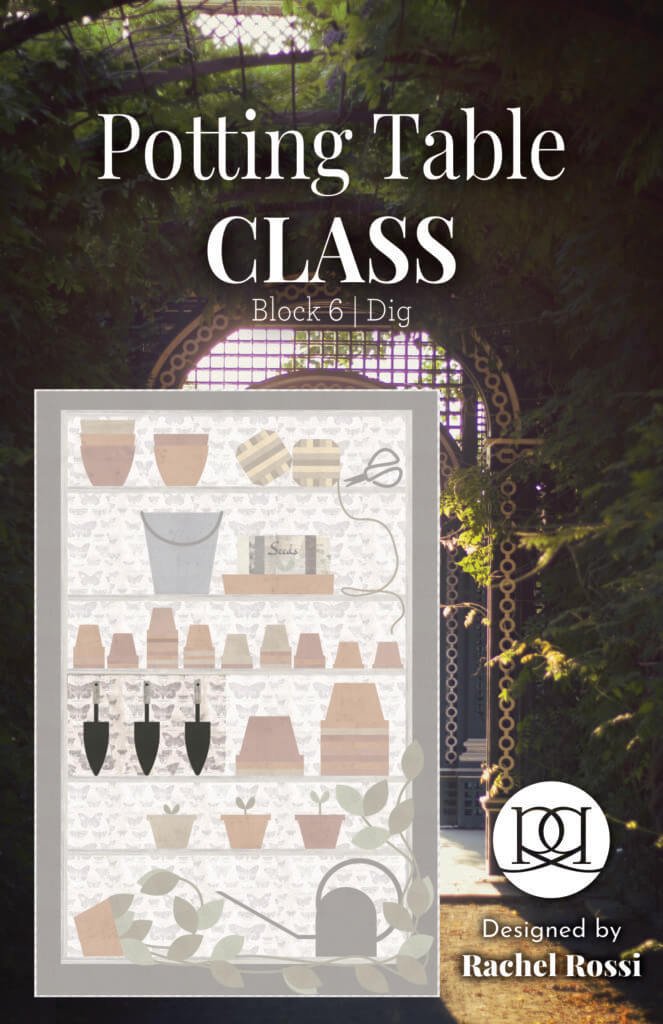
Welcome to Block number 6! After you master this block are are OFFICIALLY halfway through the BOM. So far you’ve worked with Bias Tape Appliqué AND curves…I can’t wait to share what you have in store for the second half of the year!
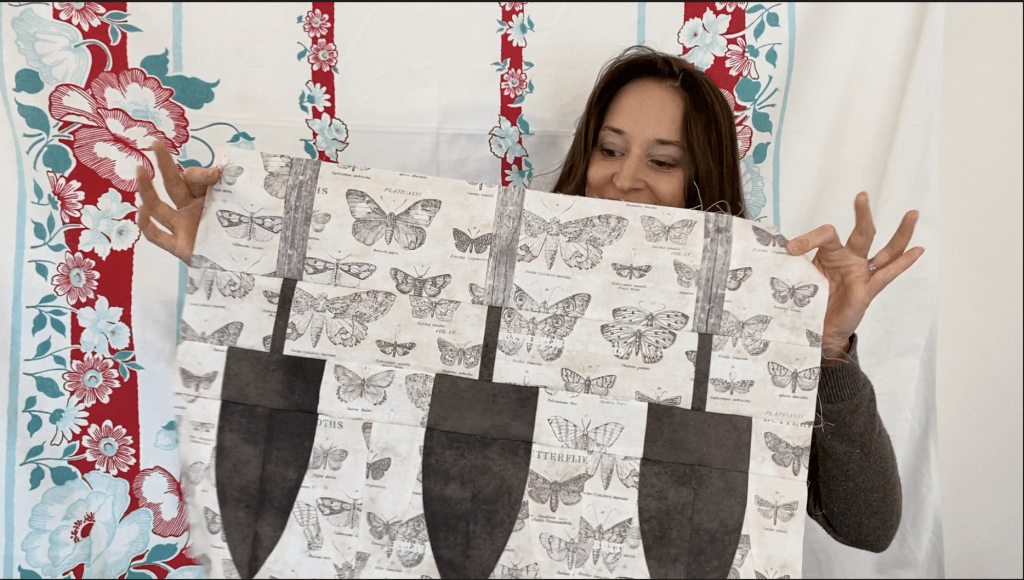
This is your last block with curves, so lets really lock those skills in this month as we create these fun trowel blocks.

Are you clapping or crying about this being the last month for curves? Either way get your pattern and get going here:
Last month you started working with the Shorthand Template. I’ve included a paper version in your pattern again this month (see Page 2), but if you’d prefer to get a hard template set this time around, you can do that right here!
Want to Learn More?
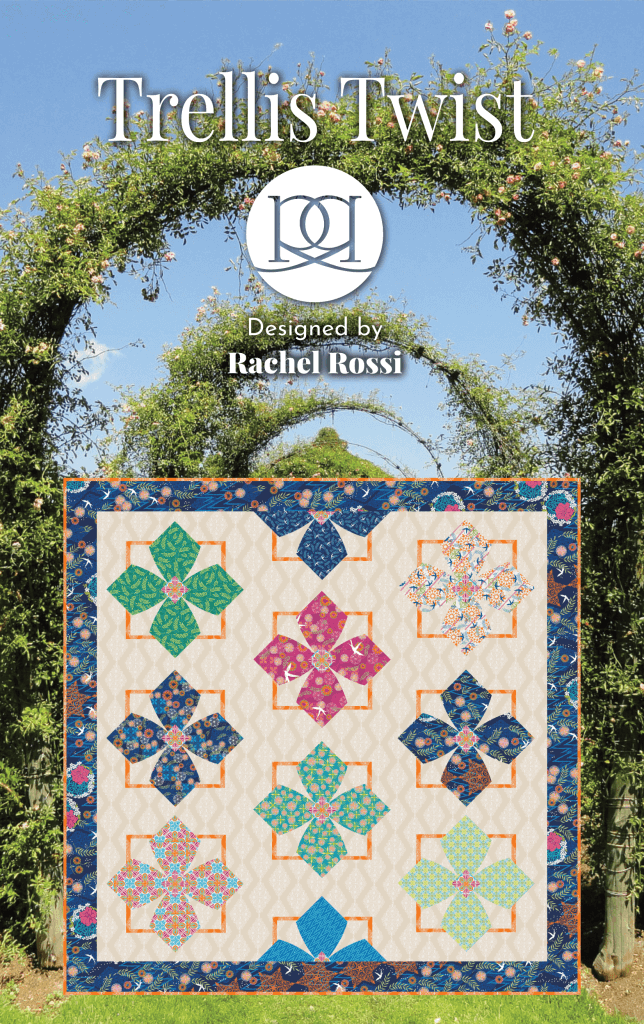
The Shorthand Template is nothing without a great pattern! If you loved working with the template last month and again this month, check out the 5 different patterns that use this template and (Cookie Cutter comes free with every Hard Template Set!). There’s even a new winter/Christmas design coming out this fall!
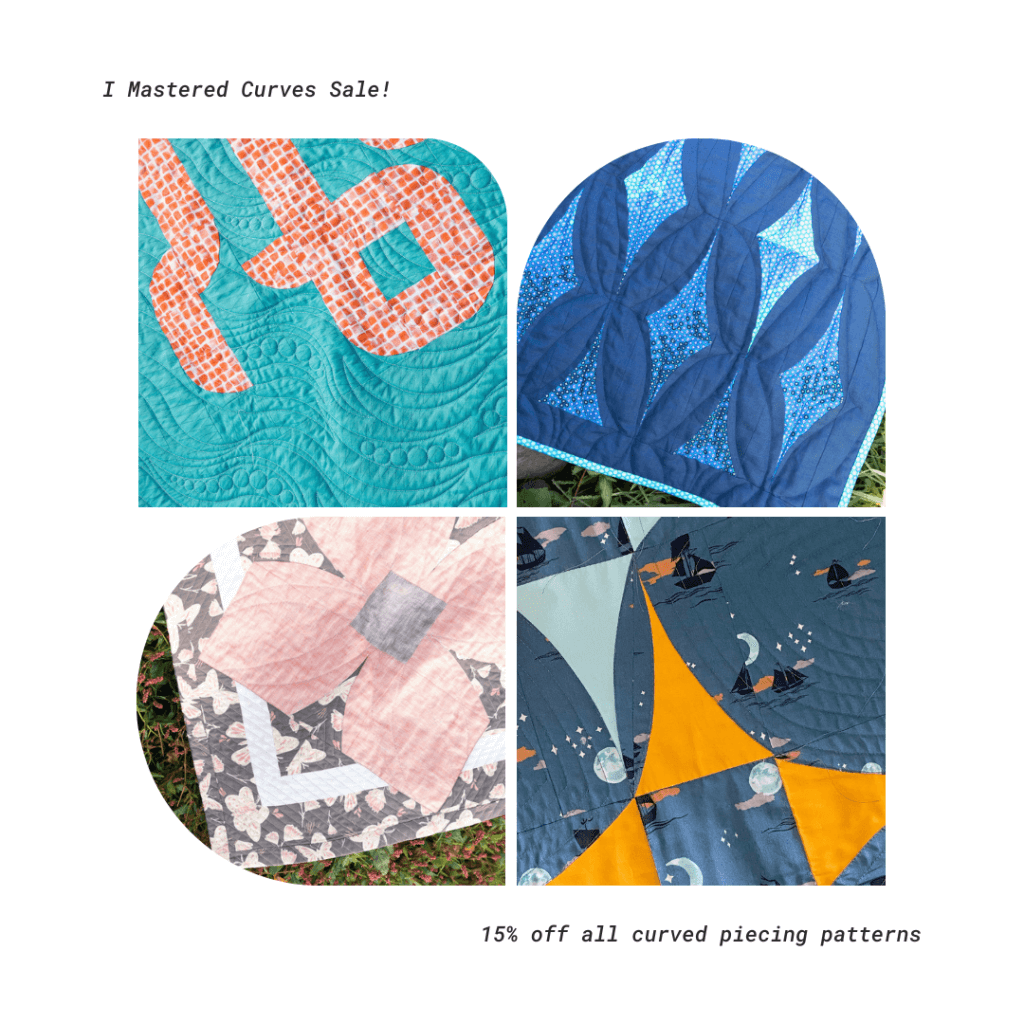
To celebrate our last month sewing curves, take 15% off any Curved piecing pattern on my site! This includes Shorthand patterns, Water’s Edge, and more! Just use coupon code IMasteredCurves at checkout.
This month I have a special just for BOM members! Try a new curved piecing pattern for 15% off the regular price! Just use promo code IMasteredCurves at checkout.
Get Ready…
Now, back to the quilt! If you haven’t already, make sure you finish up the first half of the year before moving on to block 6:



Get Set…
Supplies for the month

If you’re curious about the supply list for this month, I’ve got everything listed for you below. I’ve included paper templates for you in your pattern, but if you’d prefer a hard template be sure to grab one below!
- Iron
- Elmer’s Disappearing Purple Glue
- 28mm Rotary Cutter
- Shorthand Template by Rachel Rossi Design (optional, paper templates are included in your pattern)
- 3 Black buttons (about 1/4″ across): These won’t be stitched on until the quilt is quilted, but just incase you’re choosing to make this into a wall hanging or pillow, I thought I’d mention it
Get Sewing!
Cutting
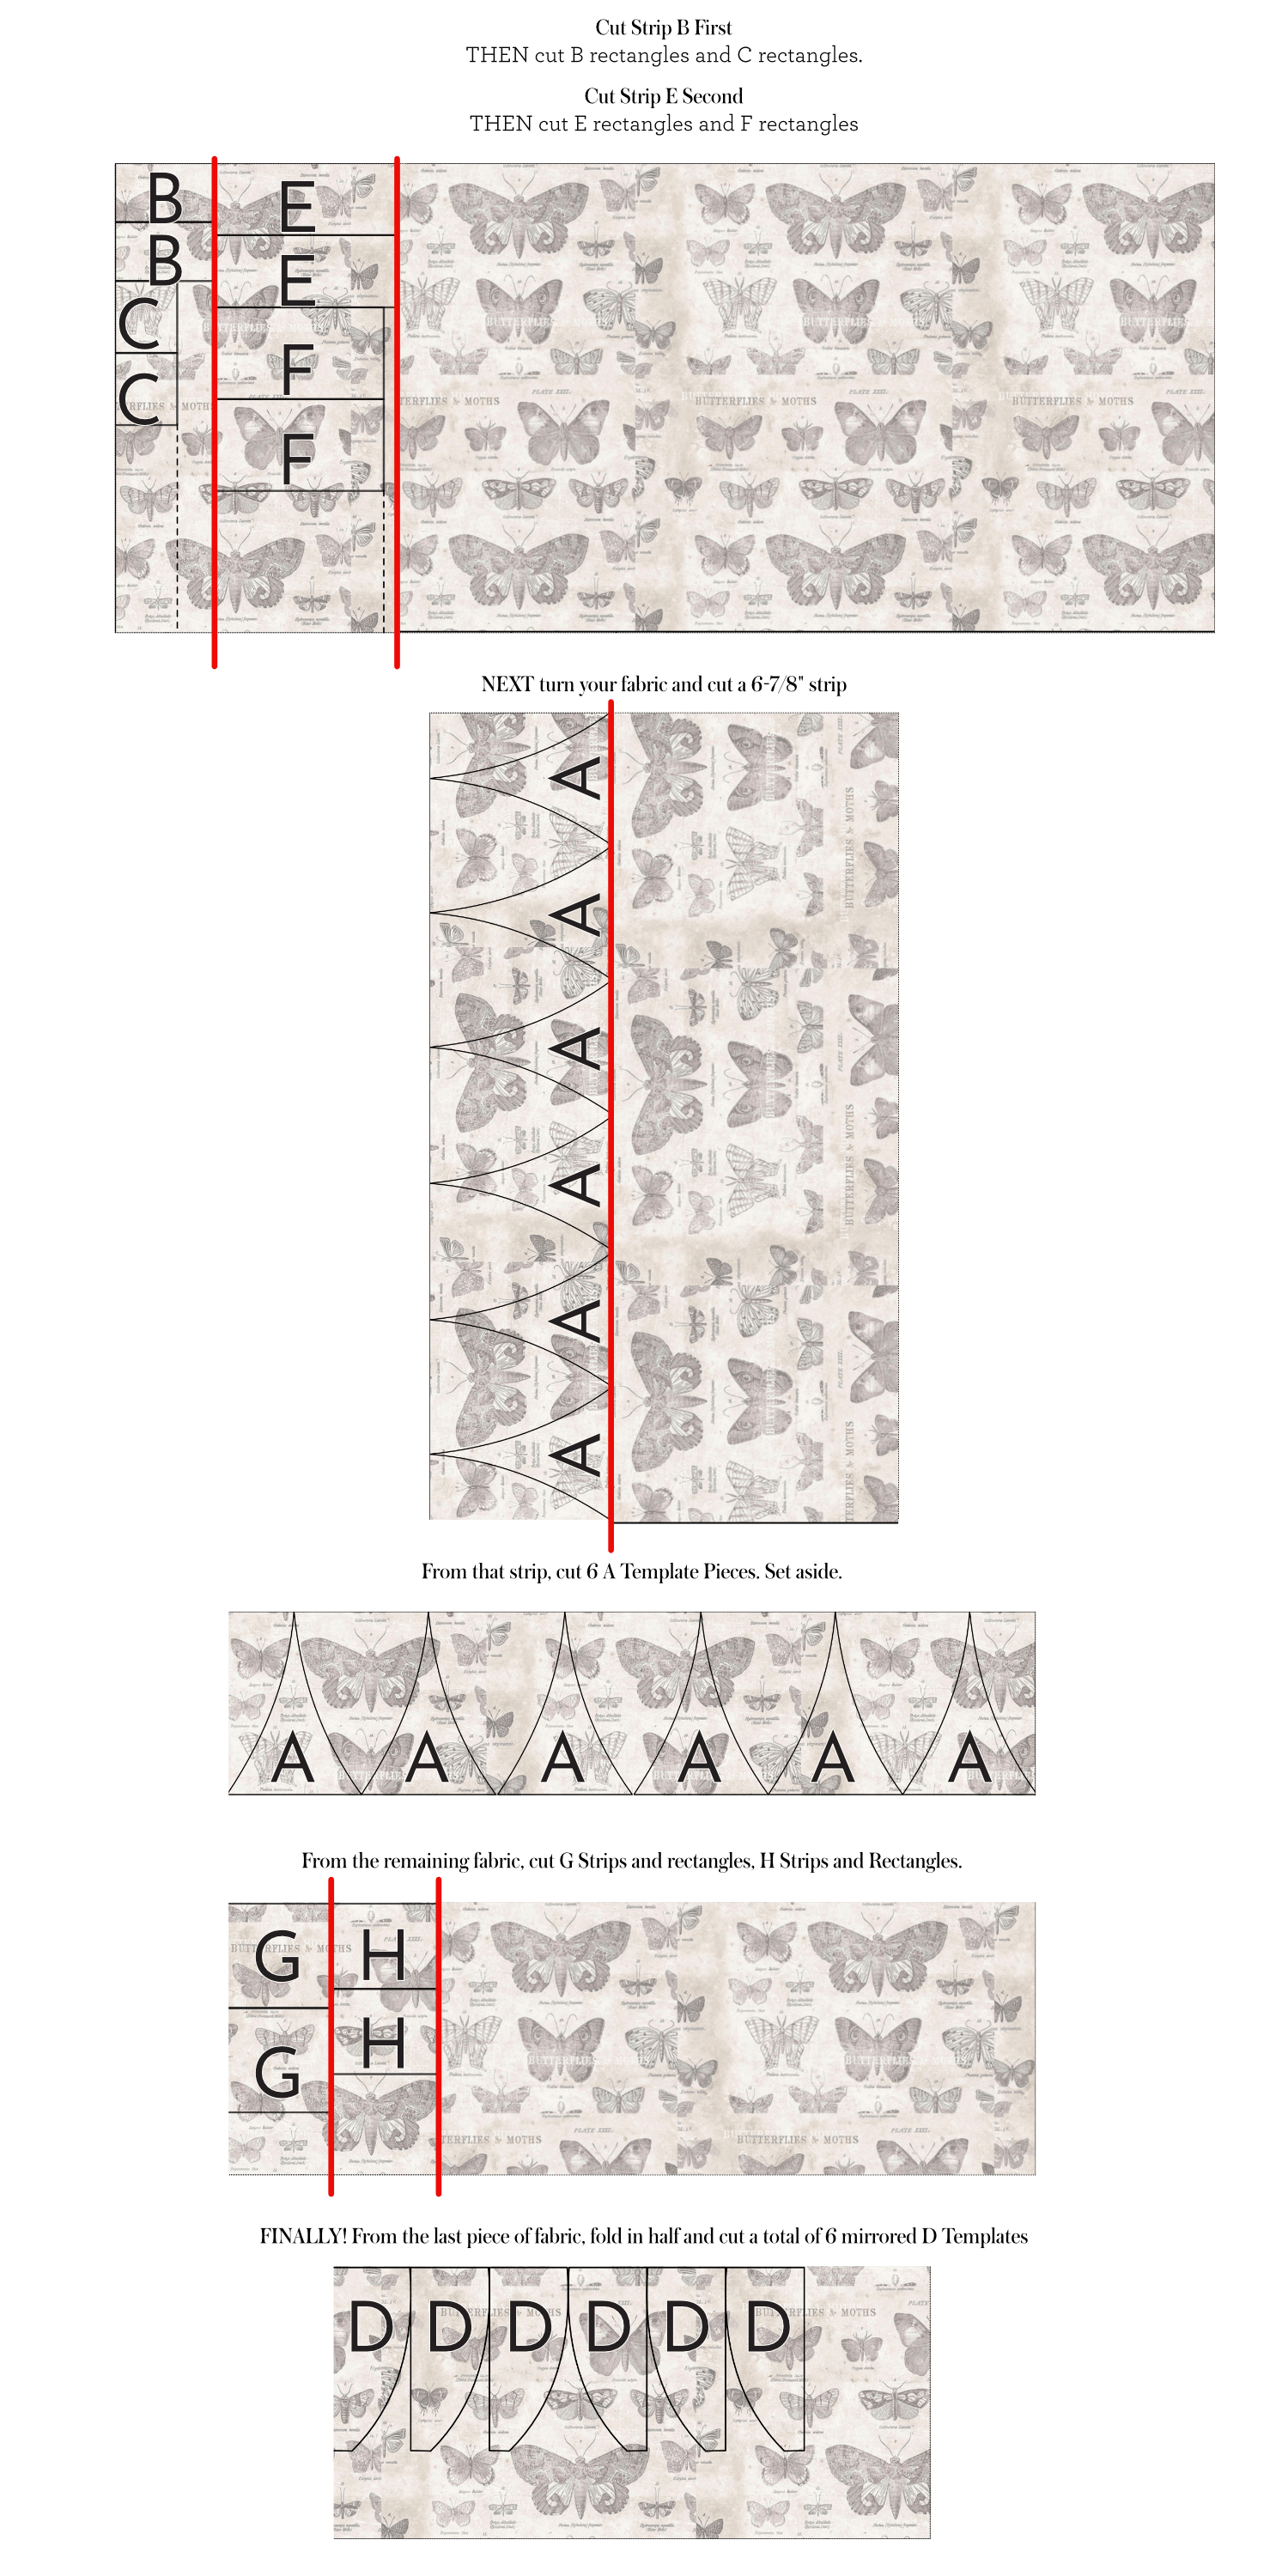
This month we’ll be cutting a few rectangles and a few template pieces. If the fabric diagram feels a little overwhelming, just take it one step at a time. This chart will help you block it out:

It’s also good to note that cutting curves (especially if using templates) is made much more accurate by using a small rotary cutter. I prefer the Martelli 28mm cutter, but other brands work as well! The only one that I have found does not work with my templates is the Fiskars brand.
Sewing Curves
Last month you learned how to sew using the Shorthand Template. This month we’re going to work with the same template to create a totally different planty block!
Helpful Reminders:
Make sure that you stitch background pieces A and D together FIRST in Steps 1-5. This will ensure that the trowel is perfectly rounded on each side.
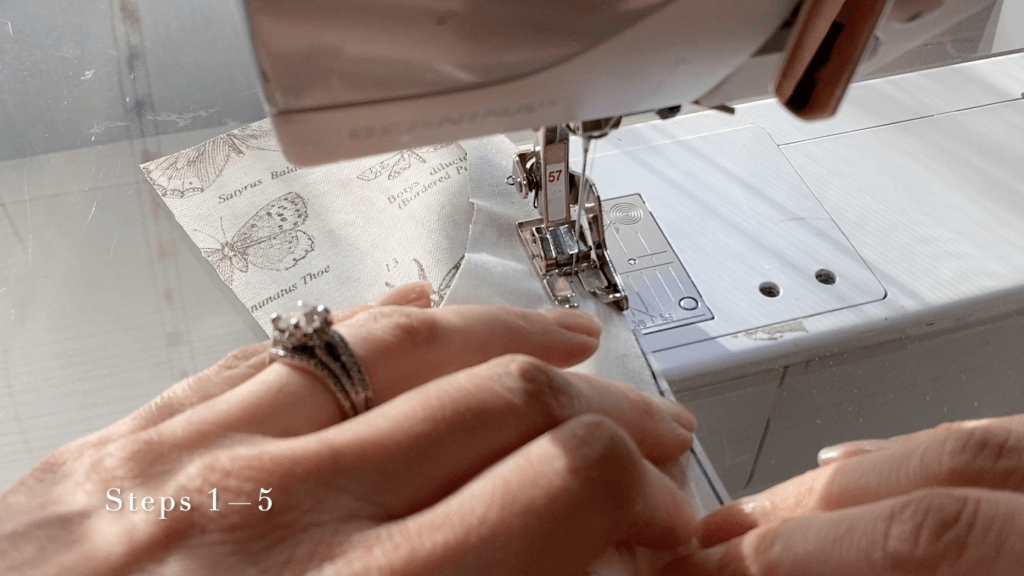
Make sure to check out this video if you need a little refresh on creating the Shorthand Blocks.
Need a refresh on trimming blocks too? No problem! Check out this tutorial:
Sewing
Now that you’re past the curves, we’ll finish up with some traditional piecing. This block comes together in SUCH a satisfying way, so enjoy the process!
A few helpful notes:
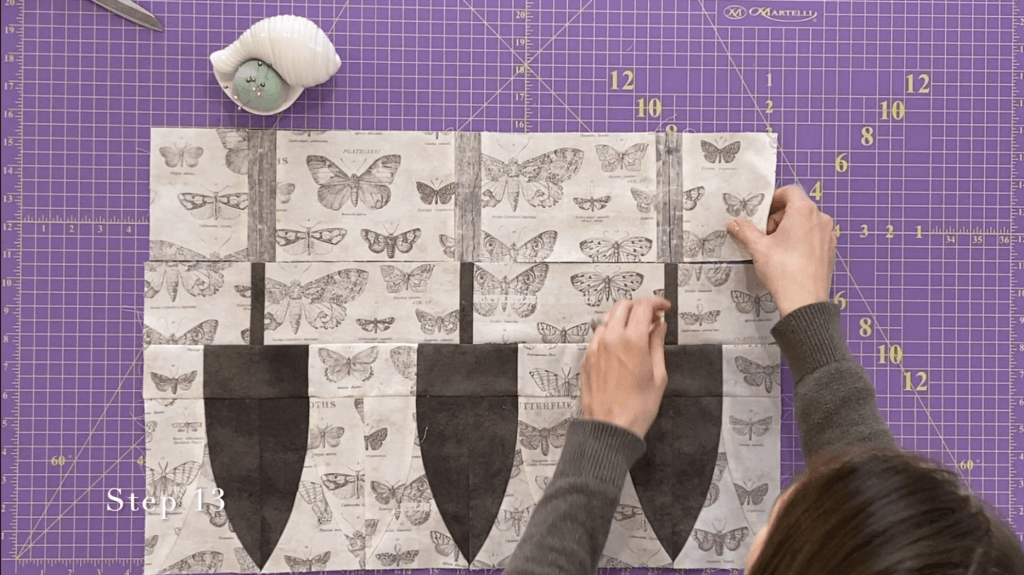
Make sure that you find the center and pin your pieces before stitching together – there aren’t any seams to match in this set, but having everything perfectly centered really makes this block delicious!
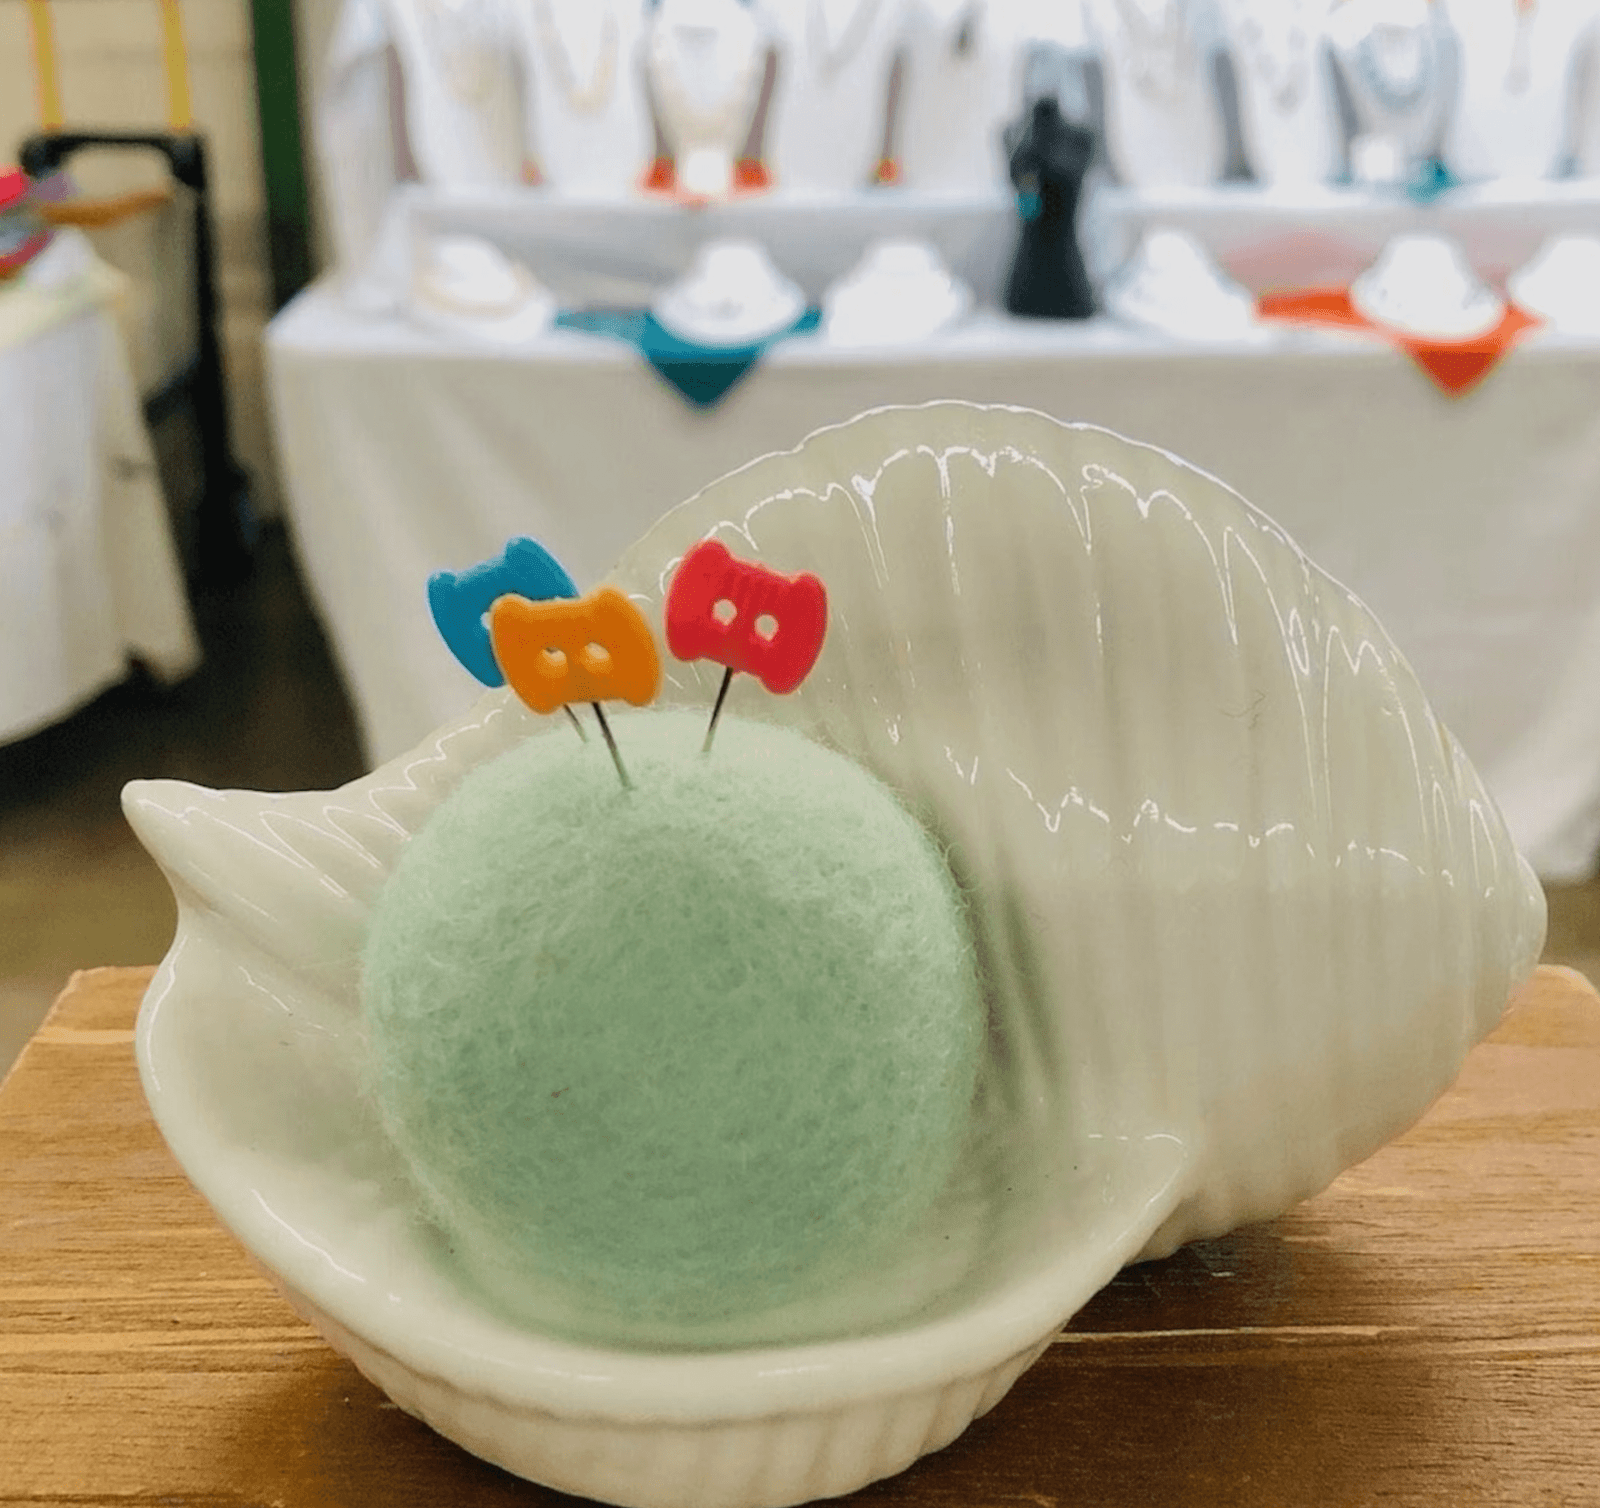
If you need that pin cushion (or another completely adorable design!) check out Pat’s amazing shop FULL of sweet things!
This is not a paid promotion or affiliate link, I just love to support other small businesses and love Pat’s work!
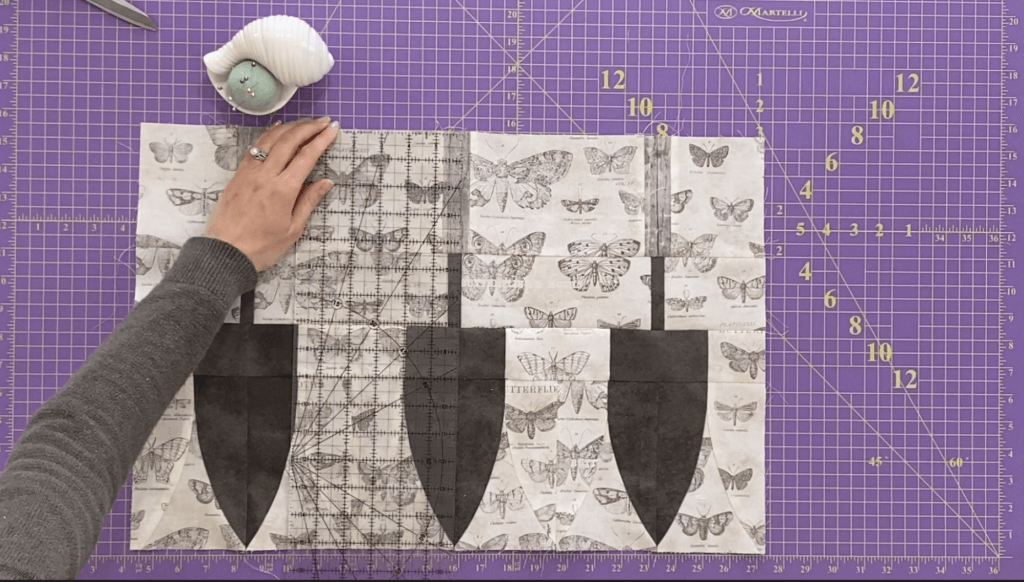
As you finish up and square your block, make sure that any trimming comes from the TOP and sides of the block. You don’t want to lose that point at the bottom of your trowels. Make sure that there is a true 1/4″ remaining on the tip of each trowel.
Need some help?
If you’re feeling a little intimidated by all of this, why not join the virtual class?
In my virtual class, we’ll cover each and every step. I’ll talk you through new skills, explain why and how we are doing things, and make it a little less scary! I’ve also included printable cheat sheets for techniques that might be new to you…great resources for down the road!
Now that you’ve got the know-how it’s time to sew! I’d love to see your progress in the Facebook group or on Instagram!

What’s Next?


