Remember the first time you saw a handmade quilt? I find that there’s something magical about those carefully stitched pieces coming together to tell a story.
Today is a helpful post for those of you who are starting to quilt, interested but not sure where to start, and the more adventurous quilter that wants to try something different!
There are four basic types of quilting, though there are all sorts of patterns that use more than one of these techniques. Our four basic types of quilts are: Pieced, Appliquéd, Paper Pieced, and English Paper Pieced.
1. Pieced Quilts
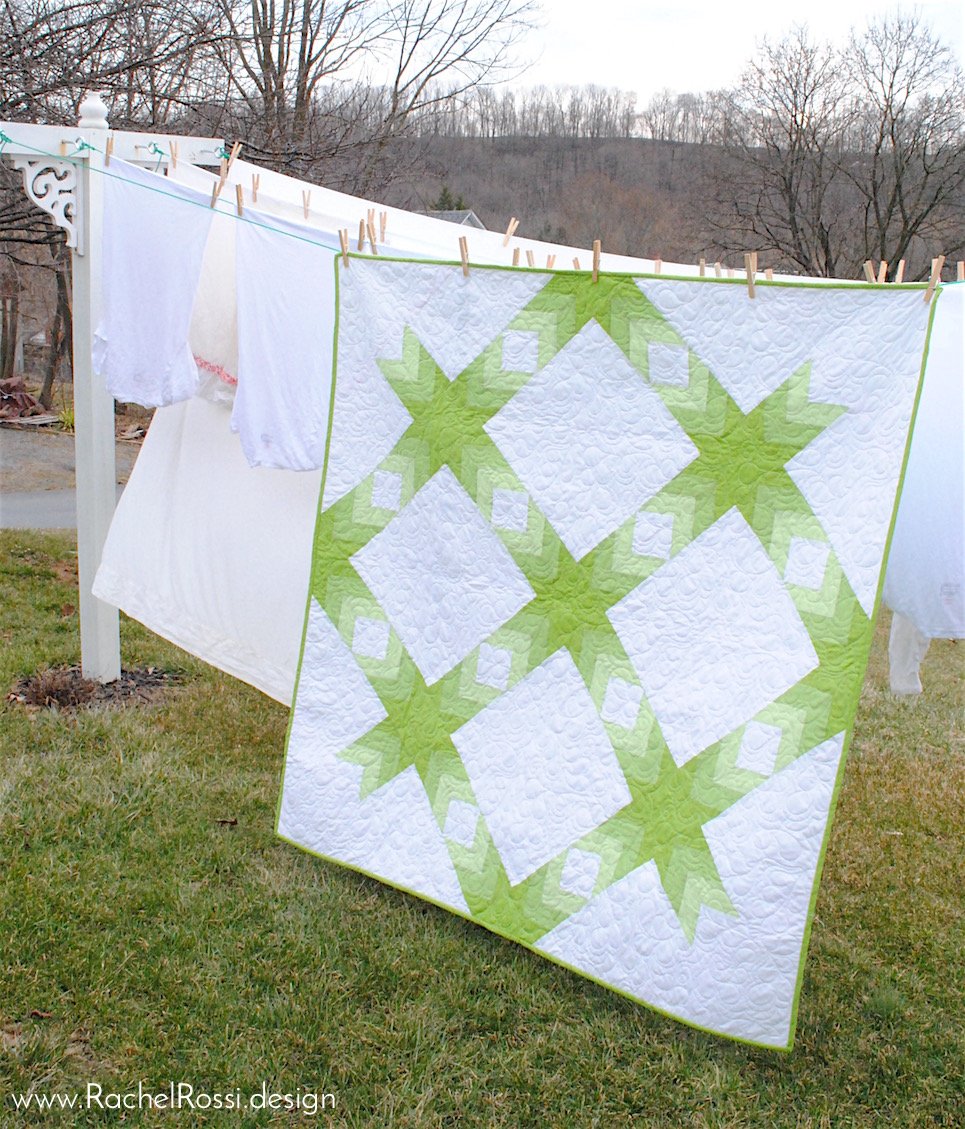
The pieced quilt is the basic all-American quilt that you think of when you think of quilting. Blocks are sewn together, pressed, and sewn into larger rows and columns to create the entire quilt. These are typically quilted with an all-over pattern by hand or machine. (You can learn more about the quilting process in my post about how to finish a quilt!)
My Burst Quilt is a great example of a modern pieced quilt!
2. Appliqué Quilts
Appliqué is one of my favorite things! Typically, appliqué will work its way into any number of styles of quilts. It allows you to use shapes outside of the realm of rectangles, squares, and triangles. There are typically two ways of adding appliqué to a quilt: raw edge and interfaced.
The raw edge technique is typically what I use. All you do is trace the outline of the appliqué onto fusible web, peel the back off, stick it to your fabric and then iron it on! From there you cut out your shape, peel the remaining paper, and stick it onto your quilt and press. This holds it in place while you stitch around the edges. Then you simply sew around all the edges using a blanket stitch, zig zag, or your favorite decorative stitch and viola! Your appliqué is attached!
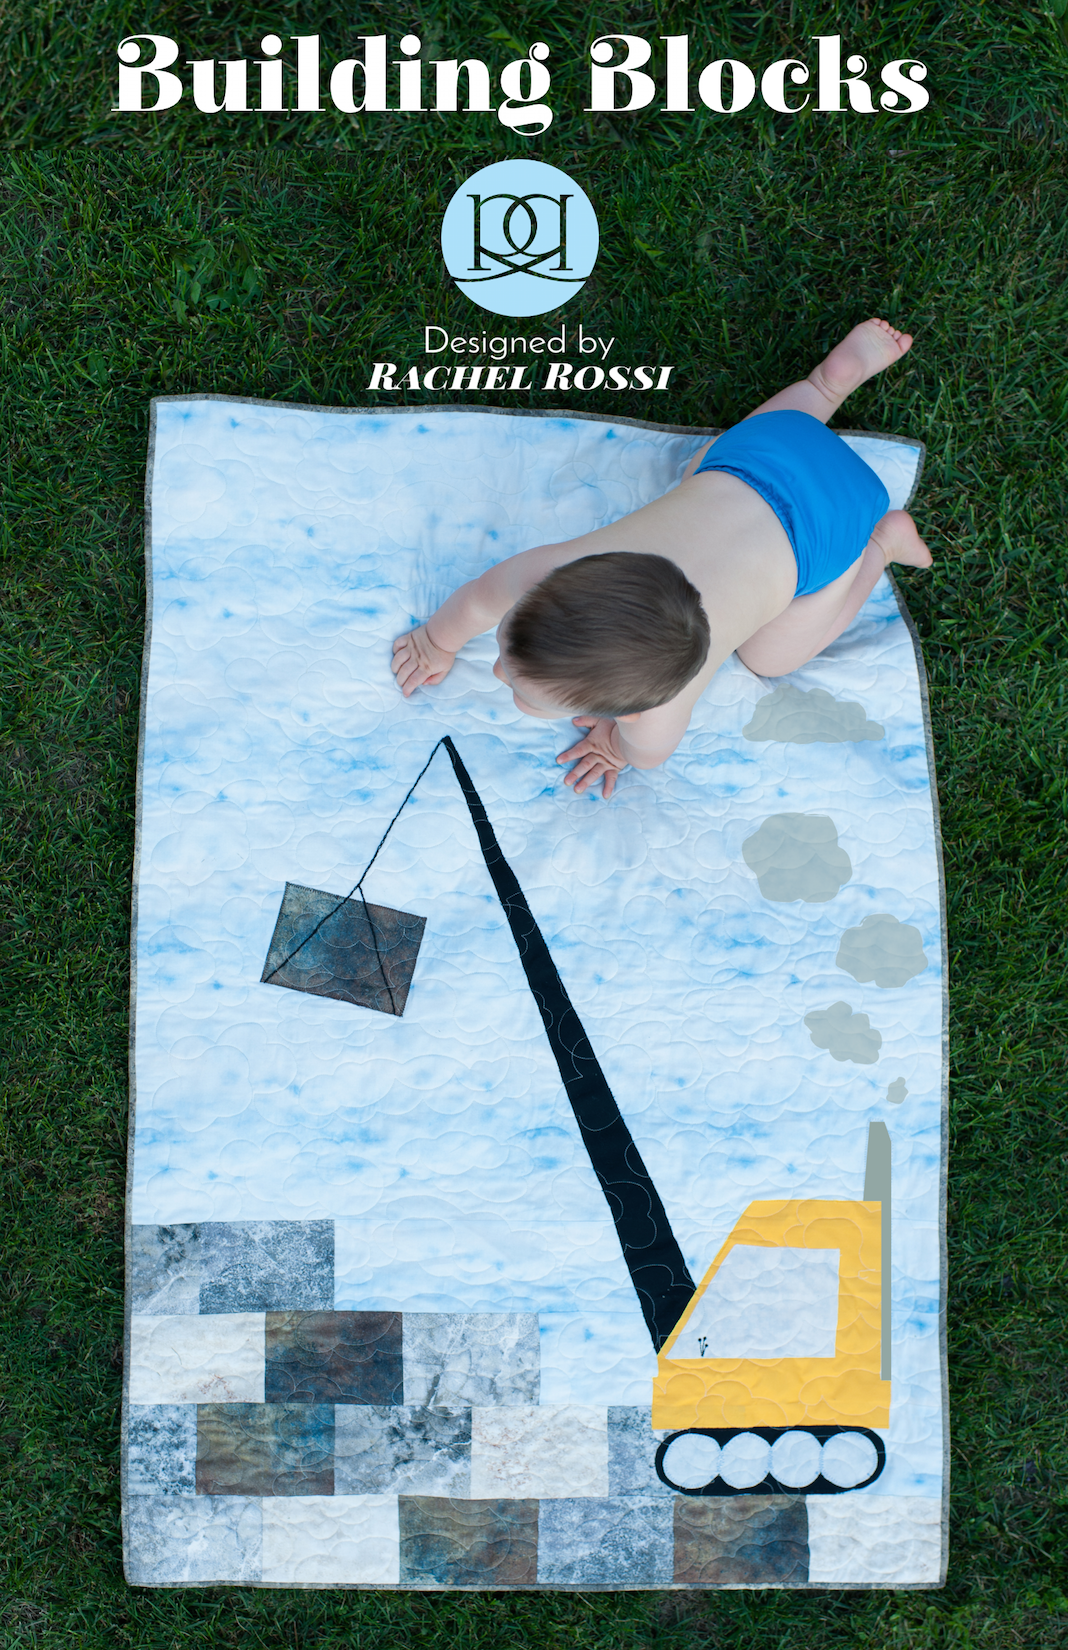
My Building Blocks quilt uses both piecing and appliqué, but raw edge appliqué is the majority of the quilt. Make sure to check this construction quilt out!
The interfaced quilting technique works well on larger pieces without sharp angles (like circles) and ensures that your appliqué won’t fray and will hold its shape (though I’ve never had a problem with the raw edge technique). It’s very simple: you start by cutting out your fabric and a matching piece of lightweight interfacing. With right sides together, you’ll stitch around the edge using 1/4 seam. Then a snip in the middle of the interfacing allows your to turn it right side out. Press well and place onto your quilt. Now it’s time to stitch around the edges to hold everything in place! For a full interfacing appliqué tutorial, make sure to hop on over to Connecting Threads—they have a great explanation along with pictures!
3. Paper Pieced Quilts
OK—I lied—paper piecing is my favorite type of quilting! There’s just great things about all of these techniques, and each has its own benefits. Paper piecing is great because it allows you to get perfectly crisp points and you can make some amazing shapes and designs using it! The idea is quite amazing and once you get the hang of it, paper piecing is a really quick way to quilt and efficient at using up old fabric scraps! Below is a basic summary, but for more on how to get started with paper piecing, take a look at my post, A Beginner’s Guide to Paper Piecing.
To paper piece, you’ll start by printing out templates. It’s helpful to think of the printed side of the template as the “wrong side” and the empty side as the “right side” of a fabric (like when you are sewing two pieces of fabric together).
Templates come numbered. These numbers are similar to a paint-by-numbers kit. You’ll start with 1 and work your way up from there. Each line on the template represents where the seam will be. So, after stitching your pieces together (and pressing in between each seam) you’ll have a finished block with the seams sandwiched between the paper and the fabric block! It’s a really interesting quilting technique. A common quilting style for this is to stitch-in-the-ditch, or in each seam.
My Graze Placemats have full instructions on paper piecing for those who are new to the technique.
4. English Paper Piecing
English paper piecing is another great quilting technique that reminds me of all the great, cozy antique quilts that I see in antique stores and family heirlooms! The most popular block: Grandmother’s Flower Garden. And unsurprisingly, the most popular shape is the hexagon.
English paper piecing is typically a hand-sewing quilting technique. You simply buy or make template pieces out of paper, then “wrap” the fabric around these pieces, baste and press. A small whipstitch is used to piece the hexagons together and then the paper is removed. Simple—right!?
For a great tutorial on English paper piecing, make sure to visit Craftsy.com!
Ready to start quilting? Jump on over to my post on What You’ll Need to Start Quilting. From there you can take a look at the many other quilting and sewing tutorials on my blog, including this one on how to quilt your quilt! And now that you’re an expert on the types of quilts, I’d love to hear about your favorite technique in the comments below!




I have different types of materials that I would like to have quilt made from (wedding dress, kids baptism outfits, my sweet 16 dress). I have no idea who or if anyone is able to do this?
Hi Martina,
Thanks for your comment! I only quilt with quilting cottons, though there are some people who quilt with other materials. I know that if someone was able to do that for you, it would have to be a wall-hanging sort of quilt, as the fabrics would wear and get ruined over time if you were using it as a quilt. I would check with your local quilt shops and see if they or any of their customers work with those sort of materials. Good luck! 🙂