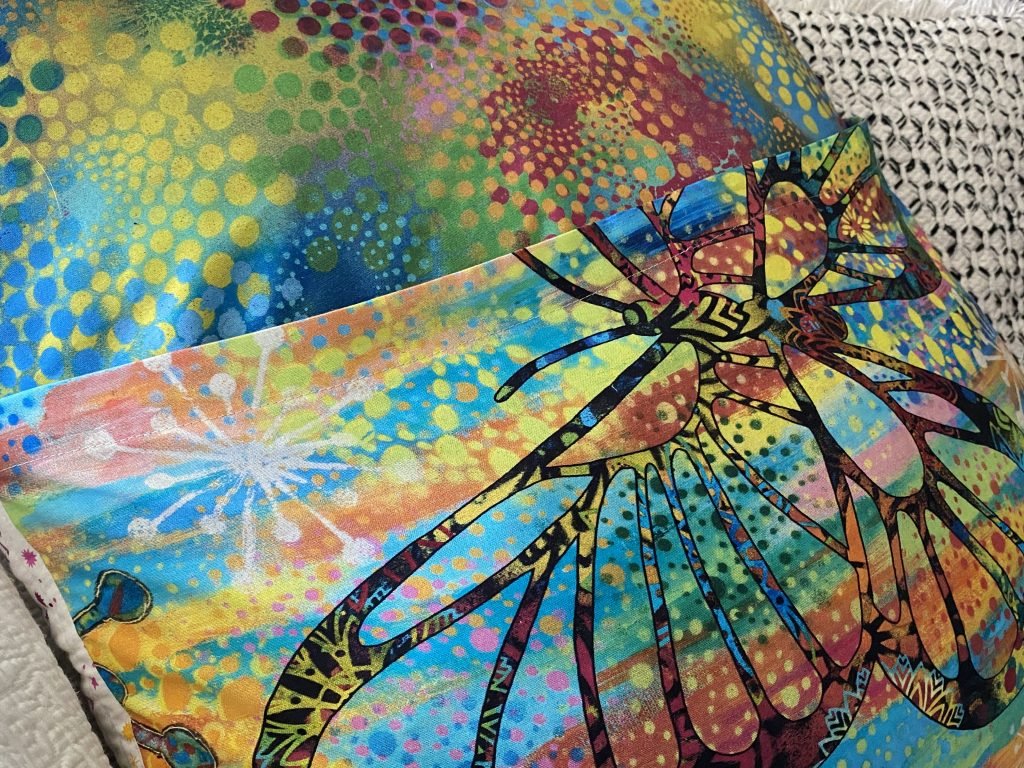
Today I have a REALLY fun tutorial for you on how to make a pocket pillow cover in any size. It’s chock full of video, printables, exciting new patterns, and more!
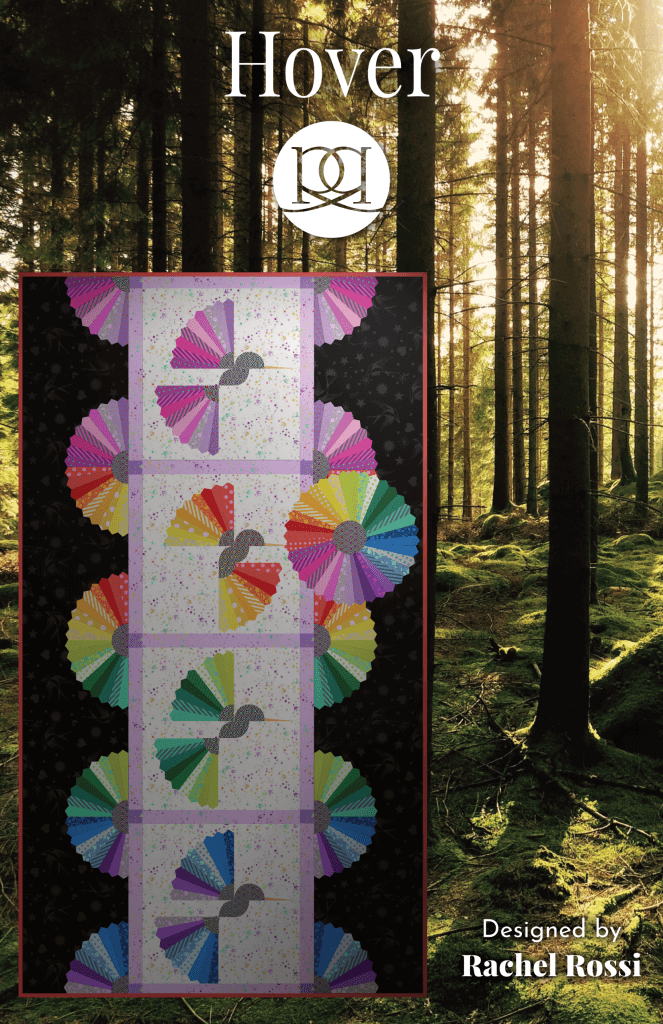
In this tutorial you’ll see my up and coming pattern, Hover. I am SO thrilled to be releasing this pattern alongside of Sue Penn’s newest collection, Butterfly Fields (used in the video tutorial) in October 2023. If you’ve just got to have this pattern, or the kit, make sure to pre-order today – I don’t think they’ll last long!
Please note that some of the links and images below are affiliate links. Should you choose to click on and purchase through these links, I will receive a small commission at no extra charge to you. This is how I’m able to post free projects and tutorials for you. Thank you for your support!
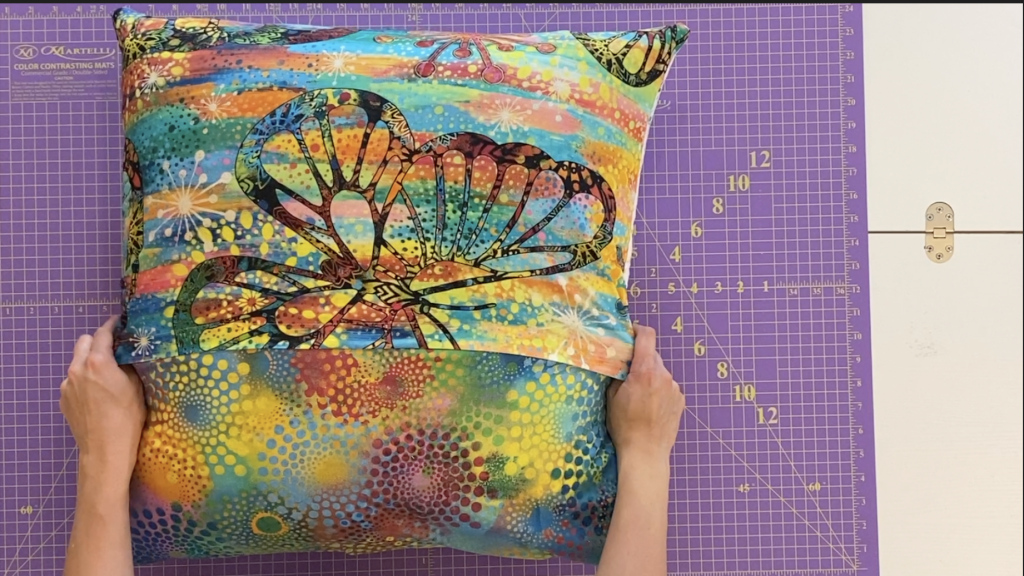
What is a Pocket Pillow?
A Pocket Pillow Cover is one of my favorite ways to make quilted or fabric pillow covers. It’s easy to slip on and off for washing and doesn’t require any velcro, buttons, or zippers. It’s a simple overlapping pocket that easily accommodates a pillow insert. It’s also sometimes referred to as an envelope cover or pillowcase, either name works!

Supply List
It’s always good to start with a supply list, and lucky for you, this project doesn’t require much! You’ll need:
- A quilt block or fabric for the front (get the Hover quilt pattern here!)
- Fabric for the back (see yardage requirements in the chart below)
- Matching Thread
- Rotary Cutter and Mat or Scissors
- Acrylic Ruler
- Iron
- Pins
- Edgestitch foot (optional)
- Pillow insert (see sizing chart below)
Fabric Requirements

I’ve got a nice little chart for you below (also in the free printable) that will tell you how much fabric to order for the back of your pillow. I am assuming that you’ll use directional fabrics, so for the larger sizes, you’ll have extra fabric. That just means you have to make something fun out of those scraps and share them in the comments below, I’d love to see!

Pillow Insert Sizing

You might be surprised to learn that your pillow insert (or some call it a pillow form) is NOT going to be the same size as your pillow cover. It’s typically about 2 inches LARGER. So, make sure to check out this chart before purchasing or making your pillow insert:

Free Printable Pattern
I am personally a fan of print patterns (especially when they are free!), but I know that most of the world appreciates a nice video tutorial, so I’ve got both for you today! Feel free to watch the video and then print this printable cheat sheet (with handy charts, just like you saw above) to use as you stitch.
Please note that this will take you through checkout to download, but it won’t charge you or collect any personal information. This way, the pattern will live in your email inbox, you can download it, and you’ll never lose it!
Video Tutorial

Take about 10 minutes to watch this tutorial. It’ll give you a birds-eye-view of how this whole thing comes together and you’ll be ready to stitch!
The Hover Pattern and Kit is now available for preorder!
Get yours before they are gone!
Yes, I know October sounds like it’s decades away, but it’s really sooner than you think! Make sure to preorder your pattern or kit now to ensure that you get one…they won’t last long!


