If diagrams aren’t your style, no worries! I’ve got you covered – Check out the video tutorials made for each stitch below:
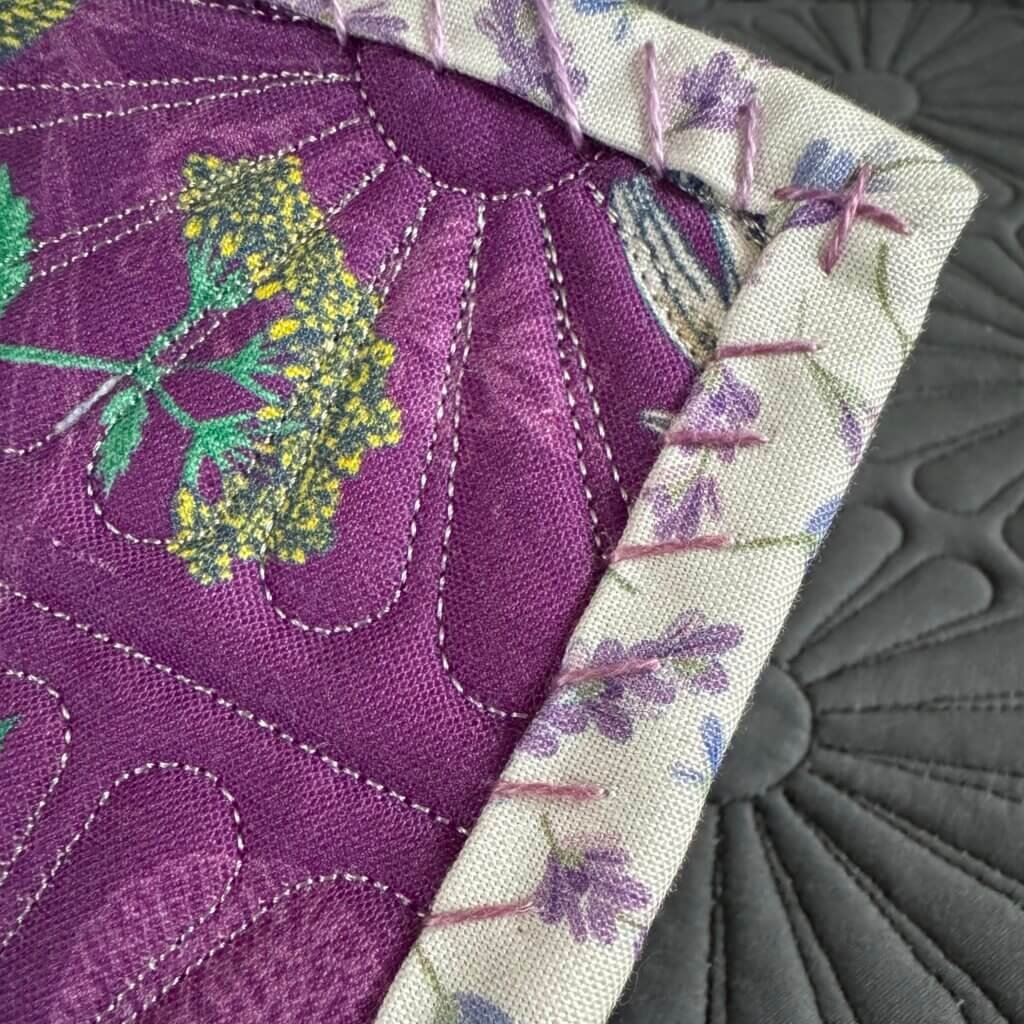
Straight & Narrow

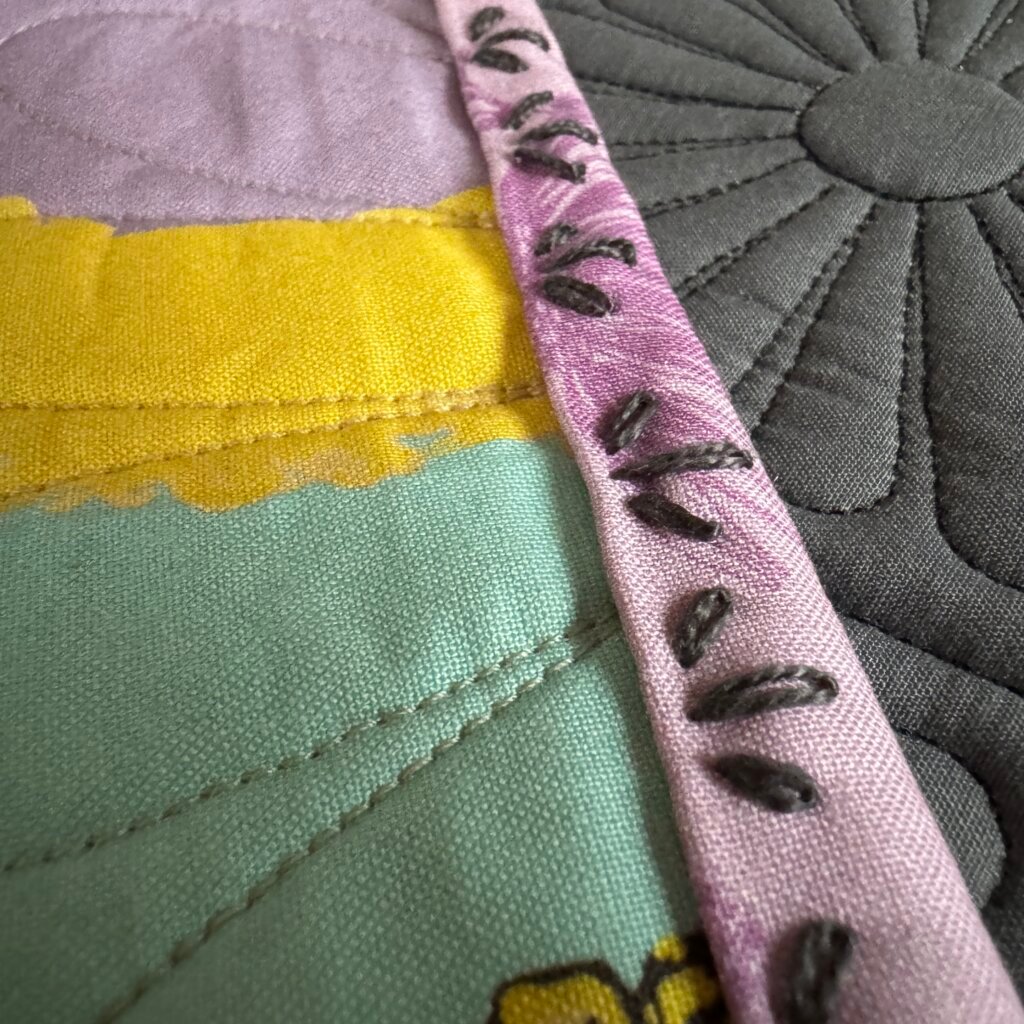
Forward Slash
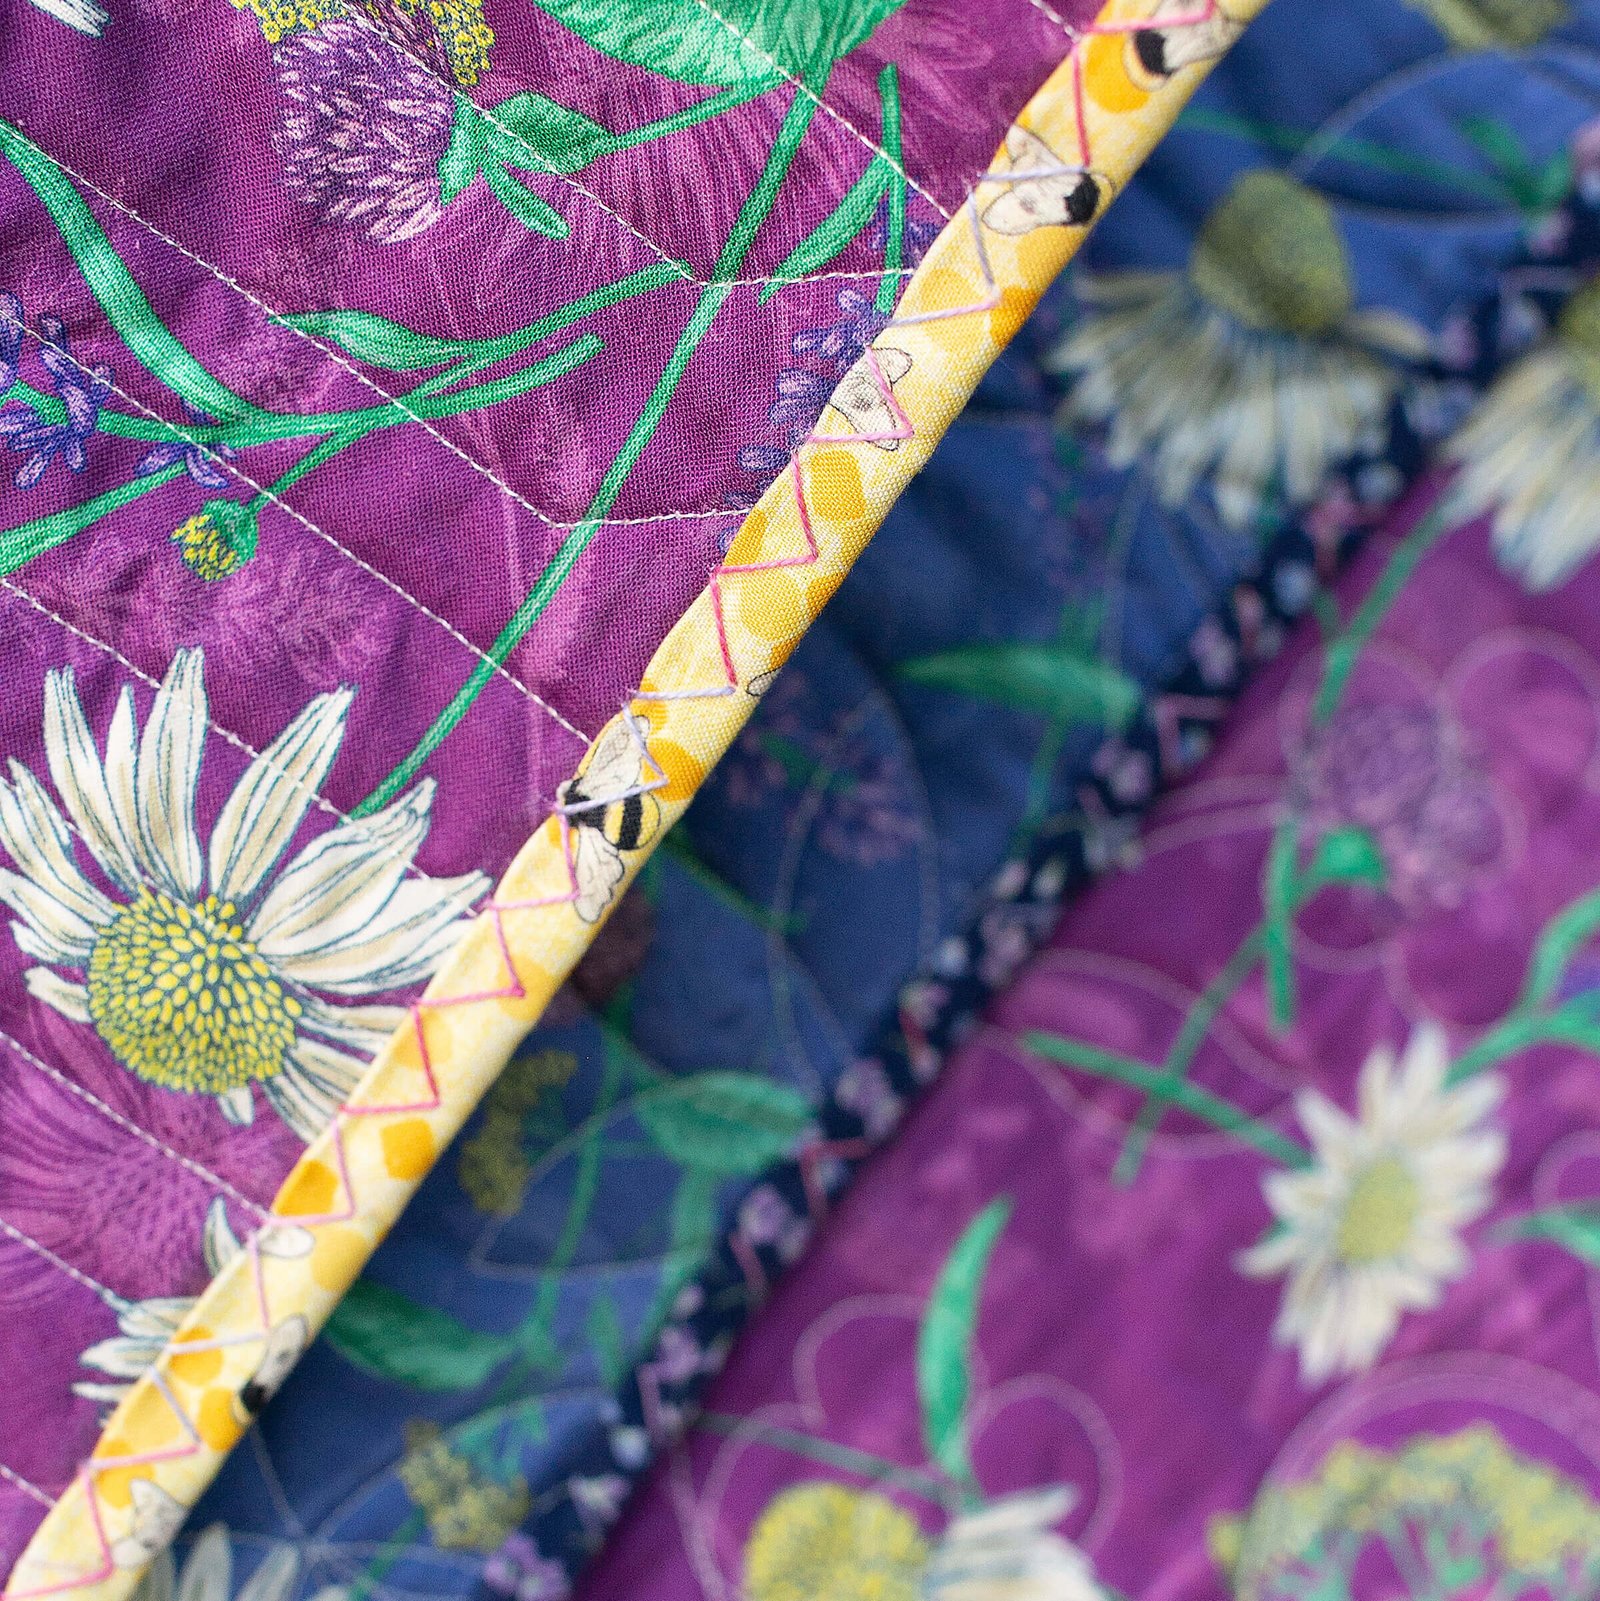
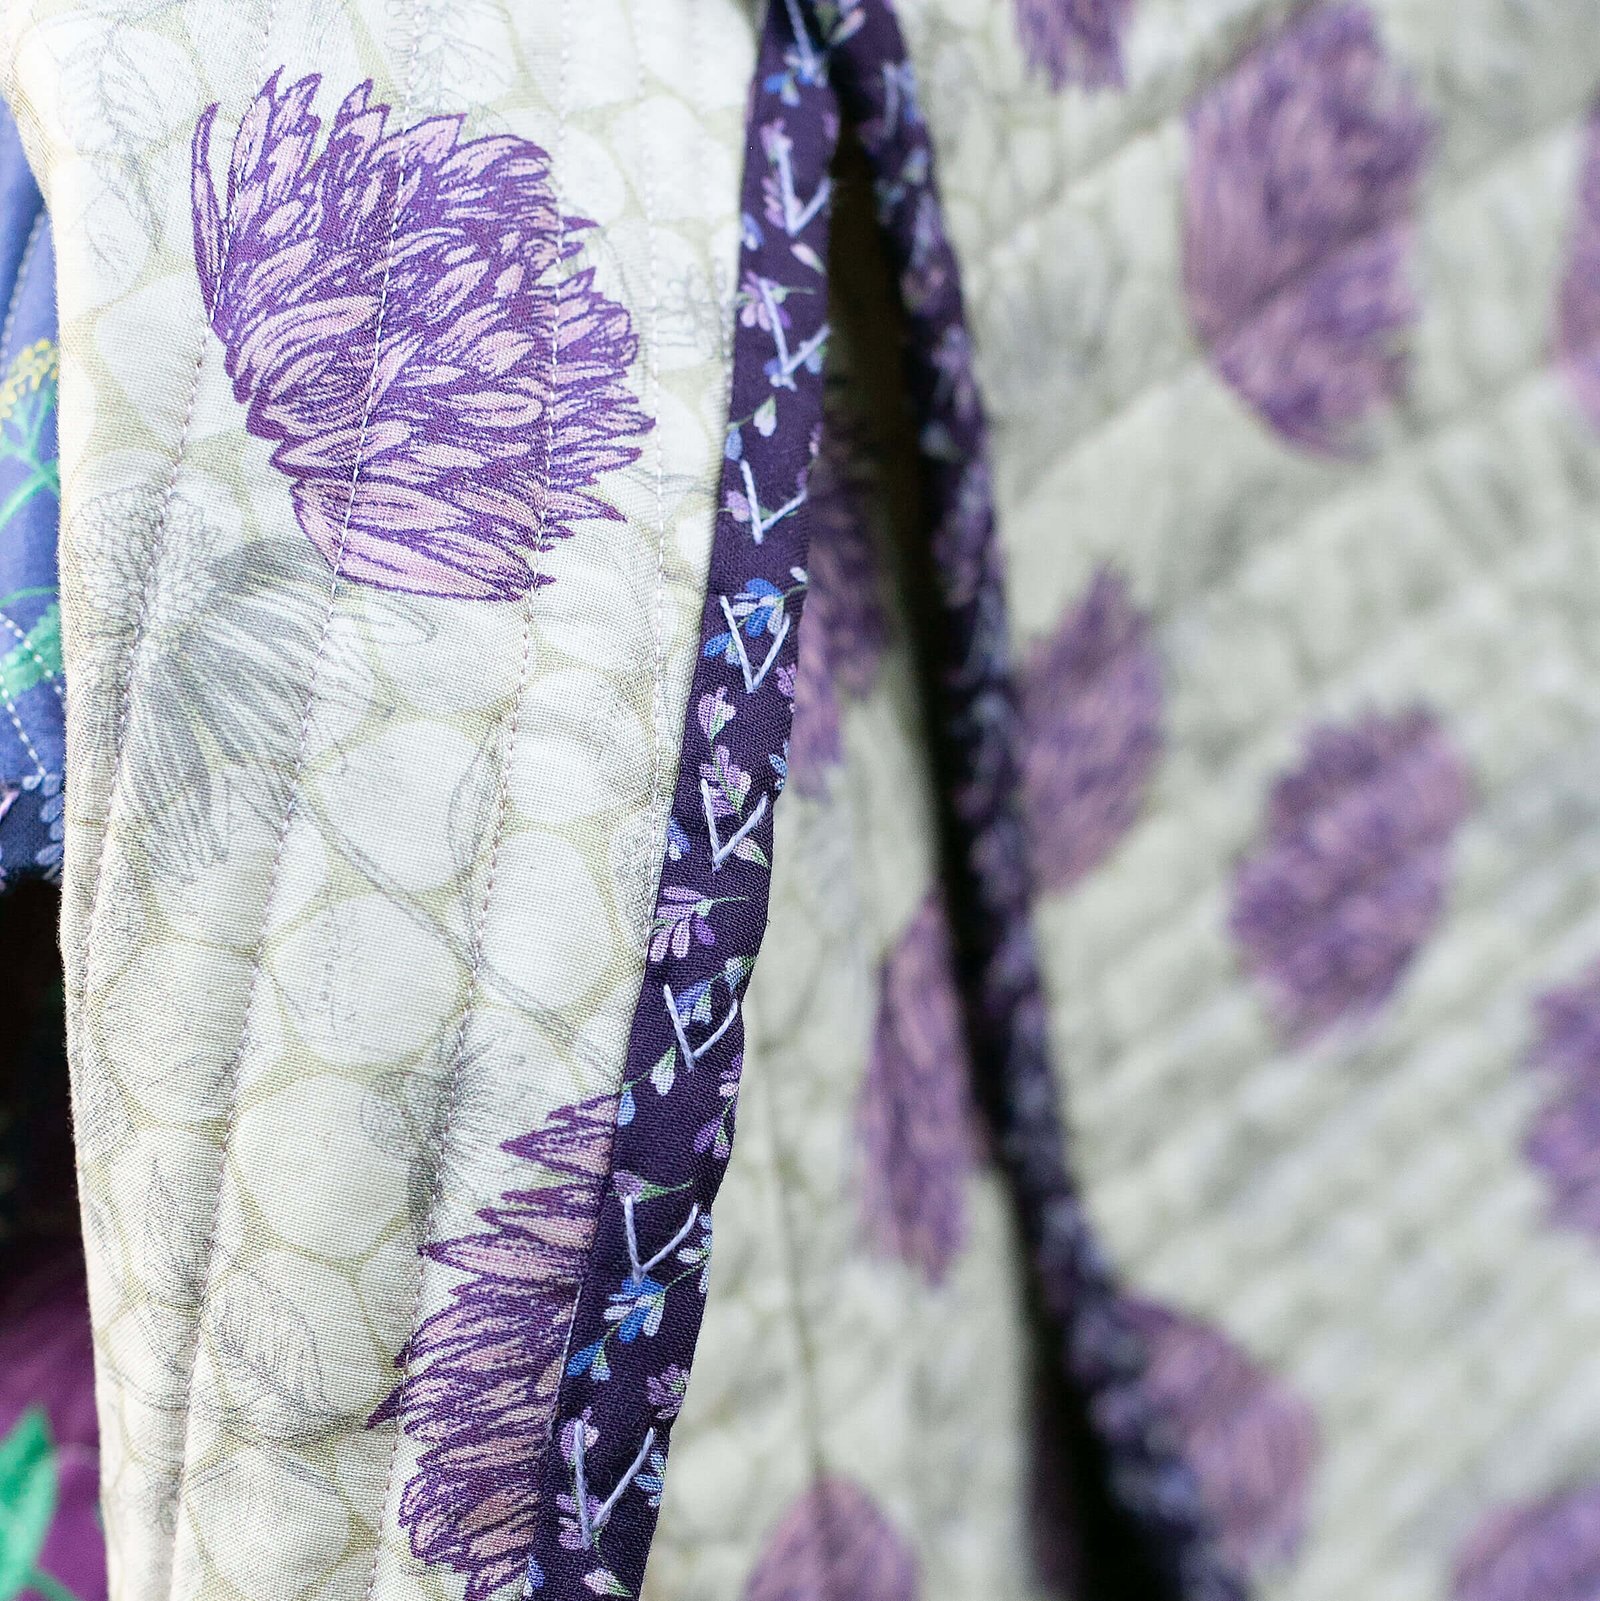
Zig & Zag
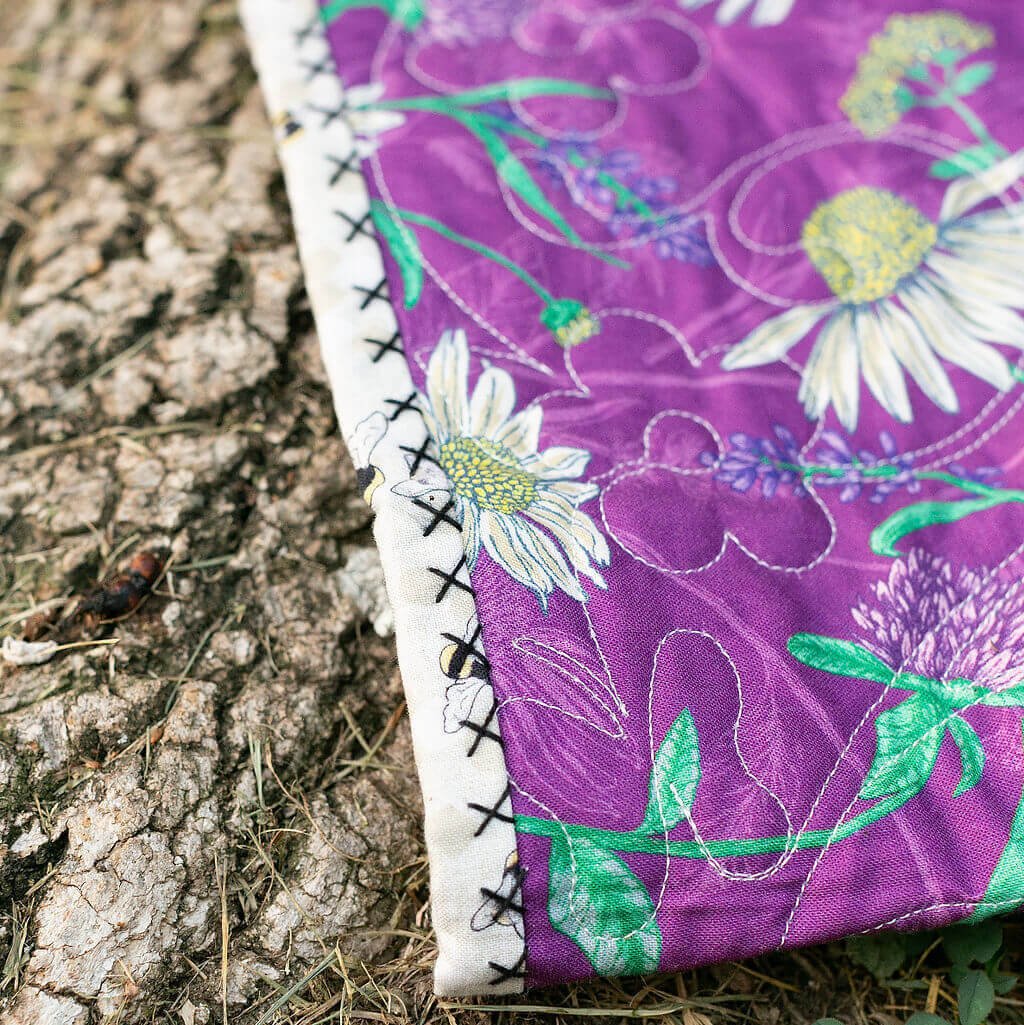
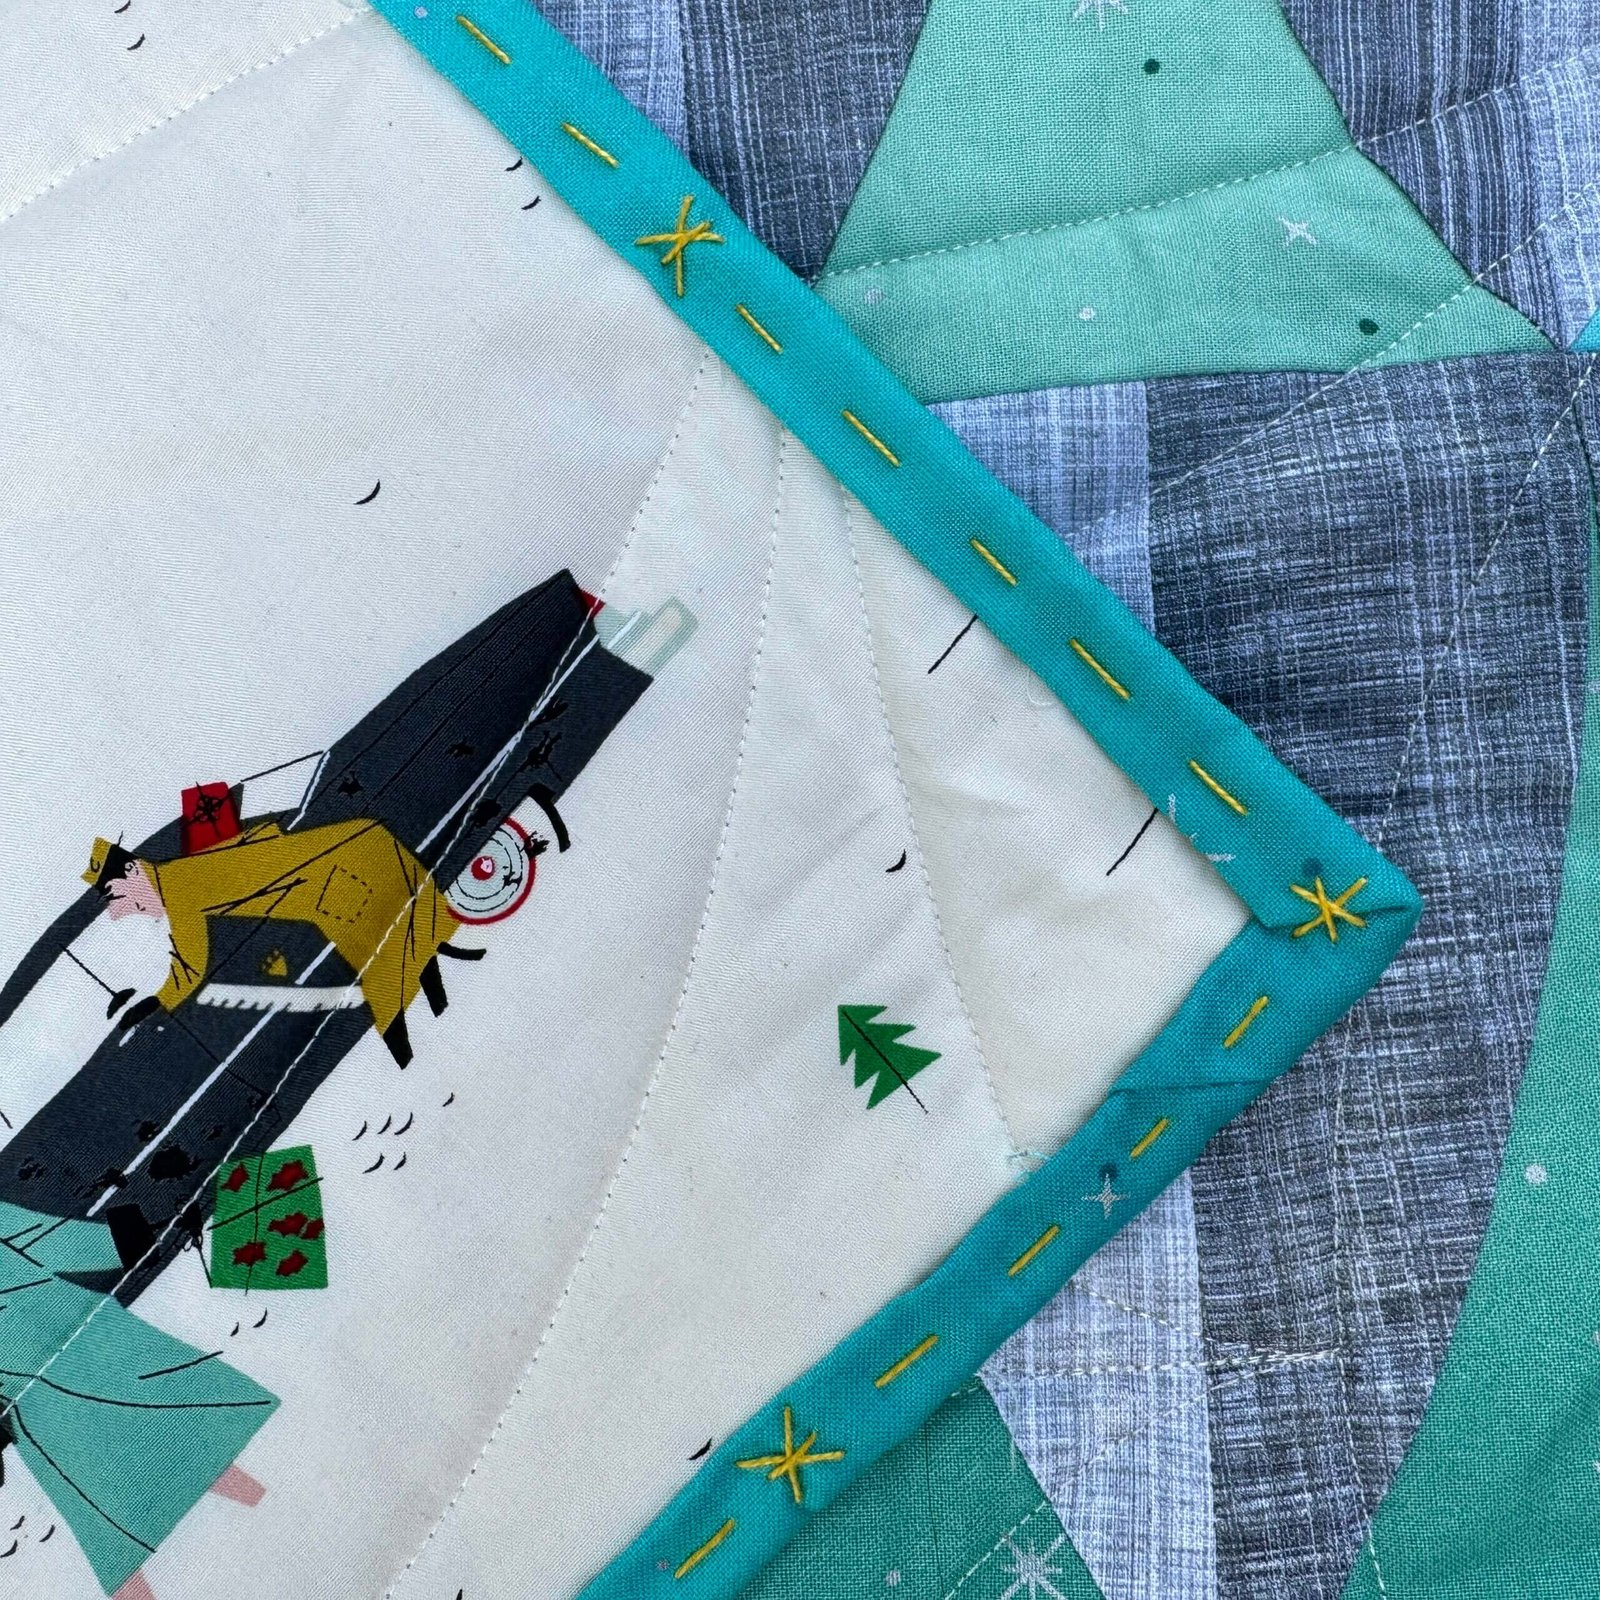
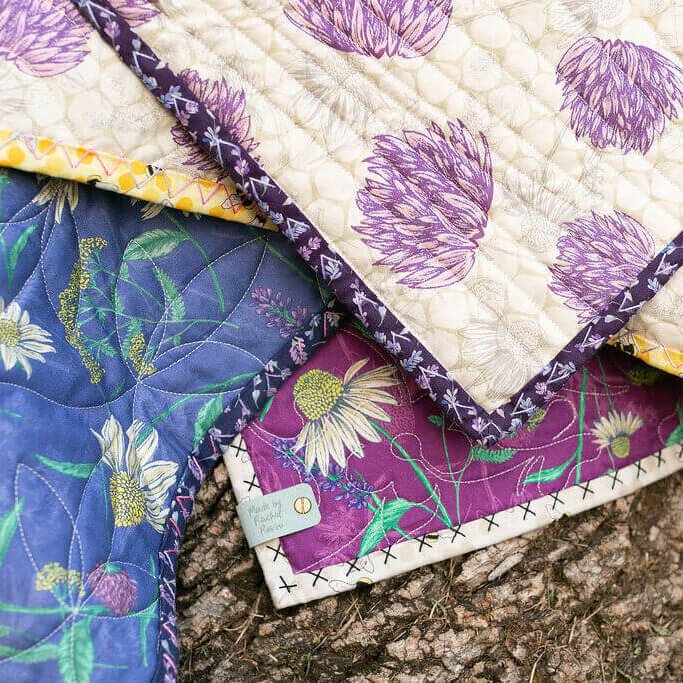
X Marks the Spot
Flying South
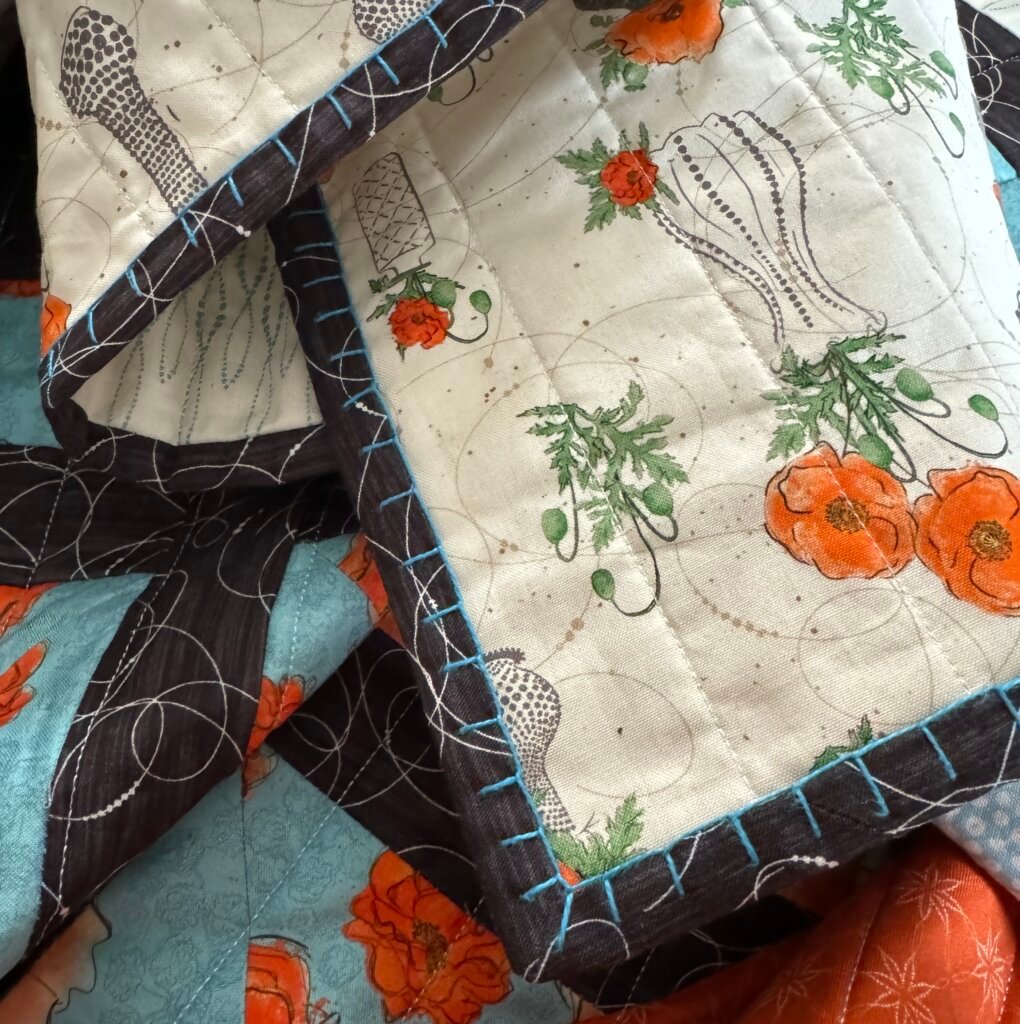
Blanket Stitch
Seeing Stars
Lazy Daisy
Inspiration Library
The Fun Isn’t Over!

Just because you’ve ventured all. the. way. to the bottom of the page doesn’t mean that the party is over! Make sure to subscribe to my email newsletter—I won’t load your inbox with junk every day, not even every week! I deliver meaningful (quilty) content to you on a regular basis. You’ll hear a bit of my heart, a bit from an industry friend or two, and something new that I’d think you’d find interesting. So, go ahead, let’s be friends!
FAQ
How the heck do I read these diagrams?
So glad you asked! Big stitch binding works from right to left for the majority of us, so the diagrams were made to match! Follow the number order and work from right to left.
Why are there empty spaces in my diagrams?
I wanted to create a “fill-in-the-stitch” area for each stitch. Similar to learning to longarm, it can be helpful to draw out your stitches before tackling the real deal. Feel free to fill in with pen (or a Sharpie if you’re brave!)
How Do I Start A Stitch?
Following the method for hiding the knots (see page 8), you’ll then come up through the binding or quilt top.
Wait! Do I big stitch on the front or back of my quilt?
There’s no wrong answer here! I’ve done it both ways—it just depends on what look you’re going for. Keep in mind that if you want the big stitch to show on the front of your quilt, you should stitch the binding to the back of your quilt…or vice versa if you want to it to be on the back of your quilt. Learn more about attaching binding here.