Trim is so hard to come by. Unless you’ve got a secret fabric shop that sells amazing trims, the struggle is real! Finding the perfect ruffled trim is sometimes impossible. Your options are often too shiny, too large, too…just not right! Well, fear no more! Today, I’m going to show you how to make your own ruffle with flat ribbon. This technique is used in my newest pattern, the Sashay Christmas Stocking (releasing soon!), so I thought it would be helpful to teach this technique to you with step-by-step images and instructions.
Choosing A Ribbon
What Kind of Ribbon to Use
The best ribbons for making ruffles are those that are soft and flexible. I would not suggest using wired ribbon, unless you’re willing and able to slide the wire out of both sides before you get started.

Grosgrain and Satin ribbons are my favorite options for creating ruffles, because they lay nicely and flow beautifully with a ruffle.
What Size of Ribbon to Use
For my Sashay stocking pattern, I suggest 1-1/2″ ribbon. When making a ruffle, you’ll have to account for the loss of at least 1/4″ of width, so I wouldn’t go smaller than 1-1/2.” Depending on the size and scale of your project, you might like to go larger—I say go for it! There’s nothing cuter than a giant ruffle!
How Much Ribbon to Use
If you’re not using a pattern, you’ll want to ensure that you get enough ribbon in a continuous length. If you’re looking to put a ruffle on a 12″ length, I’d suggest getting at least double that length. It all depends on how fluffy you want this ruffle to be, but it’s better to have more and not use it than to not have enough.
How to Make a Ruffle with Ribbon
Now for what you’ve been waiting for: the tutorial!
Setting Up your Sewing Machine
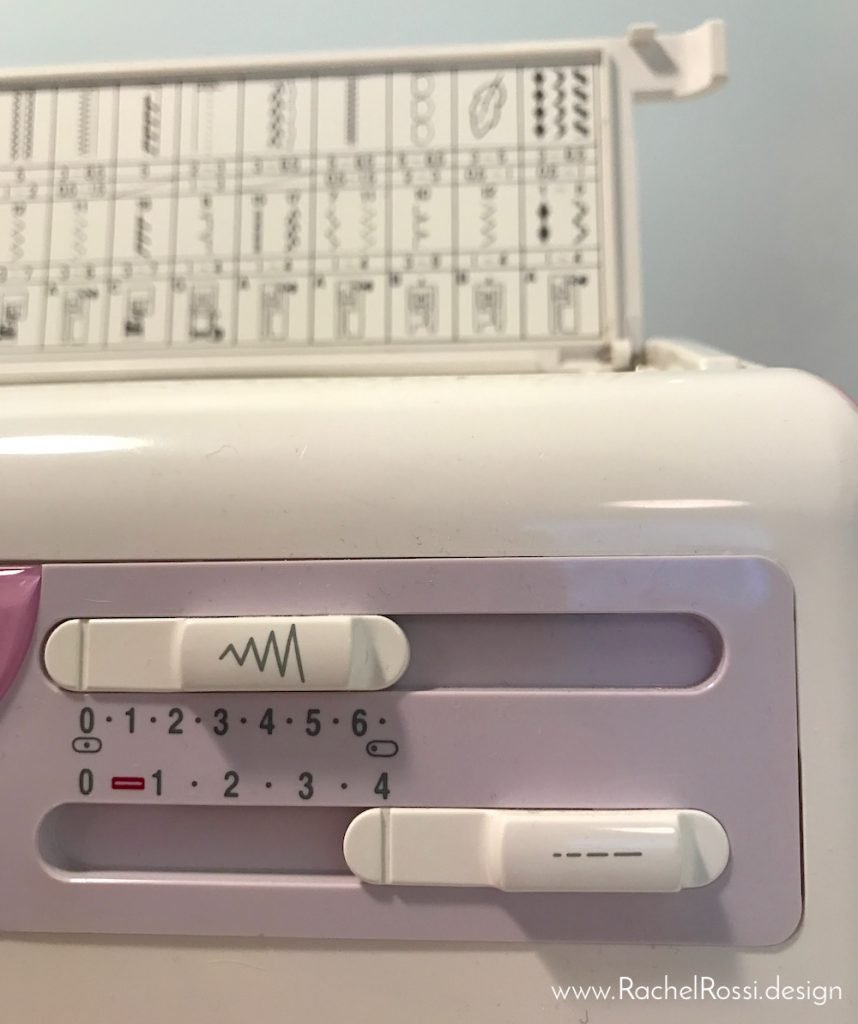
To get started, you’ll need to get your sewing machine set up correctly. This involves two things: the first is to set your machine to sew a straight stitch. Set it to the widest straight stitch it can make (if you are familiar with basting, that’s essentially what we are doing here, basting the edge of the ribbon).
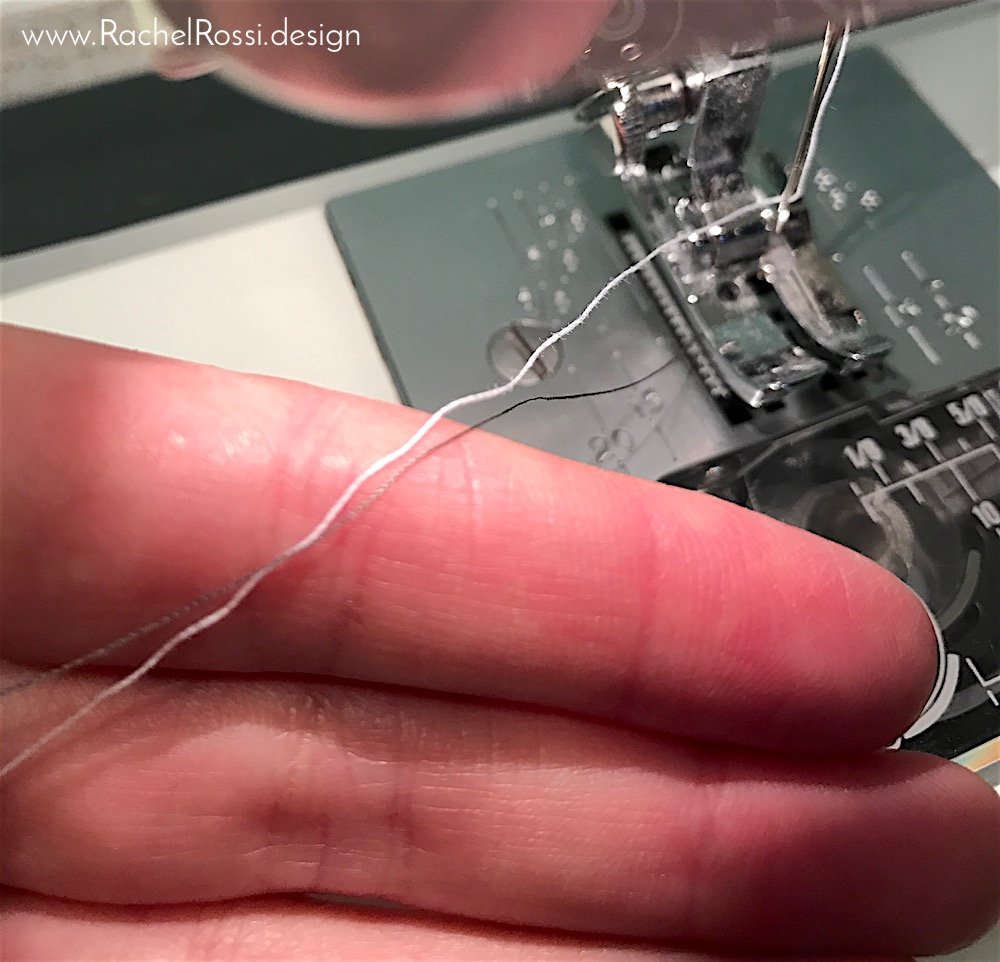
The second change you need to make is your bobbin thread. It might feel sort of funny, but you’ll be so glad that you did! Make sure that your spool of thread and your bobbin thread are two different colors, this will help you immensely in the next few steps.
Sewing
Now it’s time to sew! I chose to use 1/4″ measurement. If you are more comfortable with 1/2,” you’re welcome to do that, just make sure that you are using 1/2″ seam when you sew it into your project and that you have a wide enough ribbon once you subtract that 1/2″ from the width.
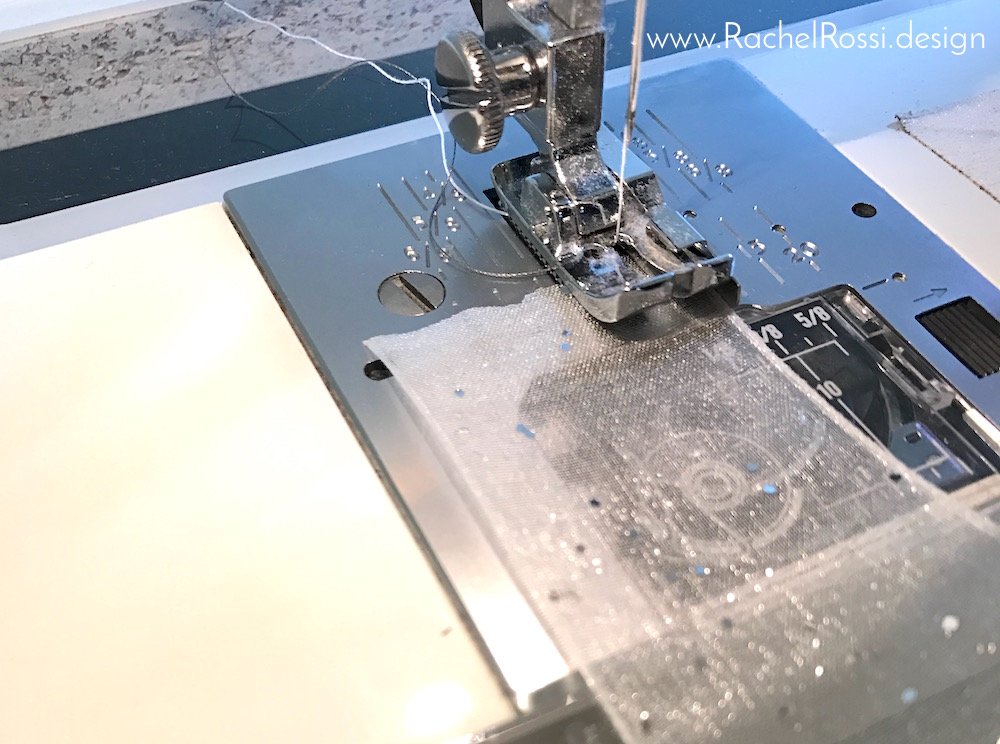
Using my 1/4″ foot (my favorite sewing tool, by far!), I simply stitched all the way down the length of my ribbon. DO NOT backstitch at the begining or end, or you won’t be able to do the next steps.
Leave yourself a long tail of thread to grab onto later.

Gathering, and Gathering, annnnnd Gathering
Once you’ve sewn all the way down the length of your ribbon, it’s time to create your ruffle! You’re going to locate your bobbin thread (see—aren’t you glad you made it a different color?!), and give it a GENTLE tug while holding onto your ribbon. See how it starts to bunch up at the top? That’s what you want. From here on out, you’re going to completely ignore that top thread, you’re just going to keep holding onto the bobbin thread and gently pushing the ribbon further and further toward the middle of the ribbon.

You want to make sure that you don’t pull too hard, or else you’ll snap your thread and have to start all over! Just take your time & all will go well.
Once you get about halfway through, repeat the gathering at the other end, working your way in. This will help you avoid breaking the thread and makes things a little easier.

Keep on gathering until you get the ribbon to the length you want it to be.
Tie a tiny little knot to keep your length.
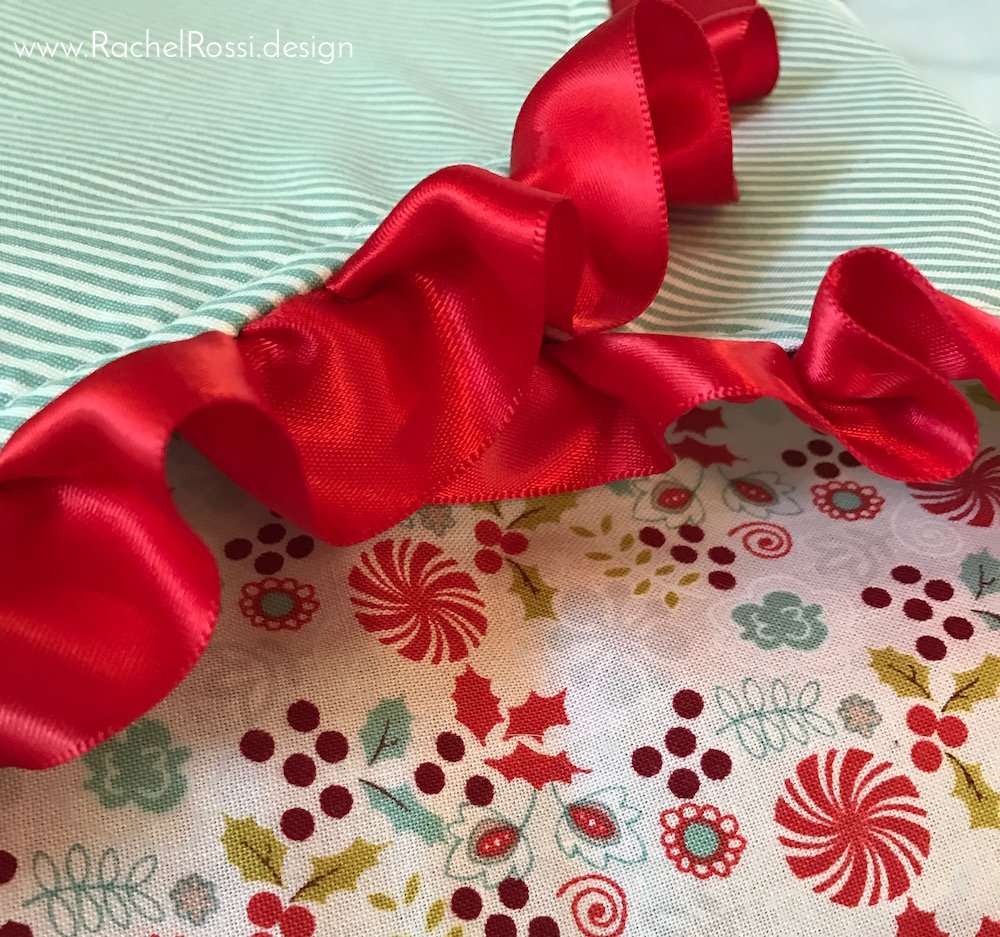
Even out the ruffle so that you have a consistent bending and frill. You don’t want some spots to be very bunched up and others to be flat.

And There you Have It!
Now it’s time to stitch your ruffle onto whatever project you’re working on. How exciting! Just make sure that you include the basting stitches in the seam allowance and hide them. If you’re looking for a project to practice on, my Sashay Christmas Stocking is a great one to start on. Make sure to get your copy in my shop today.
Enjoy reading this post? To make sure you don’t miss a thing, follow me on Pinterest, Facebook, and Instagram and sign up for an email subscription to my blog.

