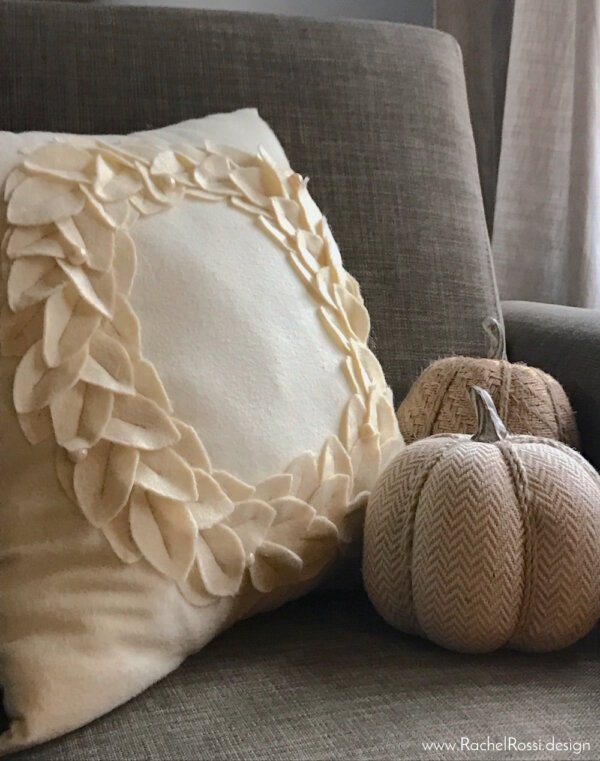
Late one night, searching the ends of the world wide web, looking for a daybed, I came across this lovely little pillow on Birch Lane’s website—I just had to have it!
$39.99
Yeah right!
I got the itch to make this little lovely, so I whipped out my Cricut Explore Air and got to work. I have a ten-month-old and it only took me one nap to whip this sweet little pillow up! You got this! If you don’t have a Cricut, you should seriously consider getting it for your craft arsenal—I use mine all the time and it’ll save you a lot of cutting. But if it’s not in the plan for now, never fear! I’ve got instructions for you too.
So, keep on scrolling to get my holiday wreath free sewing pattern & see how it all came together!
Note: Some images and links in this post may be affiliate links. That means, should you choose to purchase through one of these links, I will receive a small commission. This is how I’m able to provide you with great content, every week, free of charge! Thank you for your support!
What You’ll Need:
- Felt (1/4 yard if you’re buying from the bolt) or 4 sheets of 9×12″
- Fusible Web
- Flannel (1/2 yard per pillow)
- Buttons (8)
- Matching Thread
- Sewing Machine
- Cricut Maker Machine, Mat, and Deep Cutting Blade
- My Laurel holiday wreath pillow pattern
Cut Out The Felt
With the Included Cut File
First, you’ll need to cut out your leaf shapes. If you’ve got a Cricut machine, head on over to the design center, and upload your cut file (included in your free pattern).

Before you cut, make sure to iron on fusible web to the backing of your felt. Once it’s cooled, peel off the paper backing and place shiny side down onto the cutting mat.
With Fusible Web
If you don’t have a Cricut Machine, cutting out your leaves takes just a little bit longer—it’s a great project for snuggling in with a good snack and turning on the TV!
First, trace your leaves onto the paper side of the fusible web. You’ll need a total of 5 pages of leaves traced.
Next, iron the shiny side to the wrong side of your felt. Then cut out your leaf shapes. After being cut out, you can peel the remaining paper off.
Creating the Wreath
Cut your pillow front and back & set aside.
Lay out the bottom layers of the wreath in a circle on the pillow.

Gently iron the leaves into place.
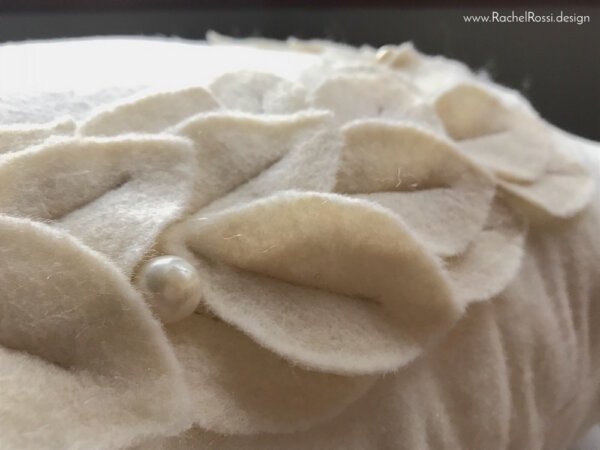
Using a medium straight stitch and matching thread, sew a line down the center of each leaf. Don’t worry about each line being perfect, and remember to backstitch at the beginning and end of each line.
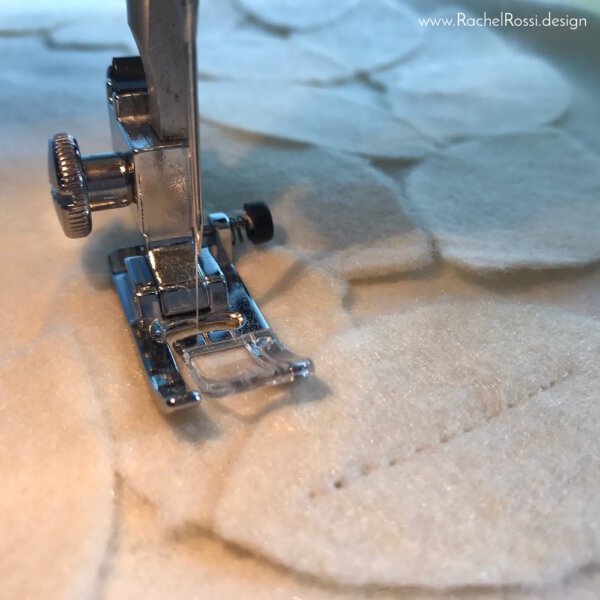
Once you have the bottom layer sewn on, trim your threads and start layering more leaves on top of the existing layers. I like to do this one at a time. Feel free to overlap leaves, but try to make sure that the stitches don’t overlap each other.

Finishing the Pillow
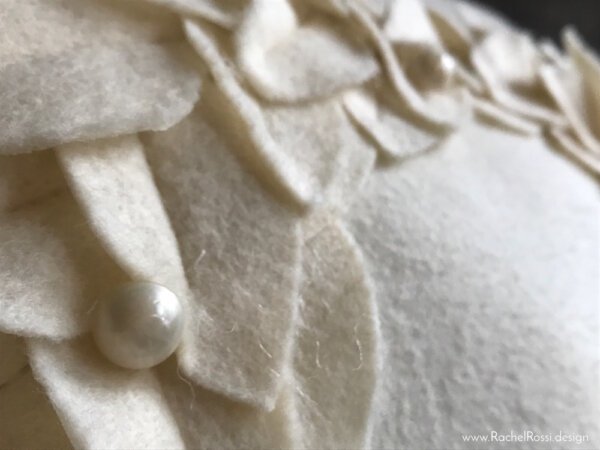
To give the finishing touches, add buttons throughout the wreath by hand. I used sweet little pearl buttons for this, but you could use red or other fun accent colors!
Place your pillow front and back together, right sides together. Sew around all edges. Make sure to leave a wide enough opening to stuff your pillow.
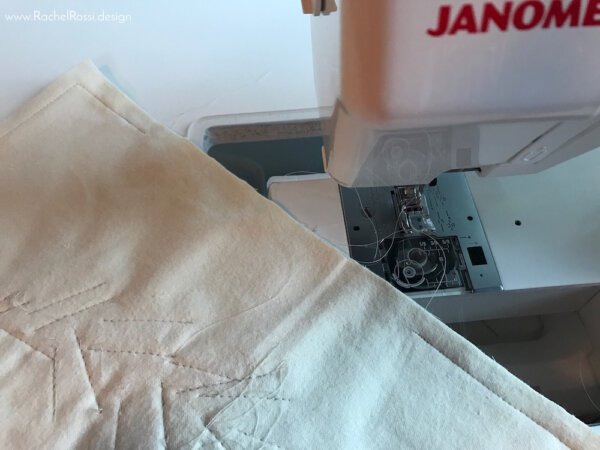
Stuff your pillow and sew the opening closed by hand.
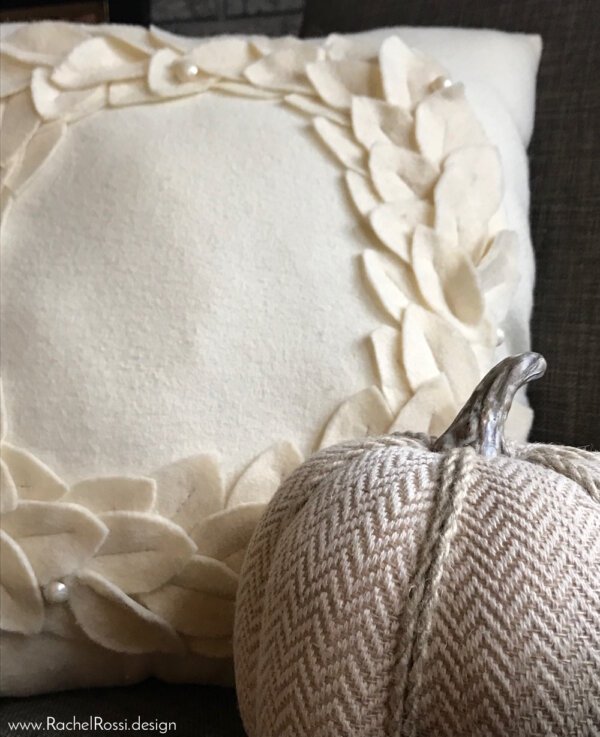
Fluff and Enjoy!
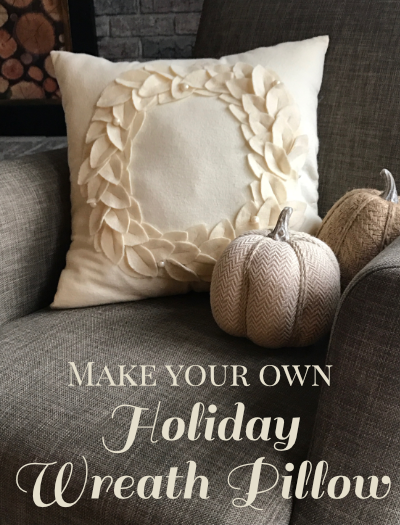
Now that it’s all finished place your new pillow on the couch or wherever the perfect spot is! I’ve got all sorts of ideas and different ways to make this sweet pillow; I want to see what it looks like with white leaves and a plaid flannel background… OR green leaves with red buttons and jingle bells for Christmas—the possibilities are endless!
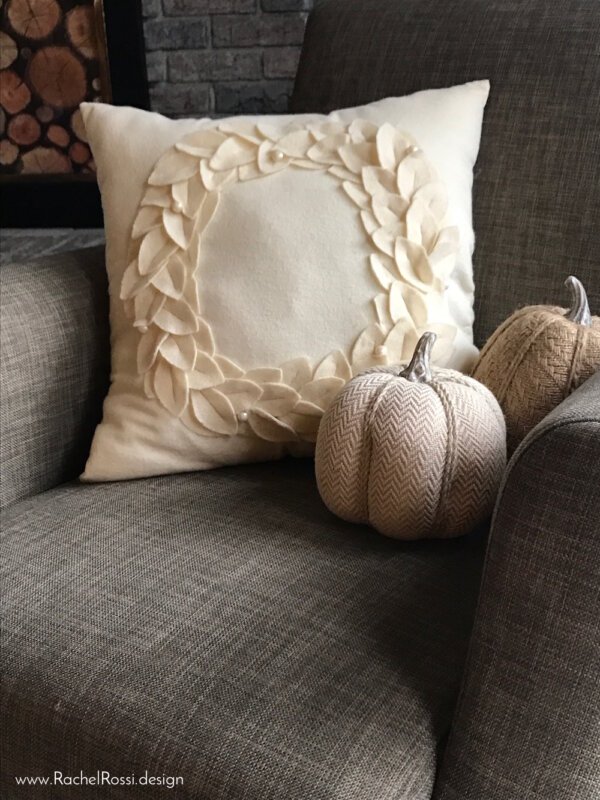

Make sure to download your free pattern when you sign up for my weekly newsletter, for all of the instructions, and if this is all seems like too much for you, just buy yourself a pre-made one at Amazon.com!
Get Your Free Holiday Wreath Pillow Pattern Here!
Just sign up for my weekly newsletter and it’ll come right to your inbox. If you’re looking for other great holiday projects, make sure to give these two patterns a try:
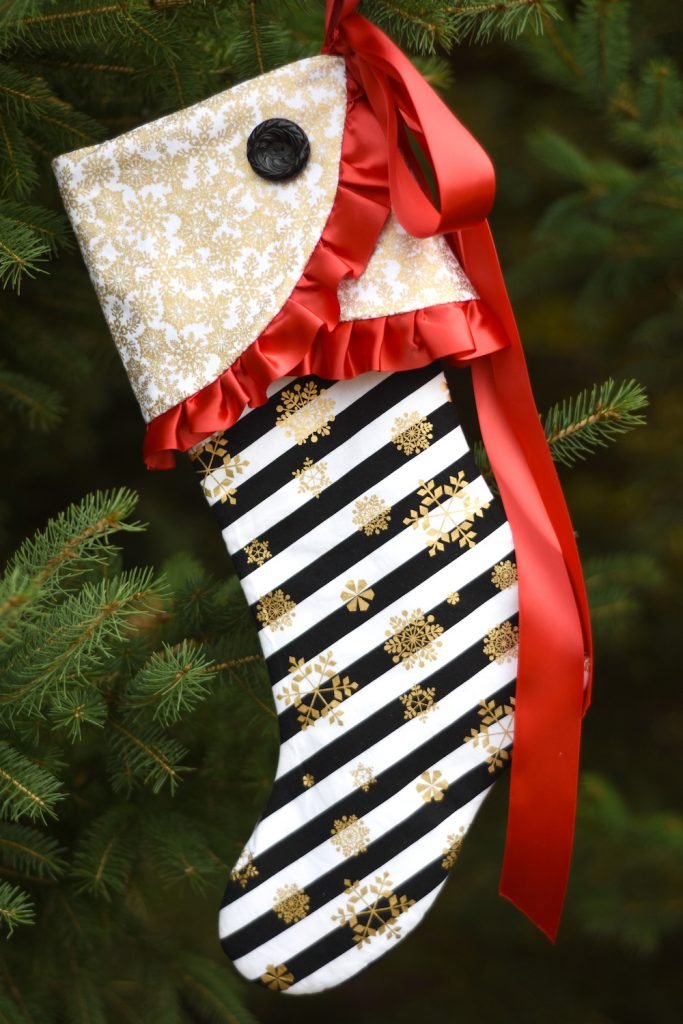
The Sashay Christmas Stocking is a reversible pattern and can be dressed up or down! Try one side for a fun Christmas and another for classy Christmas—the choice is yours!
The Squared Fashion Wrap is my go-to one-size-fits-all pattern! It’s perfect for a quick dash to the car in chilly weather or to complete a cozy fall outfit. Sewing kits are also available for this wrap!
Enjoy reading this post? To make sure you don’t miss a thing, follow me on Pinterest, Facebook, and Instagram and sign up for an email subscription to my blog.



Love the idea. Hope to make some for Christmas this year.
Thank you for the pattern.
Of course! I’m so glad you love it!