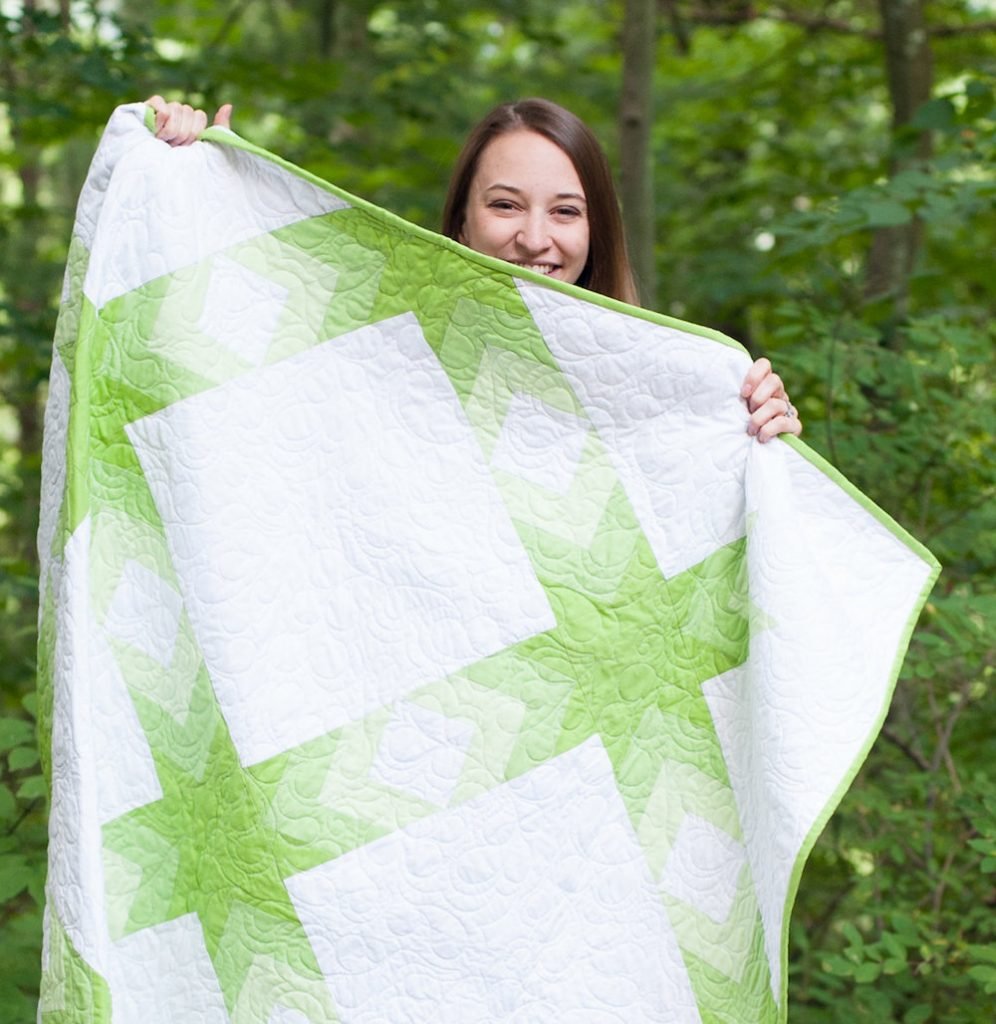
Today I’d like to help out those who might be interested in quilting, but want to know what they are getting into before they take the plunge. I will say that quilting is a commitment and quite a process, but it is such a rewarding hobby—I wouldn’t change one thing about it (maybe ripping out seams…if there was a way to outsource that, I’d take it). So, what are you getting into when you step foot inside of that sweet little quilt store that you’ve been wondering about? Let me tell you…
Choose a Pattern
The first thing that happens when you walk into a quilt store is instant inspiration! You’ll be bounding through the aisles with bolts and bolts of fabric before you even realize it. What you should do first, if you can contain yourself, is choose a quilting pattern that you’d like to make. If this is your first quilting project, even if you’re an expert seamstress, I’d suggest starting on something simple. Typically patterns will label themselves on level of difficulty.

Pick Your Fabrics
The first thing you do, after you have picked your quilt pattern, is to pick the fabrics you’re going to use. To get a nice, square quilt you need to use 100% cotton fabric. I would absolutely suggest getting fabric from a quilt store, and not a larger craft store like Hobby Lobby or Joann. As much as I live at those stores, their quilting fabric tends to stretch and not be as high of quality as what a local quilt shop would carry.

The prints that you pick will vary depending on what your pattern requires. You’ll find the yardage requirements on the back of your pattern. Typically, you want a variety of print scales (large flowers, small dots, stripes, etc) to keep the quilt from getting boring. You can get more help with this in my Choosing Quilt Fabrics post!
Get the Right Tools
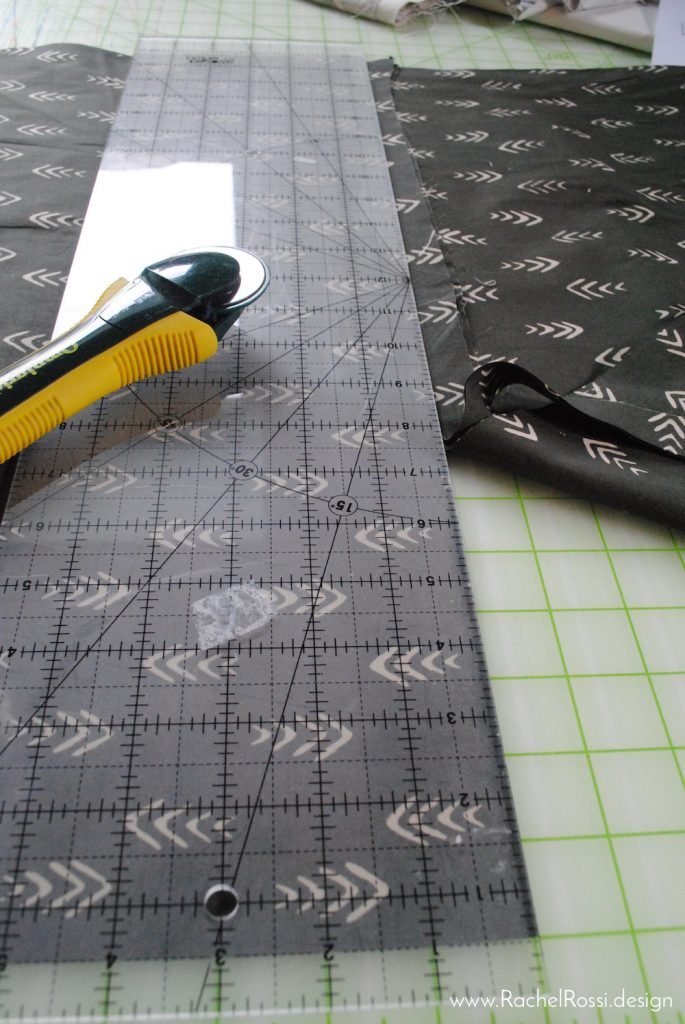
The must-haves for quilting are a cutting mat, rotary cutter, and ruler. Don’t let anyone sell you more than that. Once you fall in love with quilting, then I suggest you make the investment. But for now, just stick with the basics. If it turns out that quilting isn’t your favorite, these tools are really handy to have around the house!
Note: The links below are affiliate links, meaning that if you choose to purchase through these links, I will receive compensation. This is how I create great content weekly, free of charge! Thank you for your support!
Self-Healing Cutting Mat — The bigger this is, the easier your life will be when cutting fabrics. I would suggest getting a mat that is as big as the table you’ll be cutting on. If you don’t have a lot of space, try for something at least 36″ square.

Rotary Cutter — These are basically pizza cutters for fabric. They are fantastic, but be careful! They are incredibly sharp, so proceed with caution and always use the blade guard when you’re not cutting. My favorite is this rotary cutter by Omnigrid.
Clear Plastic Ruler — I have a 24″ ruler and a 6″ or 12″ ruler. I would suggest one of each size, just to make your life a little bit easier.
If you’re all in and want to stock up on your supplies, make sure to check out my post on the 10 Quilting Tools That I Couldn’t Live Without for seven more essentials!

How to Make a Quilt Top
After you get home with your fabric treasures, you’ll be itching to get started with cutting your blocks! Some people like to wash their fabrics before cutting and sewing to avoid shrinking. I haven’t found that it makes that much of a difference for me, and like the crispness I get from unwashed cotton, so I don’t wash before I start cutting and sewing. When you wash your quilt for the first time, it will get a “crinkle” to it that I adore! If you want things to stay a little more crisp and flat, try washing your fabrics first. Make sure to check out my post on the whole pre-wash debate!

Each quilting pattern includes directions for cutting. Typically, you’ll start by cutting strips, and then cutting those down into squares, rectangles, or triangles. This will vary depending on your pattern and designer. There are a few important things to keep in mind when cutting quilting fabric that won’t be listed in your pattern, so make sure to keep these in mind:
Keep Things Straight
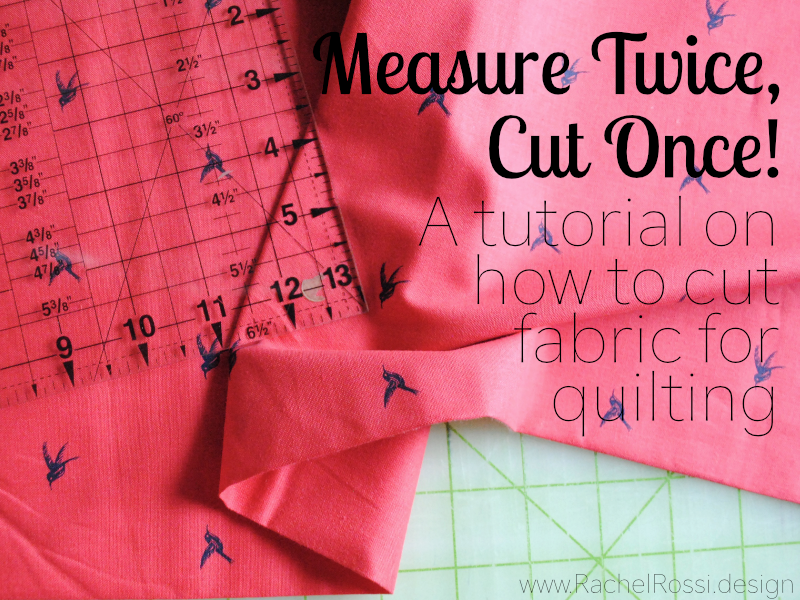
Before cutting anything, cut off the selvedge (typically white) edges of your fabric. Now make a straight cut up the side to ensure that all edges are straight. You can do this by lining up the horizontal line on your ruler with the fold in your fabric. The make a vertical cut to make a straight edge. For a full tutorial on getting straight cuts, read up on my Quilting Fabric Cutting Guide.

Ironing Makes All the Difference
Make sure that you follow the patterns instructions about ironing (sometimes called pressing) as you go. This seems like such a small thing, but will make the difference between a great first quilt and a not-so-great first quilt. If you’ve read any of my quilting blog posts before, you’ll notice that I get a little crazy about pressing! You can read more on my post about Pressing Quilting Fabrics.

Choose a Backing
Once your quilt top is done, if you haven’t already chosen a backing fabric, you’ll want to do that now. Your pattern should tell you how much fabric you’ll need where the other fabric requirements are listed. Depending on how you are going to quilt your top, you may want a little bit of additional fabric (see below).
Quilting Your Quilt
Quilting is what turns your quilt top into a bonafide quilt! All quilts have a top, batting, a backing, and a quilted design. There are different ways to quilt your quilts, if you want to see all the options, you can read my How to Quilt blog post. For beginners, I would suggest taking your quilt to a longarmer. They have a giant sewing machine (called a Longarm machine) that does the quilting for you. If you choose this method, you’ll need to add an additional 4 inches of backing fabric for every side.

Binding Your Quilt
To finish the raw edges left after quilting your quilt, you’ll need to do what is called binding. This step isn’t typically explained in quilt patterns, so I have an entire Binding Tutorial with pictures, so that you know exactly how to do it. There are different variations on this technique, so try a few different ways on your projects and see what you like!

Labeling Your Quilt
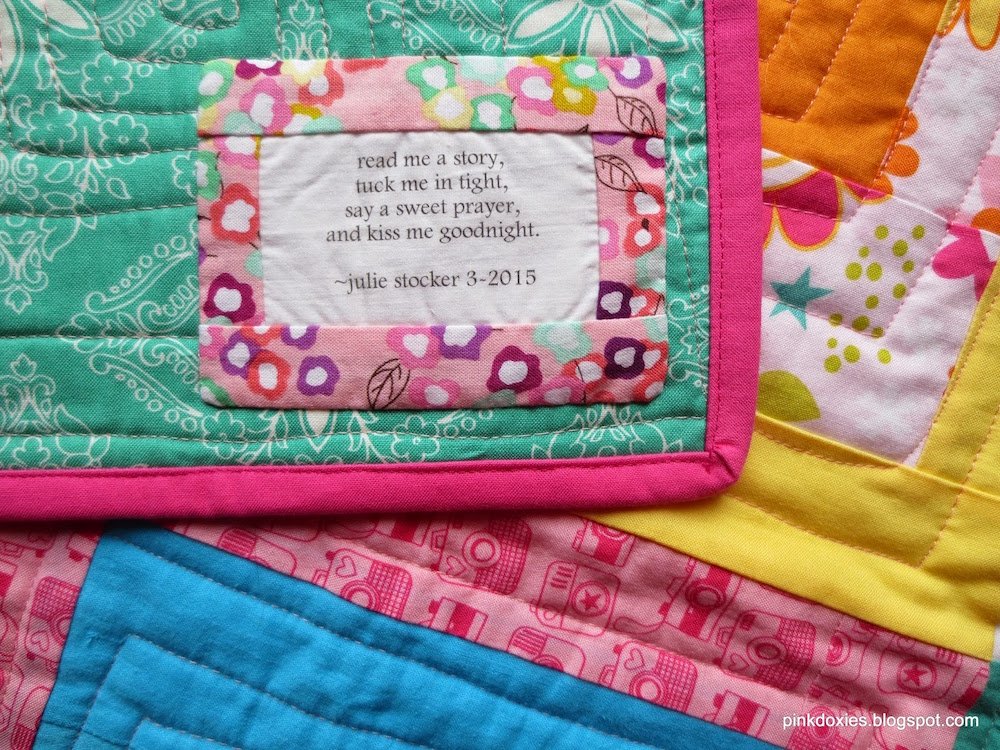
Ah! You’ve finally arrived at the final piece of the puzzle. You don’t have to do this step if you don’t want to, but I think that labeling a quilt makes it so special, especially if this is your first! There’s all sorts of great quilt labels out there—some home-made and others that you buy. My favorite way to label is to make a little matching tag. I have a full tutorial on How to Make a Quilt Tag here if you’d like to see it!

For more fun labeling ideas, make sure to check out my post about Creative Quilt Labels!

I hope this helps you get an idea of what you’re getting into and what you’ll need to start quilting! Make sure to subscribe to my weekly emails for all the latest posts, sales, and exclusive content! And welcome to the quilting club—we’re so glad to have you! 😉
Enjoy reading this post? To make sure you don’t miss a thing, follow me on Pinterest, Facebook, and Instagram and sign up for an email subscription to my blog.
