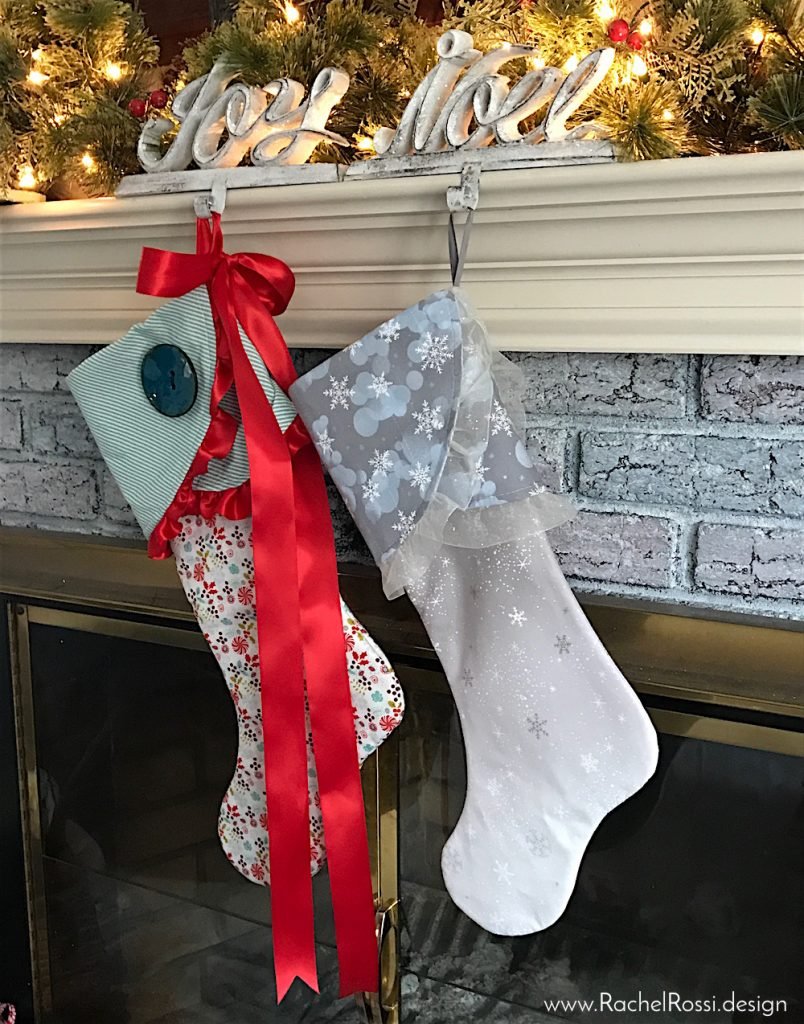
It’s the final day of our Christmas sewing adventure! You’ll be hanging up your stocking and showing off your Christmas mantle to all your Instagram friends before you even know it! After seeing things start to come together yesterday, I can’t wait to see the final product today! Let’s get wrapping this project up:
Today, we’ll be following steps 17—22 from your pattern.
Let’s start with steps 17—19: joining the tops of our stockings. Make sure to line up your seams carefully and pinning generously.
The sewing will go a lot easier for you if you remove the front attachment on your machine, allowing you to put the stocking around the throat of the machine, rather than trying to work on a flat surface.

Now it’s time to turn these stockings right side out (the best part!) Follow step 20 to find the hidden spot where we’ll hand sew the opening shut.

A few quick stitches…

And we’re done! If you’d like to add more ribbon to the hanging ribbon or a fabulous button (maybe a few fabulous buttons would be sweet), go for it! With my second stocking, I chose to keep things simple, but if the right button finds me, that might change!

Get some detail shots…

And show off your masterpiece!

If you don’t already follow me on Facebook or Instagram, make sure you do and then tag me—I love seeing how your projects turned out!! Thank you so much for joining the sew-along this Christmas, I hope that this season brings a time of peace and joy among you and your families.
Enjoy reading this post? To make sure you don’t miss a thing, follow me on Pinterest, Facebook, and Instagram and sign up for an email subscription to my blog.
Looking for more great Holiday Posts? Below are a few of my favorites!


