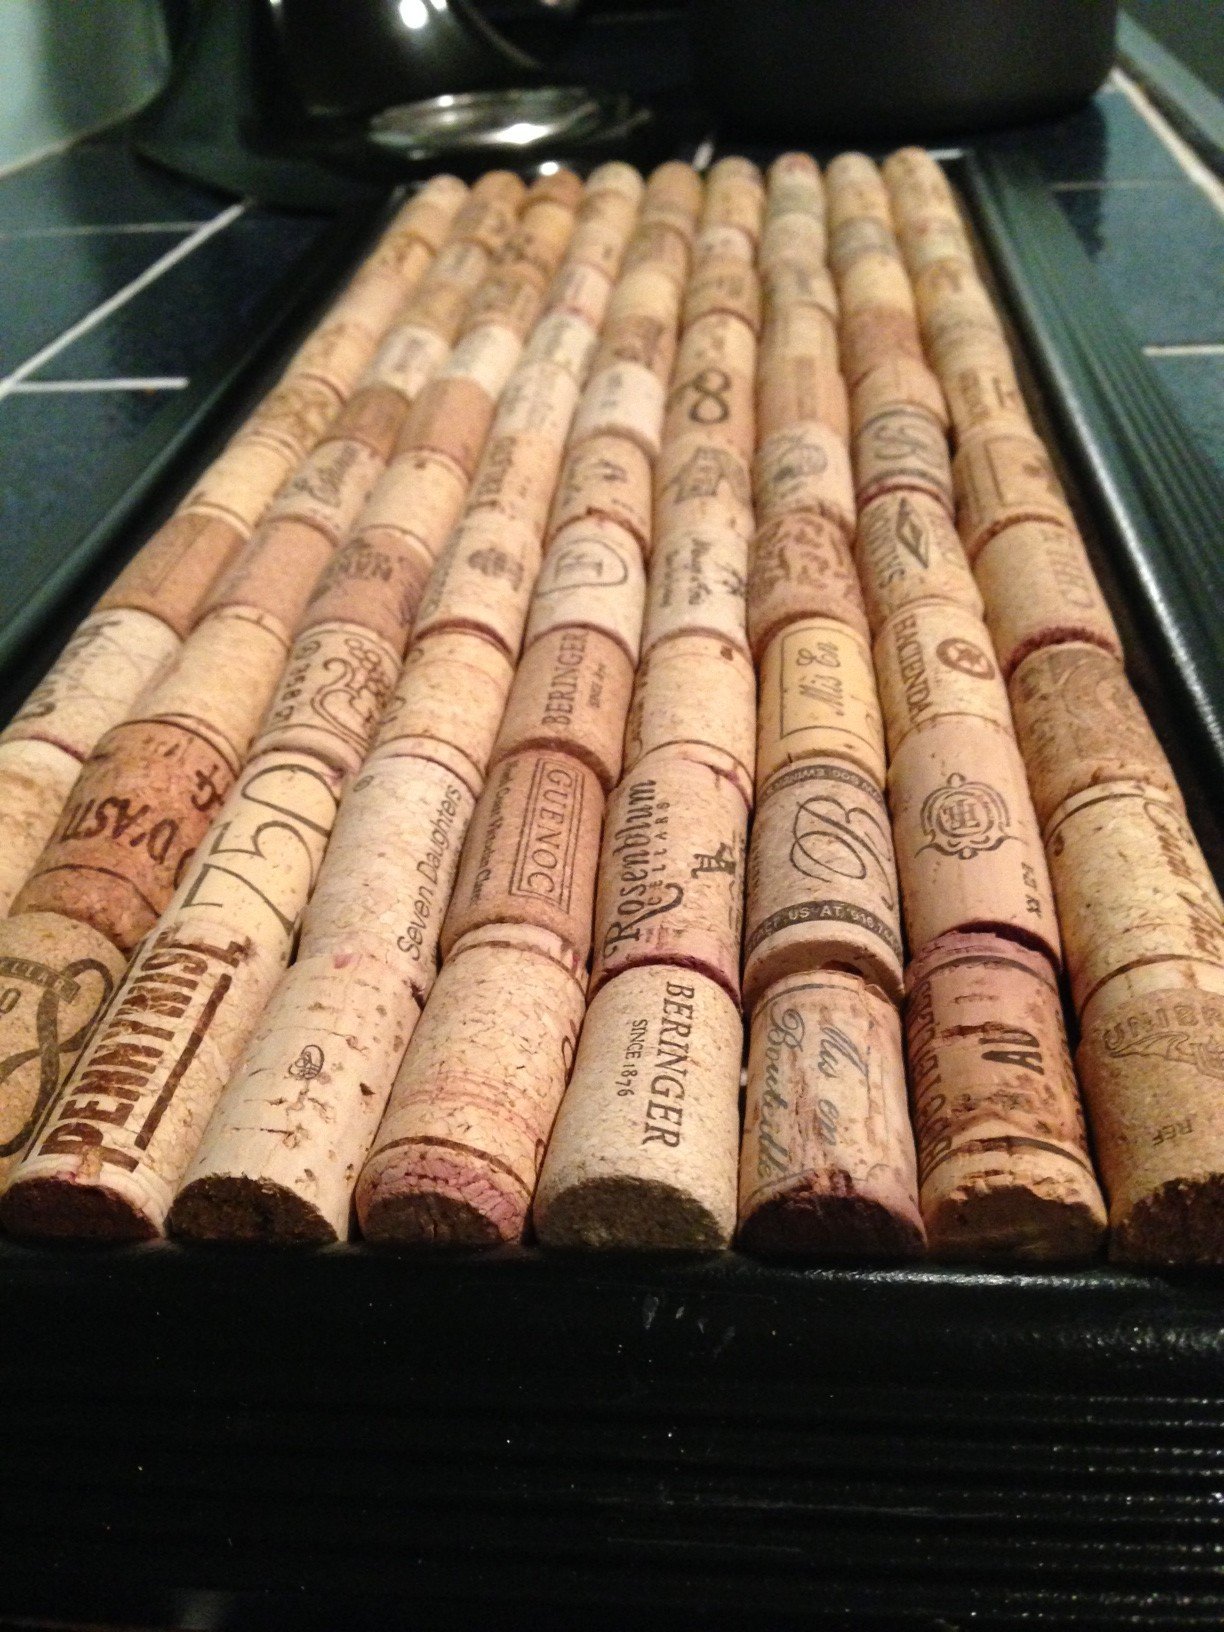
Tired of those knit and fabric trivets that don’t match your kitchen? Why not have something useful and beautiful to put your hottest pots and pans on? Cork trivets are a sophisticated way to protect your kitchen surfaces, and I’m going to show you how to make one for yourself!
This is a really fun and easy DIY project. I had a great time looking at all the different brands of corks and arranging them! Make sure you read all directions before starting:
Materials
First things first, you’re going to need some supplies:
- Picture frame
- Spray paint
- Corks! (You can collect these yourself or buy them in bulk
!)
- Self Adhesive Cork Shelf Liner
- Wood glue
Step 1: Prep the Frame
First you’re going to remove any hanging hardware or staples from the back of the frame.
Second, spray paint the frame to your desired color. I chose black for mine, and it looks very classy! I took my glass out just to make sure I got every single edge, but you don’t have to if you don’t want to.
Let it dry as long as it needs—you don’t want it to smudge!
Step 2: Lay It Out
This step can be a little bit frustrating. You need to lay out all of your corks in the frame and make sure that they fit. This can take a while, but after this you’re almost done! If you’re having troubles fitting them in, here are a few tips:
- Alternate the corks — I ended up having to do this because the rows started to curve. So alternate them by the tapered end (one small end, one large end, one small end, and so on).
- Slice off a little — I also did this for a few of my rows. Just slice off a teeny tiny bit at a time of the sides of the cork. It helps everything fit together without being noticeable. I used a small miter saw, though you could also use a box cutter (PLEASE be careful!). See the picture below:
Step 3: Glue It Down
Once everything fits in nicely, it’s finally time to glue! Remove an end row (keeping the corks in the correct order) and glue the corks on row by row.
Step 4: Wait
This is the most important part of the whole project! Place some heavy books on top of the trivet to ensure that everything is securely fastened. Let it sit overnight.
I ended up letting it sit for a few more hours until the glue completely dried.
Once everything looks like it’s dry, flip it over and put the self-adhesive cork liner on the back. This looks really sharp and protects your counter/table surfaces. Make sure to measure and cut before sticking it on!
Step 5: Show it Off!
You’re all done! Your cork trivet is officially ready to use! When all your friends oohh and ahh over it, you will be proud to tell them that you made it yourself!


