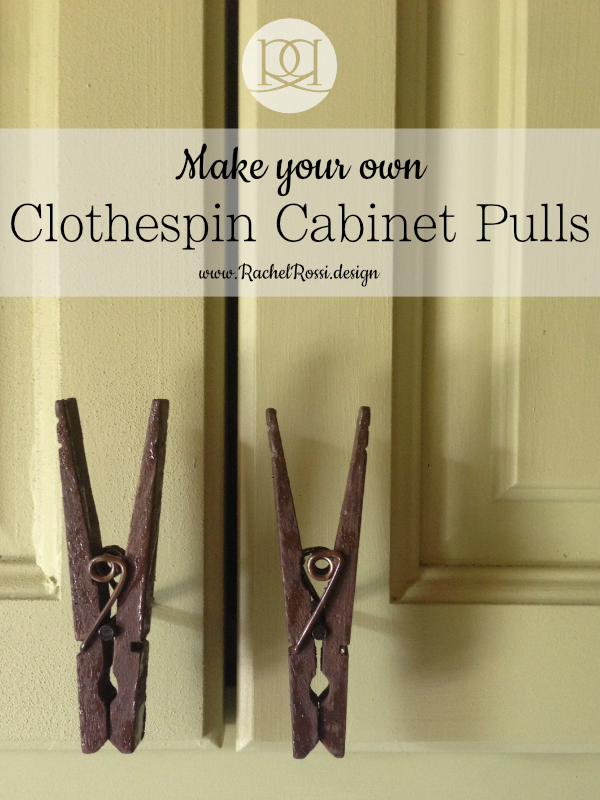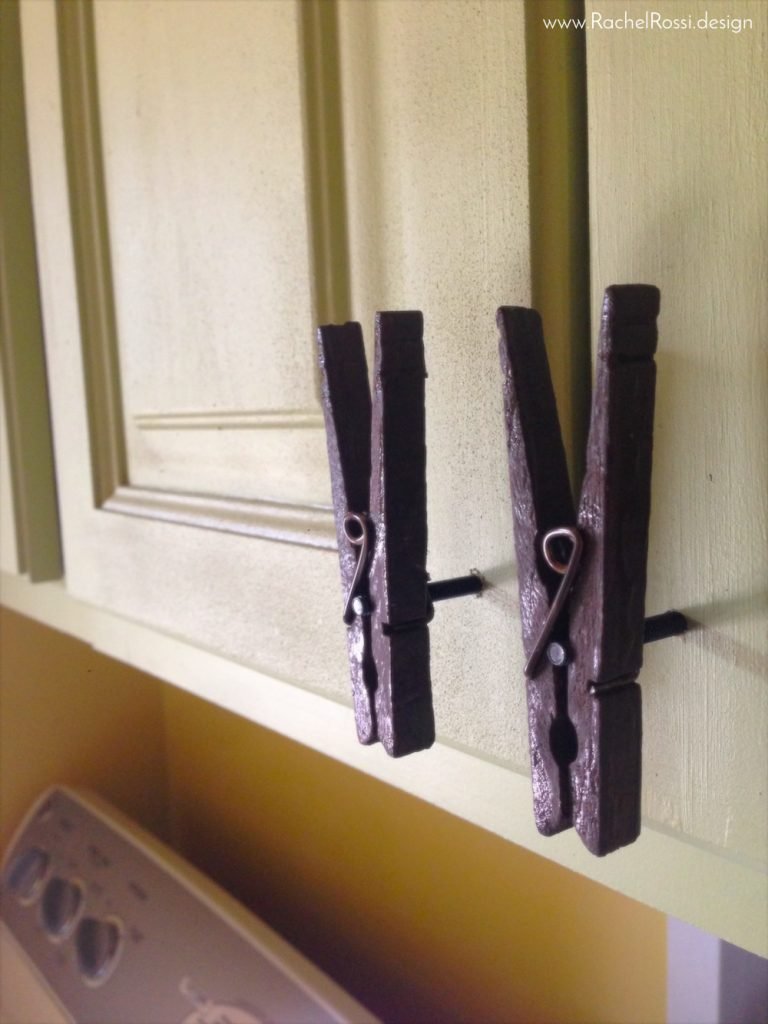
You’ve seen them all over Pinterest—the adorable, perfect cabinet pulls for your laundry room! These adorable little knobs will cost you $7 a pop, PLUS shipping! When I realized that I simply couldn’t justify $45 for my humble laundry room cabinets, I went into DIY mode and made my very own laundry room cabinet pulls! Honestly, I think I like mine better than the store bought option because they have more of a rustic feel to them. If you love them as much as me and want to make your own for (nearly) free, read on for the full tutorial.
What You’ll Need:
This DIY cabinet pull doesn’t take all that much! You’ll need the following supplies to make your own clothespin knobs:
- As many Clothespins as knobs needed
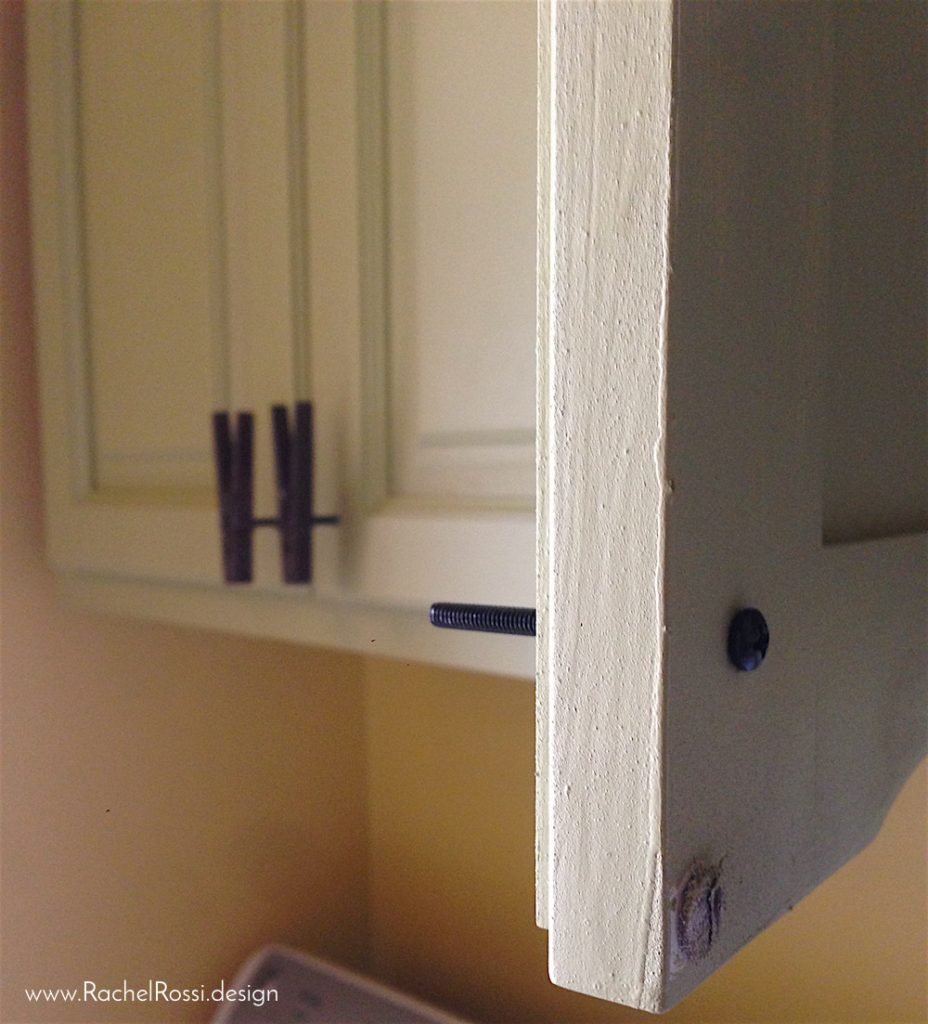
- A matching number of Machine Screws (with flat tops). I used 8-32 X 2″ black MS screws
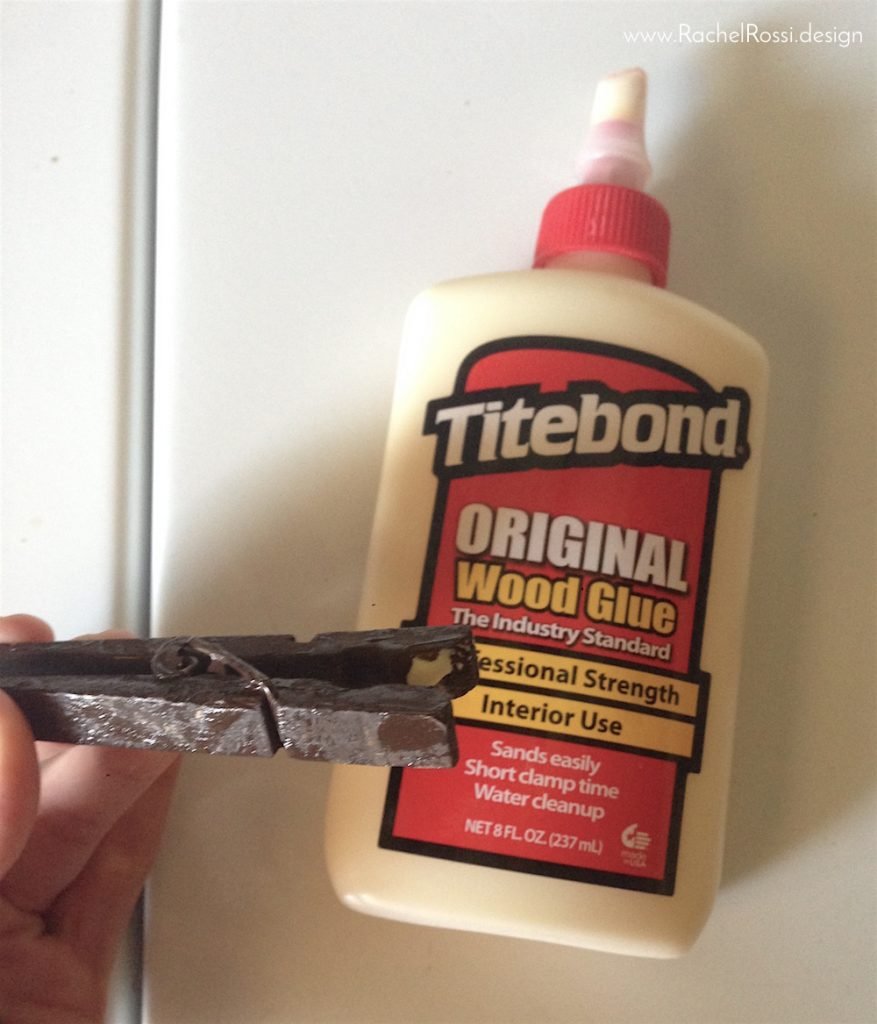
- Wood Glue
- Drill and drill bit (if your cabinet doesn’t have pre-drilled cabinet pulls holes drilled)
- Spray Paint (if you don’t want the natural color of clothespins)
Spray Paint to Color of Your Choice

Start by spray painting your clothespins. If you’re pregnant, you’ll want to ask your dear darling husband to take on this part of the project for you (shoutout to my dear darling husband!). Lightly spray each layer on to avoid drips and uneven spots. Let dry thoroughly.
Drill Holes for the Screws
While your clothespins are drying, get started with drilling holes for your hardware. Try to use a bit that is slightly smaller than the screw that you’re planning on using. This will avoid the spinning of the pulls. If you have pre-drilled holes that are just a little bit too large, never fear! I’ll give you a solution below.
Insert Machine Screws
It’s time to put the screws into the doors. Put them in from the inside of the cabinet out, so that the head of the screw is hidden. If you drilled your own holes, you’ll need to screw these in with your drill. If your holes were pre-drilled, dab a little bit of wood glue on the inside of the the screw head to hold them in place.

Add Clothespins & Glue
Once your clothespins are fully dry (I know it’s hard to wait, but you can do it!), you can dab a little bit of glue on the flat part of the pin, where the wood touches. Now, place the clothespin over the screw at the top notch. This should fit perfectly over the flat part of the screw and close evenly. Dab off any excess glue.

Gush Over How Adorable These Are!
How easy and ADORABLE was that!? I’m tickled pink over these adorable knobs & guys even think that they are “pretty cool,” so they must be amazing! I’d love to see your versions in the comments below in all their colors, uses, and spaces, don’t forget to leave me a picture and let me know if you picked up any tips or tricks along the way.

Enjoy reading this post? To make sure you don’t miss a thing, follow me on Pinterest, Facebook, and Instagram and sign up for an email subscription to my blog.
