With a little niece, I’m in full precious baby girl mode. My sister in law asked if I would be able to replicate a lampshade that she saw at Ikea. I instantly knew the one that she was talking about and said yes! This is a perfect baby girl lamp shade, princess lamp shade, or fairy lamp shade. It’s the girliest thing that I could possibly imagine and here’s how to make it!
Honestly, I like my DIY tulle lampshade much better than Ikea’s version…but I might be a bit biased. I’d love to show you how I created it! This is a great project because you can choose any color tulle that you like, embellish with beads or trim- there’s a ton of options!

What you’ll need:
- An Old Lampshade (mine was a 9.5″ wide drum shade)
- 4 yards of tulle
- 1 roll of 6″ wide tulle (often found with ribbon or in the wedding section)
- Thread
- Hot glue gun/sticks
- white fabric (size varies depending on the lamp shade size
- Mod Podge
- Foam brush
Preparing the Lamp Shade
1) Cut your white fabric to the exact width of your lamp shade (mine was 9.5″) and circumference (make sure to leave a little bit of overlap here).
2) Apply a generous layer of Mod Podge to the shade in small sections. Lay fabric over as you go, pressing out any bubbles. Let dry.

Adding the Tulle
3) Most tulle comes 60″ wide. Cut your tulle to be twice as wide as your lamp shade (My lamp shade was 9.5″ wide, so I cut my tulle to be 20″ wide). Cut these in long 4 yard strips.
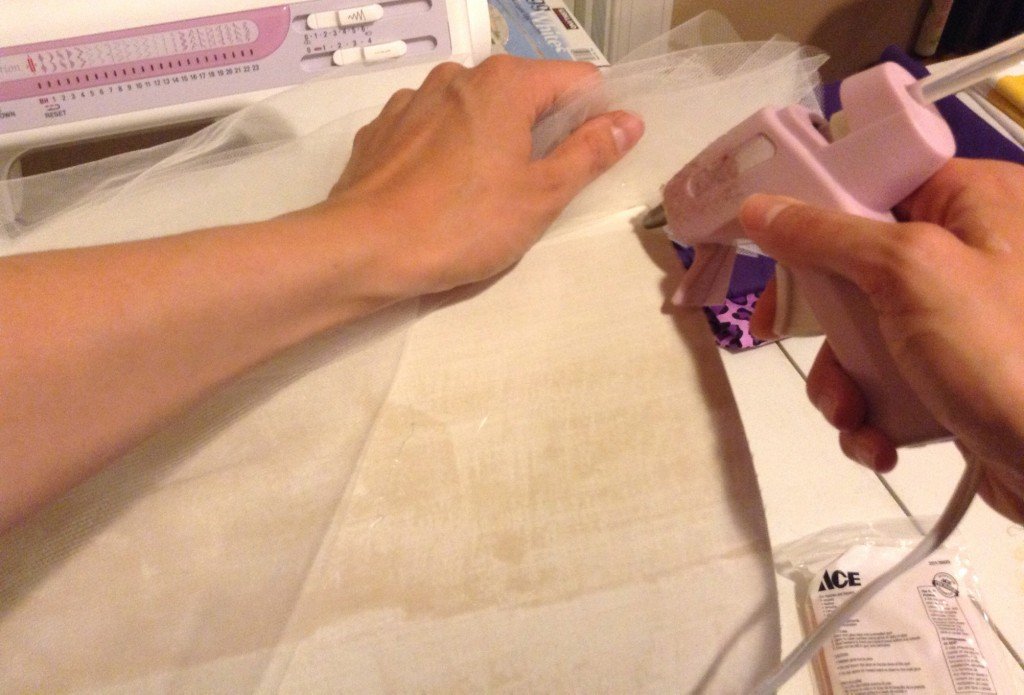
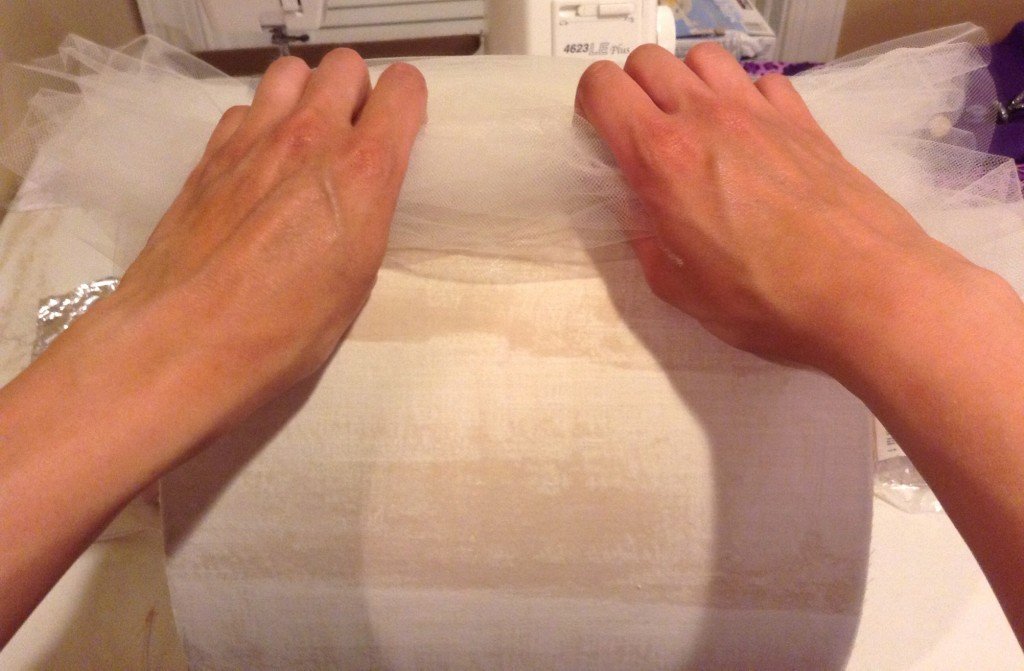
4) Put the lamp shade on a table and drape the tulle over your shoulder. Put two tiny beads of hot glue on either side of the shade and press your tulle down on each side, try to keep the tulle excess even on both sides.

5) Continue to do this, bunching up small sections as you go all the way around the lamp shade

Ruffle
To create the ruffle effect on the top and the bottom, you’ll be using the roll of tulle and the largest straight stitch (also called a baste stitch) on your sewing machine
6) Leaving the tulle on the roll, start stitching stitch down the center. Continue for about 3 or 4 yards (you don’t have to be precise, just be sure to do this part in sections).

7) Cut the tulle off when you finish a section.
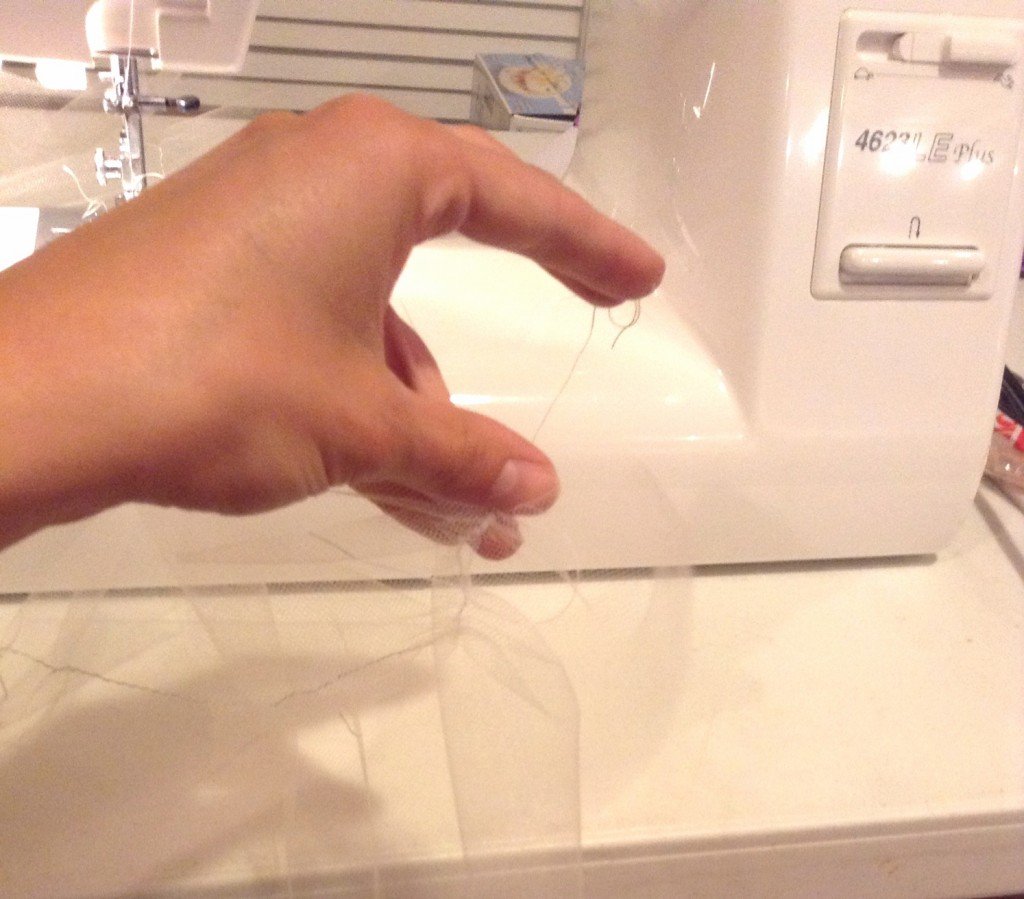
8)Grab the bobbin string (attached to the tulle) and pull, this will gather the tulle into a ruffle. Even out the bunches in each section.

Attach the Ruffle
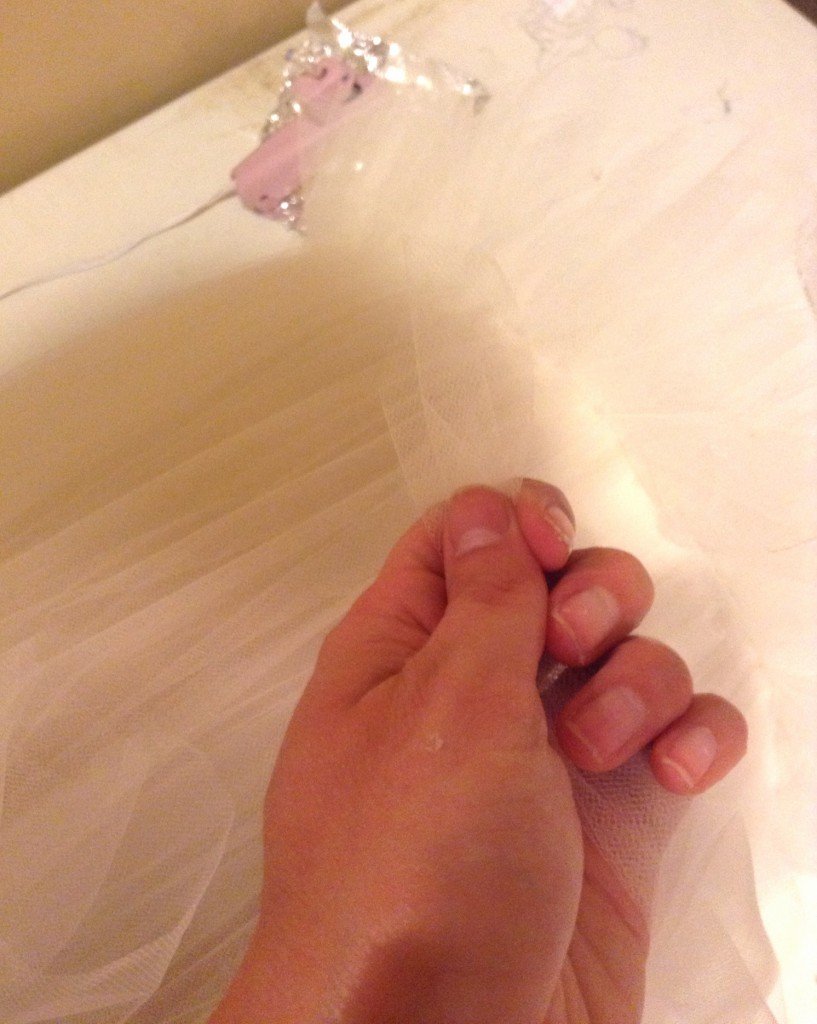
9) Fold the ruffle in half along the baste stitch.
10) Put small dots of glue on the very egde of the lamp shade, under the excess tulle that you already glued on.
11) Press the ruffle on at the baste stitch, pressing toward the outside of the shade. Continue until you do this all the way around the bottom and top of the shade.

Details!
12) Add any embellishments or details that you like! I twisted what was left on my tulle roll and made a small border on the top. You could add trim or beads here instead, and there’s always room for one more ruffle…it’s totally up to you!

Enjoy your sweet, fluffy little lampshade. It’s great for any space that needs a little softening up!


Enjoy reading this post? To make sure you don’t miss a thing, follow me on Pinterest, Facebook, and Instagram and sign up for an email subscription to my blog.
Note: I am not certain about the fire-safety rating of this project. Please use low wattage bulbs and don’t leave the lamp on unattended.

