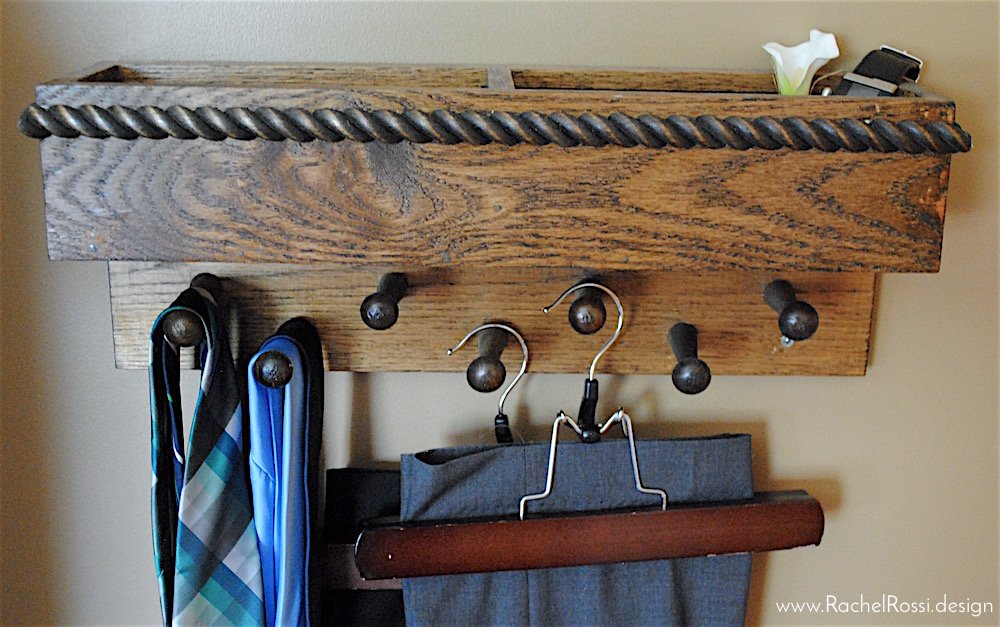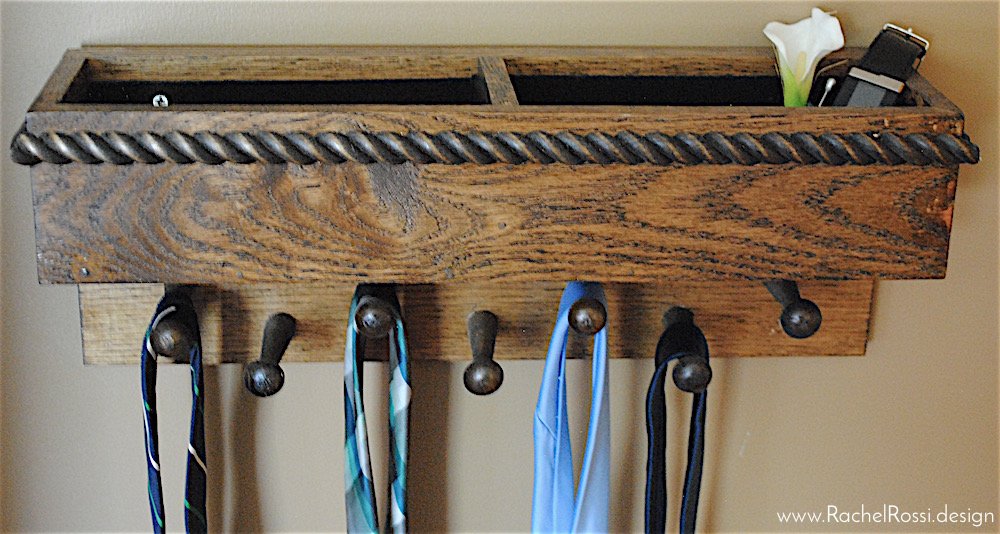
Father’s Day is almost here! Regardless of what you make or get for this Father’s Day, make sure to thank your dad. I’ve often noticed that Mother’s Day honors our mothers, and they deserve it. But often, Father’s Day is a call for dads to do, be, and get better. But I say, every other day of the year, our parents (mothers and fathers) strive to be the best they can be. Let’s take this Father’s Day to honor our dads for being the irreplaceable man in our lives. For every sacrifice he’s made, for every night shift, overtime, and sleepless night spent awake for my sake. To have a father is one of the best things in life—make sure that he knows that.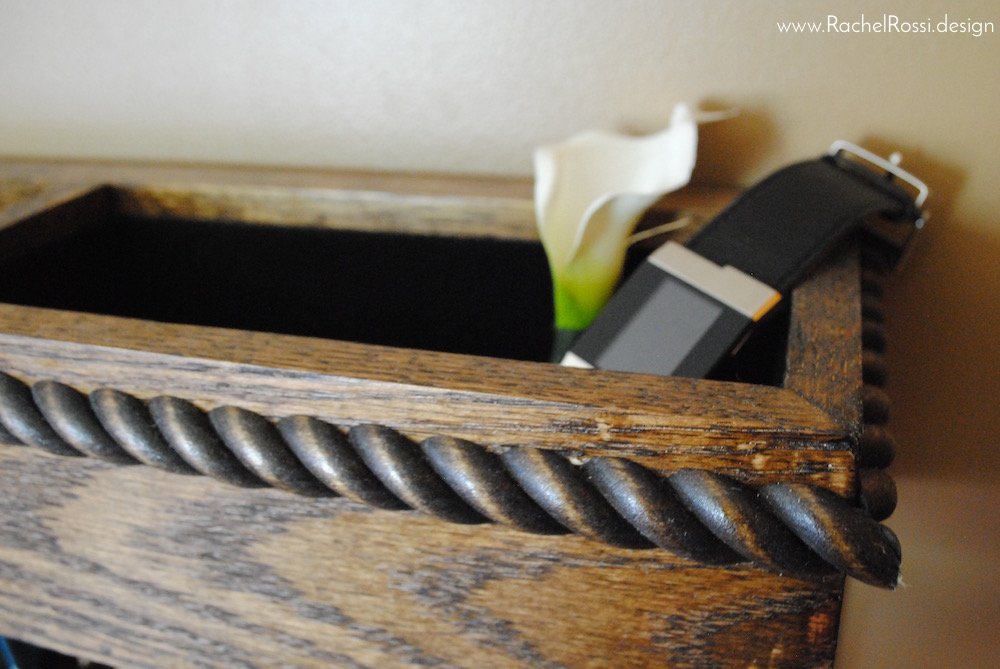
So, what are you going to do for the special man, dad, husband, son in your life this year? Today, I’m going to show you how to think outside of the box, and rather than getting him a tie, make him something to hold all of those ties! I’m certainly no woodworker, but after making this for my husband, I’m wondering if I want to be! So, without further ado, your tutorial:
What You’ll Need
- Wood Glue
- Small Penny Nails
- Wood Stain
- Chip Brush
- Chop Saw
- Sand Paper
- Wood Clamps
- Wood Putty
- Nail Driver
- Electric Drill and Bits
- 1 piece of 7-1/4″ W x 1/2″ T wood. This can be found in the lumber section at Lowe’s with smaller cuts of lumber
- 3 pieces of 3-1/2″ W x 1/2″ T wood
- 30″ of trim
- 7 Pegs
- 2 large pieces of sticky backed felt
Cutting
So, you’re ready to go!? Let’s start with the cutting! You’ll see a diagram below with additional written instructions beyond that:

Start by cutting your bottom board to size. You’ll need to cut 1 piece of 3-1/2″ x 1/2″ wood down to 17″ L x 3-1/2″ W. Double check your measurements after cutting to ensure that everything will line up correctly! Make sure that all corners are square and all edges are straight. Set aside.
The next step is optional. If you would like to include a divider in your box portion, cut out a piece measuring 3-1/2″ x 3-1/2″ from the same material as the bottom.
Now, you’ll be cutting the back. This piece will hold the box and the pegs. Cut down your 7-1/4″ W x 1/2″ T piece to measure 7-1/4″ W x 18″ L. Set aside.
Next, we’ll cut one piece for the front. Start by setting your chop saw to a 45 degree angle. Place your board on the saw so that it’s standing up on its side. Cut one short edge to get the correct 45 degree angle. Measure 17″ from short angle end to short angle end. Re-adjust your saw and make a cut where you marked the measurement. Make sure to double check all of your measurements before making your cuts! From long angle to long angle, it should match the length of the back piece. The short angle side should match the bottom piece. Set aside.
Next we will cut out the sides. Cut one end at a 90 degree angle, so that it’s nice and straight. Next, set your saw to a 45 degree angle and cut out a piece that measures 3-1/2″ from flat end to short angle. Repeat for a second side and set aside.
Add the Pegs
Now we get to the exciting (and infuriating) part! Start by finding a clear, flat surface. Lay your bottom board on the surface and grab all your side pieces. Do a dry run and make sure that all corners line up nicely. Don’t forget—if your corners are just a hair off, we are going to sand later! Re-cut if you need to get a nice crisp corner.
Set the sides aside for now.
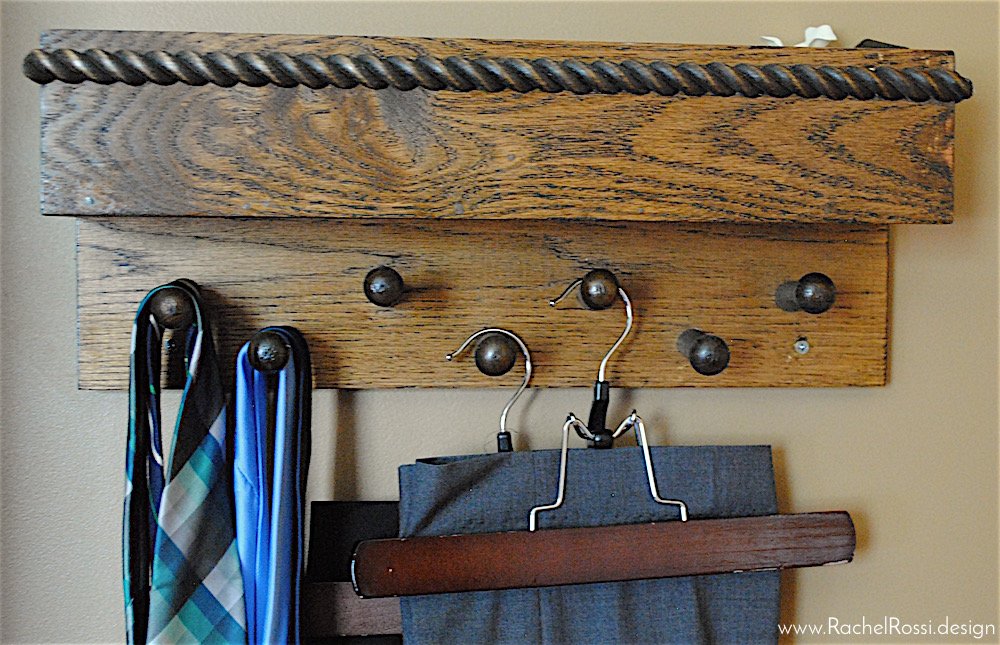
Take the back piece and measure in 9″. Mark. Measure in 6-3/4″ from each side and mark. Measure in 4-1/2″ from each side and mark. Finally, measure in 2-1/4″ from each side and mark. These are where your pegs will go. Drill a hole about 1/4″ through each mark and sand around the edges if needed. Dry fit a peg into each hole and remove until later.
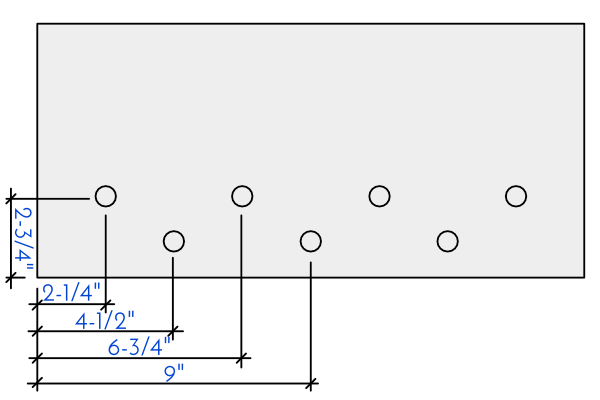
Putting the Box Together
On a flat surface, dab a small amount of wood glue on one long side of the bottom board. Place the front piece into place, making sure that the short angles match with the length of the bottom. Use wood clamps to secure. Pre-drill and place 3–4 small finishing nails through the front into the bottom piece. Finish driving them in with a nail driver. These will be filled in later and you won’t see them.

Now it’s time to add the short side pieces to the box! Start by dabbing on a little bit of glue to the short sides of the bottom board and on the angled portions of the long sides. Wiggle one short side into place. Clamp, pre-drill and place 2 nails through the side and into the bottom board and 2 nails through the sides and into the front/back pieces. Make sure to keep nails straight and DO NOT go through the sides! Drive the remainder of the nail in entirely.

Let dry.
Next, you’ll attach the front box and back. Place the flat part on the sides of the box against the back piece of wood. Make sure that top edges are flush. Dab glue onto the raw edges of the box and clamp into place. Pre-drill and drive finishing nails through the back and into the box on sides and bottom for a secure fit.

Dab a small amount of glue on 3 sides of your divider. Measure to center, and place inside of the box.
Place your clamps on the front/back and sides of the box and let dry.
Details!
After your box has thoroughly dried, it’s time to sand, fill those holes and add trim/molding! Start by filling the small holes from the nails with wood putty. If there are any small gaps, fill them with wood putty as well. Let dry.
Next, it’s time to sand everything down! The insides will be covered with felt, so I wouldn’t worry about sanding down more than an inch on the inside. Make sure to sand all sides and bottom thoroughly so that it stains evenly.
Now it’s time for molding! I would suggest measuring and cutting, rather than using my measurements…just in case ours came out a little differently.

In the same way that you cut your front piece, cut one end of the molding to a 45 degree angle on its side. I used a miter box for this and sawed by hand, but it’s up to you what you cut with! Measure your box from corner to corner and mark that measurement on your molding (from shortest angle end to shortest angle end). Re-adjust your saw to the opposite 45 degree angle and cut. Make sure that the measurement lines up nicely on your box.
Repeat 2 more times for a total of 3 trim pieces (1 for each side and the front). Dry fit the pieces to make sure that they fit together nicely.
Once again, using a small amount of wood glue, dab some glue onto the back of the molding and place onto the sides of the box. use wood clamps (gently!) to ensure that everything stays in place while it dries. Let dry thoroughly.
The Final Touches
Here comes my favorite part: staining!
Stain all sides, top and bottom of the box. Don’t bother staining too far down on the inside, since that will be covered. Stain until you get the desired color and then seal with a poly. Stain and seal each peg separately.
Once the seal has thoroughly dried, dab a small amount of wood glue inside of each hole created for the pegs. Place the pegs in, clamp if desired and let dry.

Next is the final finishing touch! It’s time to cut out your felt insides! Again, I suggest measuring your box, just in case ours came out slightly different. As shown below, cut out a rectangle with one side that is equal to the box width + side height + side height. The other direction should equal the box length + front height + back height. Cut a square out of each corner that’s sides are equal to the height of the box sides. If you used a divider, you’ll need two small rectangles like this.
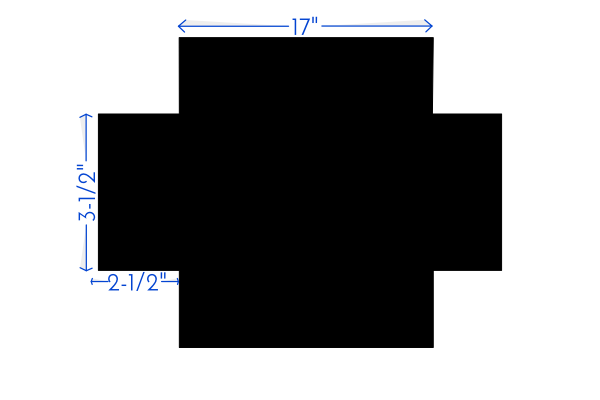
Carefully peel off the adhesive backing and place onto the bottom first. I like to score around the bottom, peel and leave all flaps with the backing…this stuff is VERY sticky and I wanted to avoid peeling and replacing a million times. Once the bottom is pressed down and no bubbles are present, peel off one side at a time and rub down the sides. Repeat on the other side of the divider.
You are welcome to choose how you’d like to hang this. I would suggest adding 2 picture frame hangers to the back of the piece and hanging that way. If you want something more sturdy, pre-drill through the back piece at a steep angle, mark the screw position on the wall and use wall anchors. That is how I hung mine and it’s not going anywhere! My hubby even hangs pants and shirts on it.
You’re Finished!
You’ve done it! Your labor of love has come to fruition! You must show off your handiwork in the comments below! Make sure to write a special note to your dad that explains what this contraption is!
