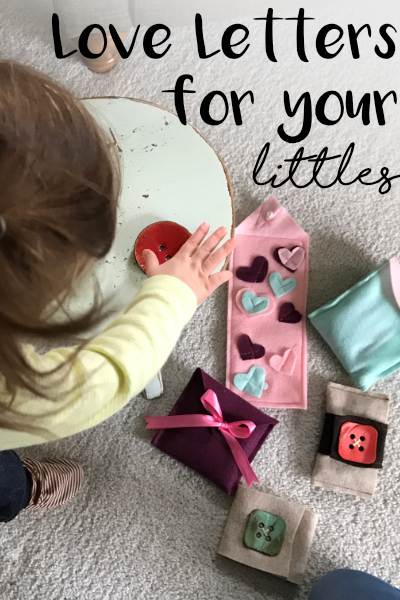
Although my little love bug won’t understand the notion of a valentine from her mama, I still want to do something special for her this year! I’ve created a sweet little toy that she can enjoy for many stages: For now, I’m sure the giant buttons hidden inside will probably be the big hit. Later, as she learns how to put buttons through holes, zip and unzip, it’ll be a great skill-builder. And much later, when she’s sending imaginary letters to her pen pal, I’ll be so glad I took an hour or so to create this special gift for her. What will you come up with?
Note: This post may contain affiliate links. That means, should you choose to click on and purchase through any of the images or links in this post that I will receive a small commission. This is how I’m able to keep giving you great tutorials, like this one, free of charge every week! Thanks for your support!

What You’ll Need
You can really get creative with this felt project! I dug through my notions to see what I had lying around and found it very inspiring. My girl LOVES buttons, so I did pick up a few larger, baby-safe sizes, but other than that, this project was FREE!
- 4—5 pieces of felt (9″ x 12″ sheets work nicely)
- 4 Large Buttons
- Scraps of fabric and ribbons
- 1 zipper
- Mini Metal Mailbox
The Crowd Pleaser | The Button Wallet

Like I said, I think this toy will age with my daughter, and I knew that she would make a B-line for those buttons! She’s already spent a good hour taking these buttons in and out of the tiny metal mailbox I found!

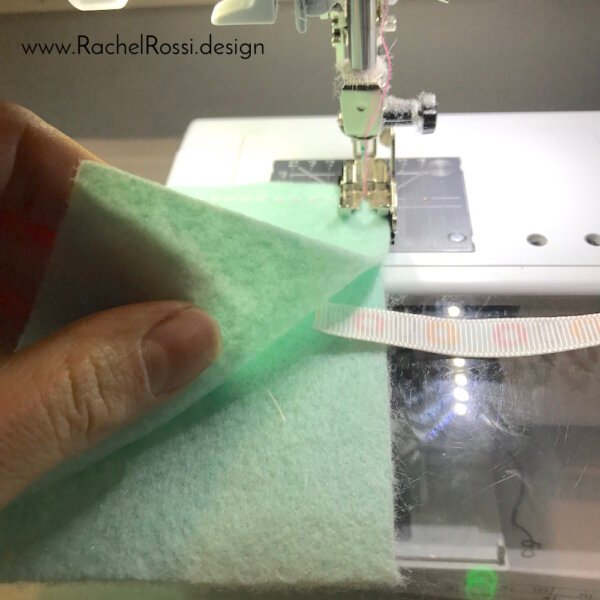
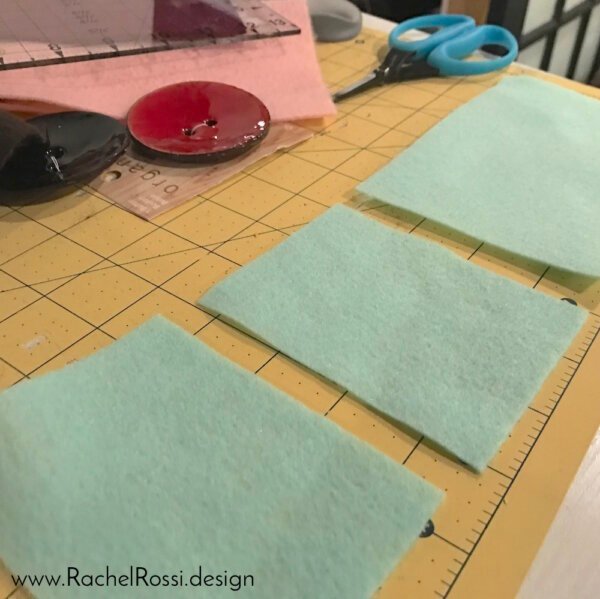
This little wallet was super simple to make! I cut 1 strip from my felt sheet that was 3.5″ x 12.” Then I cut two pieces off to be 2.75″ long and one piece to be 6″ long. I sewed around all the edges, tucking in a ribbon as I went and here it is!
The Cash Wallet
Alright, so maybe I won’t be giving her cash quite yet, but this little mini wallet is sure to become her play wallet in no time!
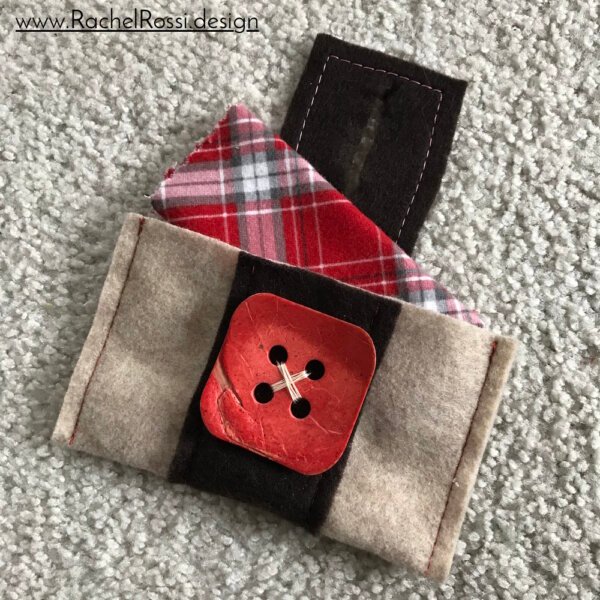
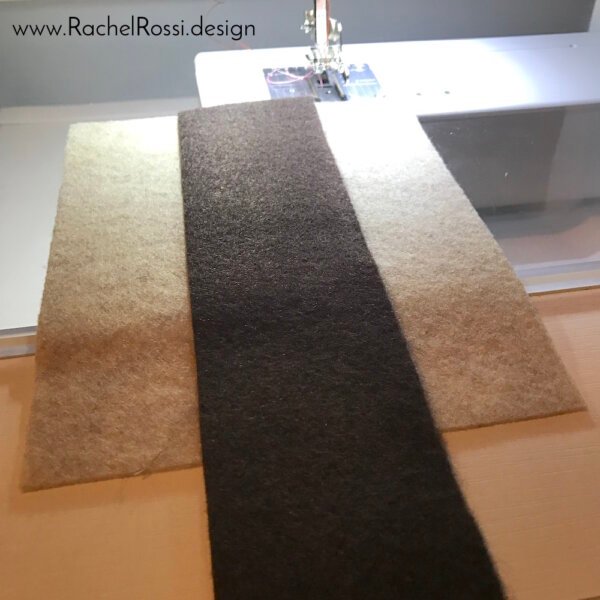
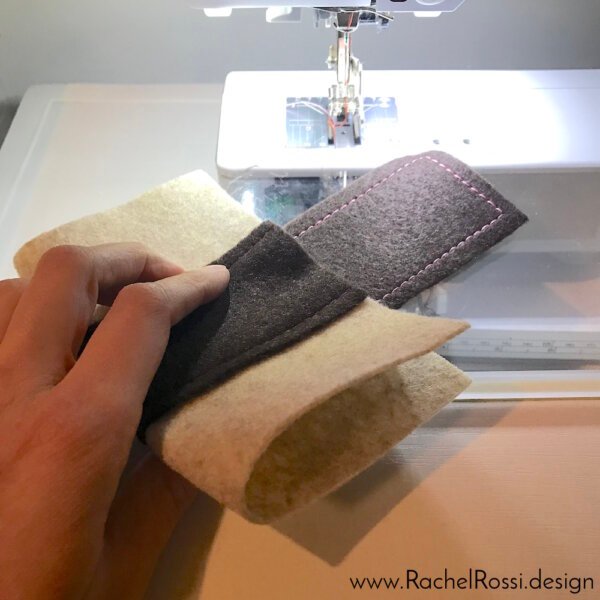
For this felt wallet, I simply cut out a 6.5 x 5.5″ rectangle (tan) and a 2″ x 10″ rectangle (brown). I placed them one on top of the other (being sure to center it) and sewed along the edges. Then I folded it in half and sewed down the two short edges to form the wallet. Hand sew on a giant button and make a slit, and you’ve got #2 done already!
With A Bow On Top
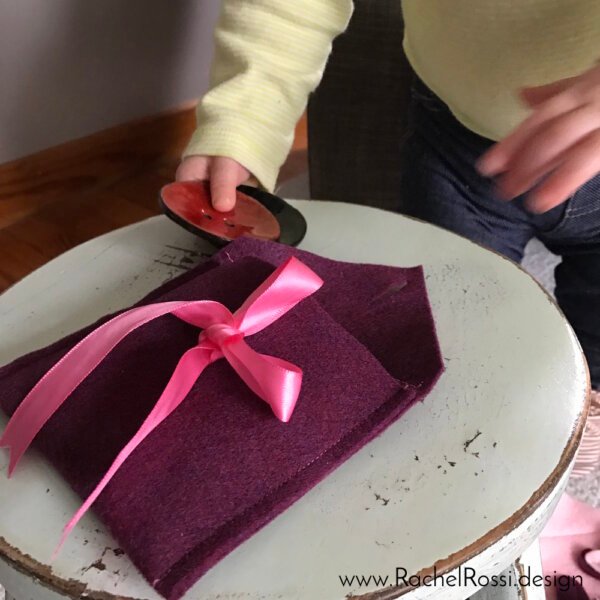
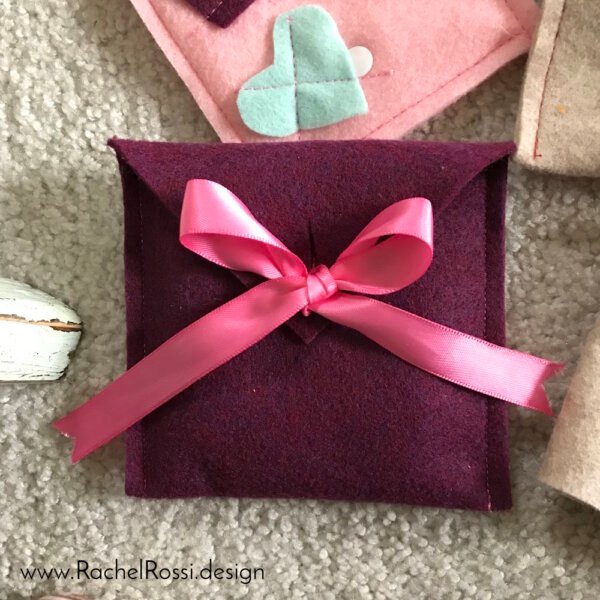
This is one of my favorite envelopes because it’s so pretty! It’s also great because when Lady A gets older and wants to learn how to tie a bow, this will be an easy practice for her! But for now, she can still open and close the envelope without needing a bow.
All you need to do is cut a 5″ x 12″ strip, cut the top at a 45 degree angle, and then fold into thirds. Place your ribbon in the center and stitch to keep it in place. Sew up the edges to secure the envelope together. Then make a tiny slit in the top of the envelope for the ribbon to go through. Tie and add to the mailbox!


Fluttering hearts
I adore this next envelope! It’s just messy and fun and so so sweet!

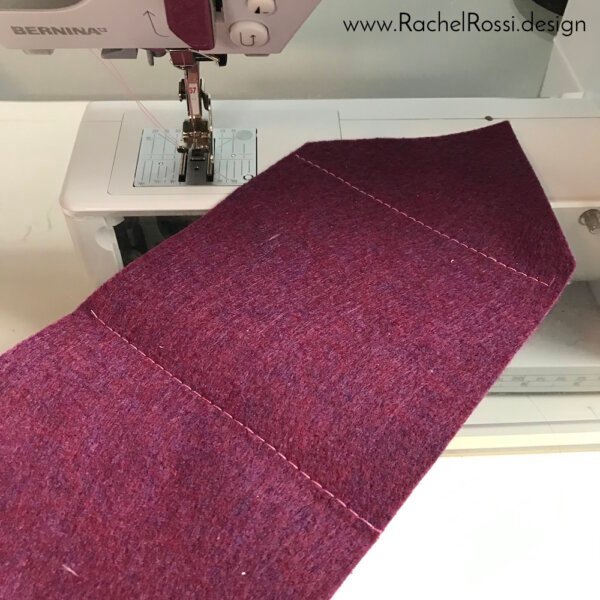
For this envelope you’ll need two strips: one that measure 4.25″ x 12″ and one that measures 4.25″ x 9.5.” Set the short one aside for now.
Cut the top of your long strip at a 45″ angle to create the envelope flap. Then, out of various colors and sizes, cut little hearts (just like you did in elementary school) by folding the felt in half and cutting. Be fun with this and don’t worry about each heart being perfect!
Then, place your hearts on the long sheet how you’d like them. Stitch down with big, random stitches.
Then place your short strip on the back to cover your stitches. Sew along all edges to secure. Add a snap or button to close the envelope.

Zzzzzip!
OK- this is a pretty fun one! I got giddy when I dug this adorable lacey little zipper out of my sewing room closet (and yes, you can get these gems on Amazon!). Just think of all the treasures she can hide (or find) in there!
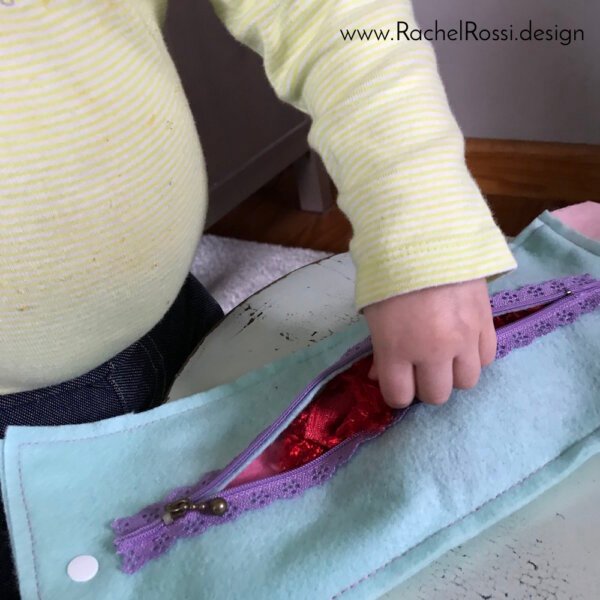
To make this envelope you’ll need two 5″ strips. Set one aside.
Place your zipper in the center of one strip. Stitch as close as you can with a zipper foot to the zipper to secure it. Then, open the zipper and cut down the center of the felt. Trim if you need to, to keep the felt from getting caught in the zipper.
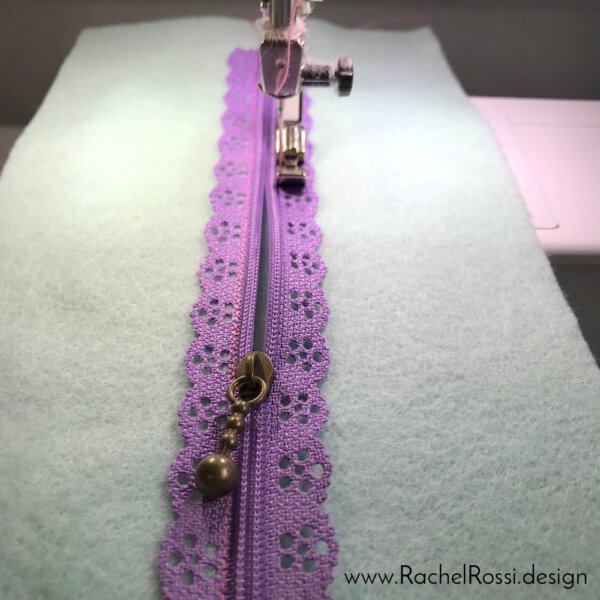

Layer a flap and your second layer of felt onto the back of your zipper pocket. Sew around all edges to secure.
For the envelope flap on this one, I cut a half-circle out of a different color using my QRC Mini Ruler!
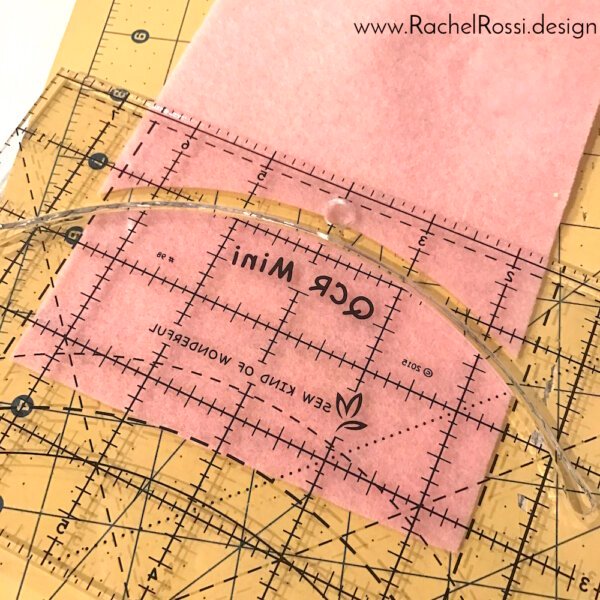
Then I sandwiched it in the top when I sewed the back onto the front. Layer all pieces and stitch around the edges to join. Add a snap or velcro to secure and put a fun surprise inside!
Make it Personal
Like I said, buttons were the home run for me. But the zipper also got a good belly laugh once she figured it out! You know your kiddo best, so let this inspire you to think of something that they would love.
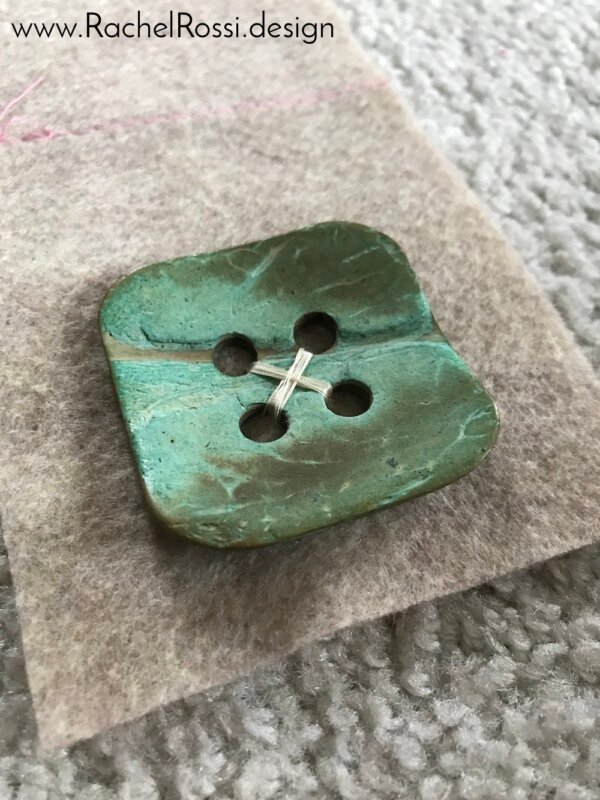
Other ideas might include something with clothespins, magnets, or trim. Just make sure that all pieces are secured tightly to the felt and can’t be accidentally eaten. All buttons used in this project were at least 2.”
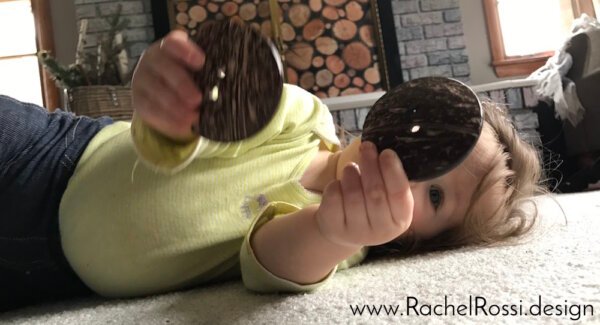
And at the end of the day, it’s all fun! I’m sure this little toy will be a blast for many years to come! I can’t wait to tuck little surprises in there for her from time to time. Delighting my girl never grows old!
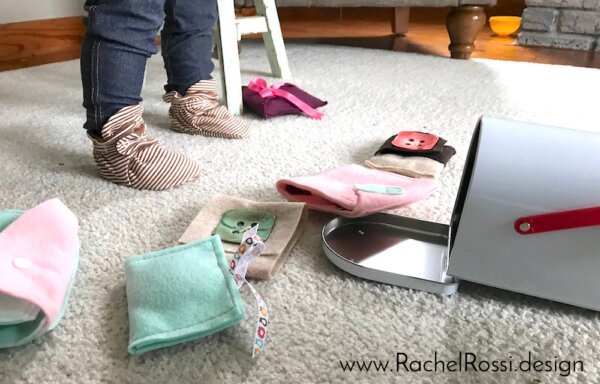
What ideas are coming to mind for your littlest valentine? I’d love to hear about it in the comments below!


OMG!! This is absolutely Adorbs!! I love those little hands!! This would also be very cute w/ some nuts/bolts, thing of this nature for boys!!
Yes! Some big wood shapes, or large washers and bolts would be so fun! And yes—those little hands get me every time! 🙂
How old is your daughter? I have a granddaughter who’s just 9 months and is inthralled by the buttons on my sweater, but a little to young yet for any activity like this, but it’s certainly in her future.
She turned one in December! She’s not quite ready for this toy yet, but I was! 😉 For now she’s having a blast with the buttons and she’ll grow into the rest!
This is adorable! I love it!!!
Thanks so much Lindsay!