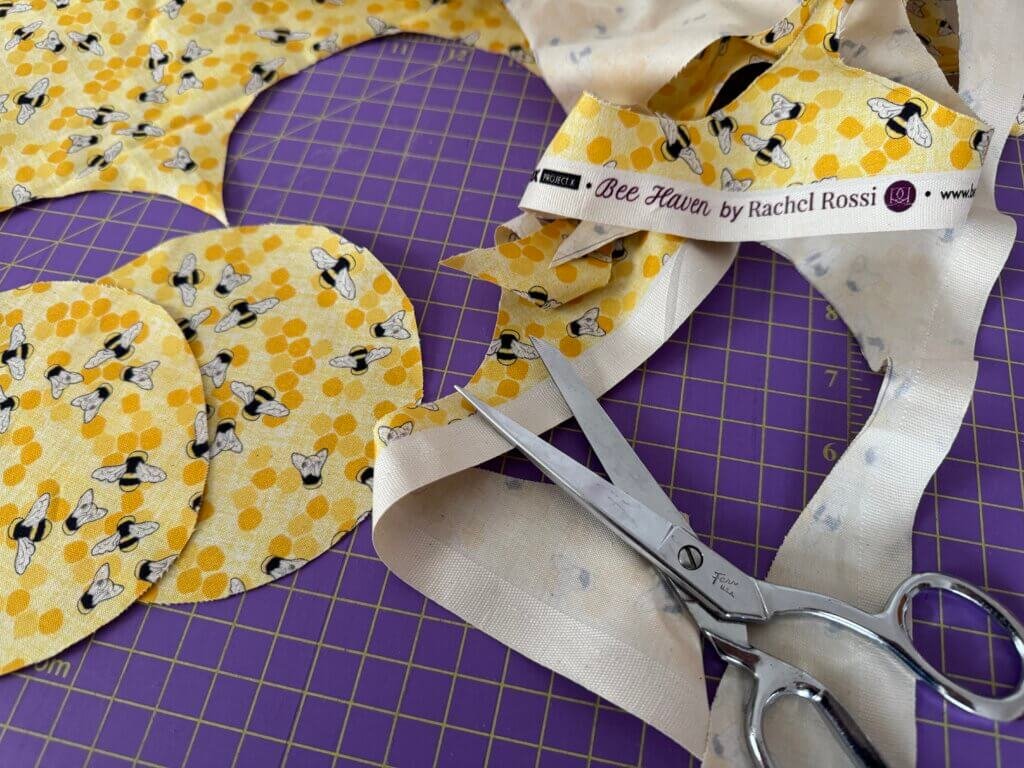
Turned appliqué tends to turn some away (and draw others in!), but what if I told you that I had a trick up my sleeve? Take a look at how I quickly (and painlessly) create these appliqué circles that only *look* hand-turned.
Supplies
First, you’ll need a few supplies along with your sewing machine:
How to *Easily* Turn Appliqué Circles

Our first task is to cut out our fabric circles. Follow your pattern template to get the correct size.

Next, you’ll cut a bunch of squares from your Wash-n-Gone Stabilizer that are slightly larger than the circle.
No need to be precise, these will get cut down later!

Next, we’ll layer our Stabilizer and fabric right sides together. (Don’t freak out, there’s not really a right or wrong side to the stabilizer!)
Then, we will use a 1/4″ foot on our sewing machine and stitch all the way around our circle.

Next, trim down the stabilizer to match the raw edge of the fabric. While we are here, let’s clip the curves for a really smooth edge once this is turned!

Now I bet you’re wondering how we turn this right-side-out since we stitched ourselves in…
Carefully make a small cut in the stabilizer and trim away the center. This doesn’t need to look pretty because it will wash away on your quilt’s first trip through the washer!

Now we can turn our circle right side out and press!
It really is that easy!
Need a Quilt to Practice on?

This fun appliqué quilt will have you hooked on Dresden Plates in no time!

Hypersonic uses this same technique to achieve those teeny tiny curves – it’s a blast!
Comments are closed.


