Even in my 20’s, I still get nightmares…often. One night, my husband wondered if doing something like embroidery or reading before bed might help. After a few nights of passing out less than one paragraph into Jobs, I decided to give embroidery a try. Let me tell you: I haven’t had a nightmare since! It’s fantastic!
Once I’m all tucked in and ready to sleep, I’ve been embroidering for about 15 minutes to a half hour each night. Doing something without screens before bed is a great practice in general but embroidery seems to do a great job at giving me room to think, keeping my mind busy, and a chance to exhale. Once I thought about this becoming an ongoing practice, I realized that I’m going to need a steady stream of projects that are quick and simple! These would have to be simple, small embroidery projects that are easy to do before bed or on a car ride—nothing that’s going to take over my life!


Since I knew I’d be coming up with these projects anyway, I decided to share them with you! At the beginning of each month, I’ll share an embroidery design with you and include a project tutorial. You can put whatever spin you’d like on the design: maybe this month, rather than a pillow, you’d like to embroider the design onto a greeting card—whatever you come up with is great! As you finish your project, share it with me in the comments below or via social media! Each month, I’ll choose my favorite from those who shared and you’ll have bragging rights in the next month’s edition of the Evening Exhale!
Winter Pinecones
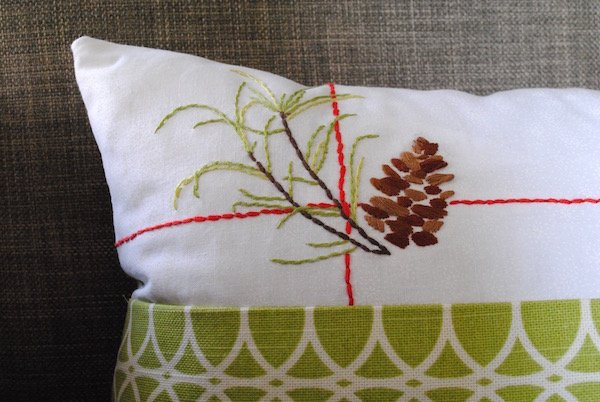
Let’s get started with December’s Evening Exhale! This embroidery project is perfect for Christmas, winter birthdays, and winter décor. This sweet gathering of greens and pine cones wraps up into a beautiful little accent pillow, but it would also be darling on a greeting card, gift tag, pillowcase, or tea towel! Don’t just stick to what I say, try it out on whatever you think it would look best on. I can’t wait to see what you come up with!
Click to download the embroidery design for free. Use your printer’s scale settings to make it larger or smaller. The design is currently set to fit a 10″ x 18″ pillow.
Show me how you applied this design to your own projects in the comments below, or keep reading for the embroidered pillow tutorial!

Winter Pinecones Embroidered Pillow Tutorial
Supplies
- 20″ x 6″ rectangle of fabric for embroidered front (White).
- 20″ x 20″ square of fabric for bottom and back (Green).
- Poly-Fil
- Matching Thread
- Embroidery Floss
:
- 2 Shades of Green
- 4 Shades of Brown (3 different shades in pinecone and one for stems)
- Red
- Embroidery Needle
- Sewing Scissors
- Embroidery Stabilizer
- Embroidery Hoop
- Erasable Fabric Pens
Embroidery
Click to download the design for print (or click the image below). Use your printer’s scale settings to make it larger or smaller. The design is currently set at the size I used to make this pillow.
Once the design is printed, place your 20″ x 6″ rectangle on top of the printed design. Tape the corners to the paper. Place on a light box or bright window and trace onto your fabric with an erasable fabric marker.
Place your fabric with stabilizer on the back into the embroidery hoop and get started!
If you need help with deciding what stitches to use or learning new stitches, I’d suggest picking up a copy of Doodle Stitching by Aimee Ray. Here’s my review of Doodle Stitching.
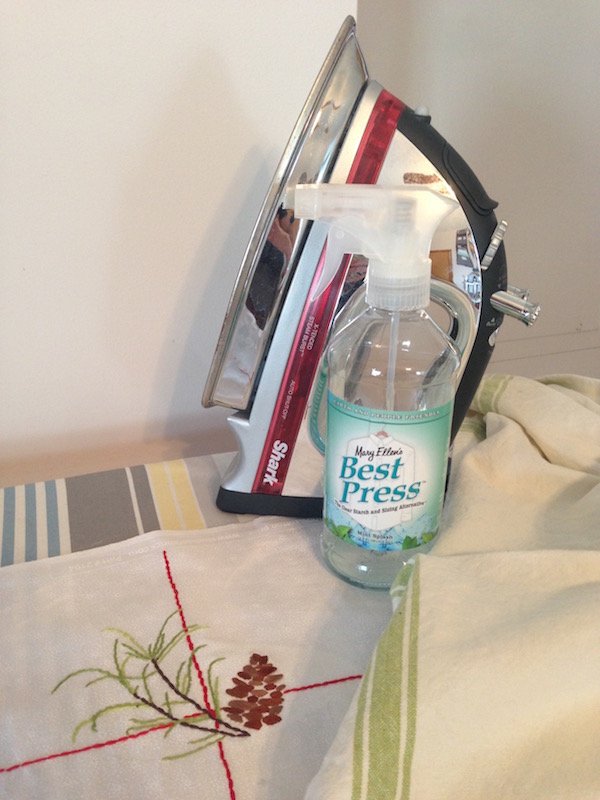
Once the design is finished, press with an iron very well (I love to starch my fabrics at this part of the project!)

Cutting
From the Green fabric, cut:
- 7″ x 18-1/2″ strip
- 11″ x 18-1/2″ strip
Trim your embroidered piece to be 5-1/2″ x 18-1/2″

Sewing
All seams are 1/2″ unless noted otherwise
Match the long side of the embroidered piece and your small green strip, right sides together. Sew along the bottom edge of the embroidered piece
Press the seam toward the green fabric.
Lay your back piece on a flat surface, right side up. Place the front on top, right side down. Pin.
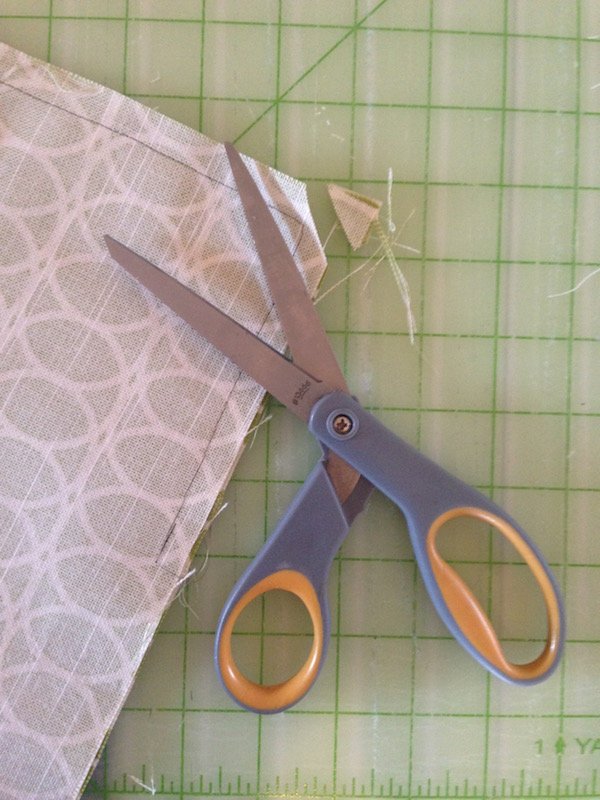
Sew around all edges of the pillow, making sure to leave about 5″ open for stuffing. Clip corners and turn right side out.


Stuff that pillow, hand sew the opening shut, take a picture, and show off your project below or on Facebook! I can’t wait to see how beautiful everyone’s projects are!


