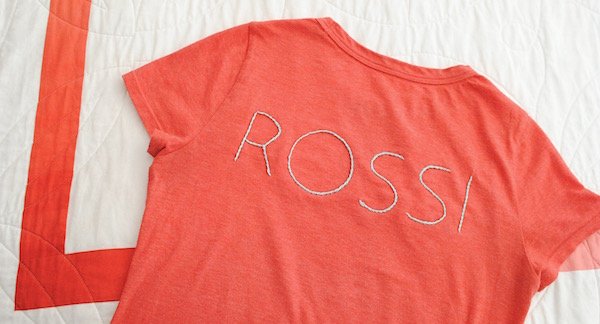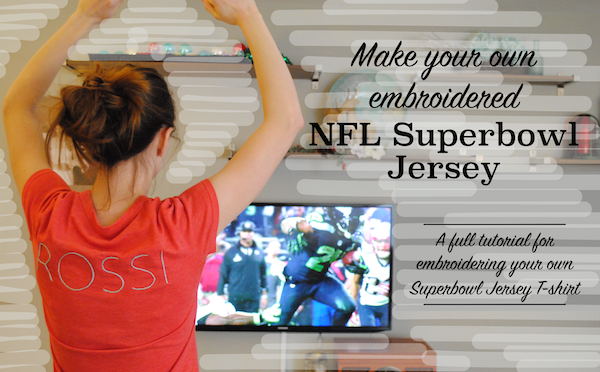
Confession: Once, when my husband and I were still dating, I thought to myself, Gosh I hope this works out—that’s a great last name! I love my last name! It probably has more to do with who gave me that last name than the sound of it (though it does have a nice ring to it!), but nevertheless, I love it and have been just waiting for an opportunity to get a jersey or t-shirt with my very own ROSSI printed across the back. Since sports is a word only used in regards to me as a joke (or insult), my opportunities for a jersey have been few and far between non-existent. Today, I’ve taken fate into my own hands and made my dream come true!
Note: Some of the links in the post are affiliate links, should you choose to purchase through these links, I will receive compensation. This allows me to create great content for you every week without charging for it! Thank you for your support!

That’s right,in preparation for Superbowl Sunday, I thought it would be fun to represent with my very own embroidered jersey! It’s a thousand times cuter than any jersey you could order from the team store and totally customizable because you’re the one creating it! This is a shockingly quick project and I’m so thrilled with the results, I might need to make one of these for every sport!

Since I don’t know who is going to be in the Super Bowl quite yet, I decided to put my logo on the front. Keep reading for details on where to find your team’s logo!
What You’ll Need:
- A Plain T-shirt
(I got mine from my favorite thrift store!)
- Embroidery Floss
- Stabilizer
(super important on stretchy t-shirt fabric)
- Embroidery Needle
- Embroidery Hoop
- Printer/paper
- Erasable Fabric Marker
Printing the Back of the Jersey
This part is so simple. To create an embroidery guide for the back of your jersey hop on the computer and open up whatever word processor you use, like Microsoft Word.

Once you’re in Microsoft Word (or Pages, or whatever word processor you use) change your page alignment to landscape, and type in your last name. Play around with the font until you find one that you love! I would suggest something with thin lines sot that it is easy to stitch over. Finally, change the font size until it takes up the the whole width of the paper. Print and transfer onto the back of your t-shirt.
If you’d like to add a number to the back as well, turn your page alignment to portrait, type in the number and change the font size until it takes up the whole paper. Print and use the outline to transfer onto your t-shirt.
Printing the Team Logo
I can’t predict who’s going to win the Super Bowl (if I could, I’d be a wealthy woman!) so I just used my logo. You can find your team logo on this online coloring book. It’s a perfect embroidery guide! All you’ve got to do is find your team and click print!

Because these are coloring book pages, you’ll need to play with the sizing by scaling them down in your print settings I would suggest somewhere around 20% for a small logo like mine. Once that’s printed at the size you like, go ahead and trace the design onto front of your shirt with your eraseable fabric marker.
Embroidering Your Team Jersey
Now for the fun part! Pick your team colors and start embroidering! I would absolutely suggest using stabilizer for this project. The fabric is so stretchy that it’s easy to distort the design, so make sure you use stabilizer this time! Once you’re done, trim around the edges or rip the interfacing along your stitches.

I used a stem stitch for my lettering and love how the O turned out!
That’s all there is to it! Now you can root for you team in your own special way! I would absolutely love to see your finished projects and team spirit in the comments below or tag me on Instagram, Facebook, or Twitter!
Enjoy reading this post? To make sure you don’t miss a thing, follow me on Pinterest, Facebook, and Instagram and sign up for an email subscription to my blog.
You can see this post on the following link parties:


Oh I just LOVE this! Love the embroidered look and I agree – Rossi is such a fun name! Thanks so much for linking up at The DIY Collective!
Of course! It’s such a fun way to do something a little different and personal!