Binding can make or break your quilt. You could have done it all right from start to finish: getting straight cuts, squaring up each block, snipping every thread, and pressing every seam perfectly. But your binding might make all that hard work go unnoticed! Nothing is worse than a wonky corner on your binding. So, let’s make sure that your quilt is as good as it can be: here is a full-picture tutorial on how to get the perfect binding corner on every quilt!
Before We Start: My Binding Method
The way I put binding on my quilts is nothing new or groundbreaking, but it’s still my favorite technique. For a full tutorial on how to bind a quilt, make sure to check out my post all about it!
How to Get Square Corners on Binding
Once you’ve started sewing along the edge of your quilt to secure the binding, you’re going to come to a corner—now what?! Here’s where the fun begins: sew until you’re about 1/4″ from the corner…

Now, put your needle down into the fabric 1/4″ from the edge, raise the presser foot, and turn so that the corner is at a 45 degree angle.
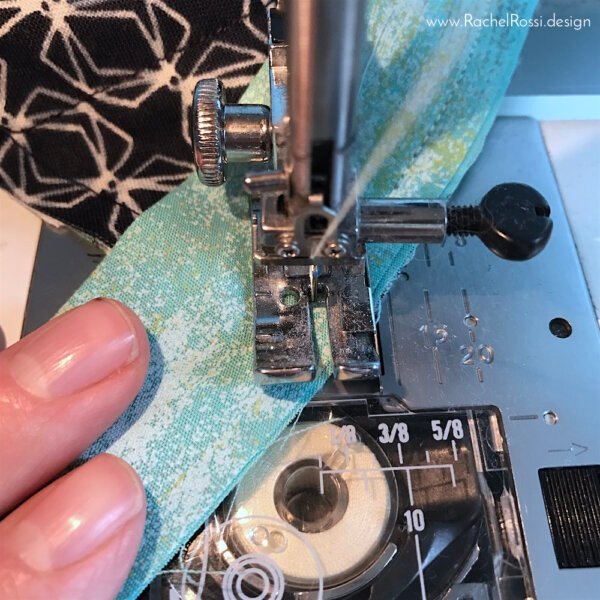
Sew straight to the corner. Backstitch.
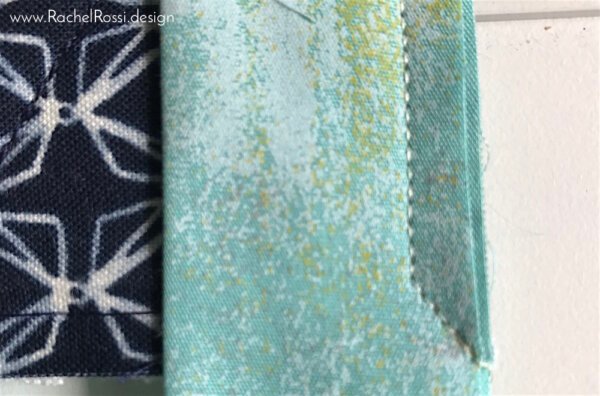
Remove quilt from under the presser foot and trim threads. Fold binding up, making a straight line with the quilt edge.

Holding the diagonal fold in place, fold the binding back down along the quilt edge. Make sure that your edges match and that your diagonal fold didn’t move at all. This might take a few tries.

Start sewing again at the corner, backstitch, and repeat these steps at each corner.
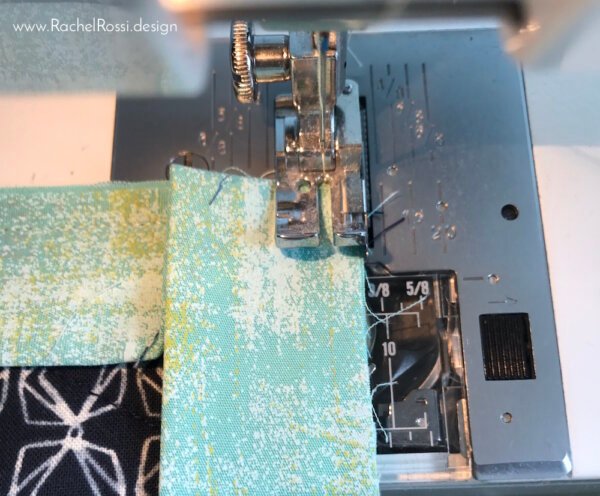
Take a look—your corner should look something like this:

Now it’s onto the rest of the sewing and then hand sewing the binding on…you’re almost there!

Don’t forget to leave plenty of space for joining your binding when you’re finished.
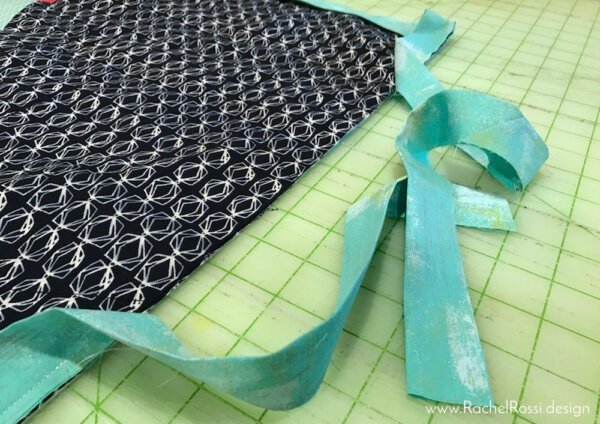

My favorite way to join binding edges is with the Fons & Porter Binding Tool (affiliate link). Make sure to check out my full tutorial on how to use the Fons & Porter Binding tool to join binding edges, and you’ll be amazed at how easy it can be!
Looking For A New Quilt To Bind?
Check out these fun quilt patterns!
Did you know that in addition to fantastic tutorials, I offer quilt and sewing patterns? Here’s a few of my favorites, but make sure to see them all in my shop:
Timber! is one of my most popular patterns—and who could blame that little bear cub?!
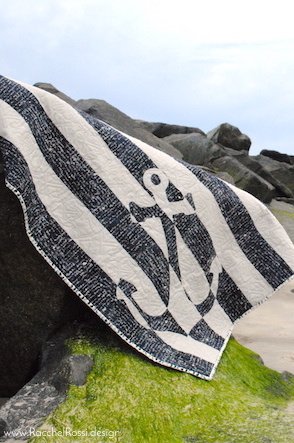
Shiplap is a modern twist on a favorite nautical image, and a quick quilt pattern to boot!
All quilt patterns are available in my shop, so order your copy today!
Looking for More Great Tutorials?
I’ve got lots of great tutorials and free patterns for you! Make sure to check them out:
Enjoy reading this post? To make sure you don’t miss a thing, follow me on Pinterest, Facebook, and Instagram and sign up for an email subscription to my blog.

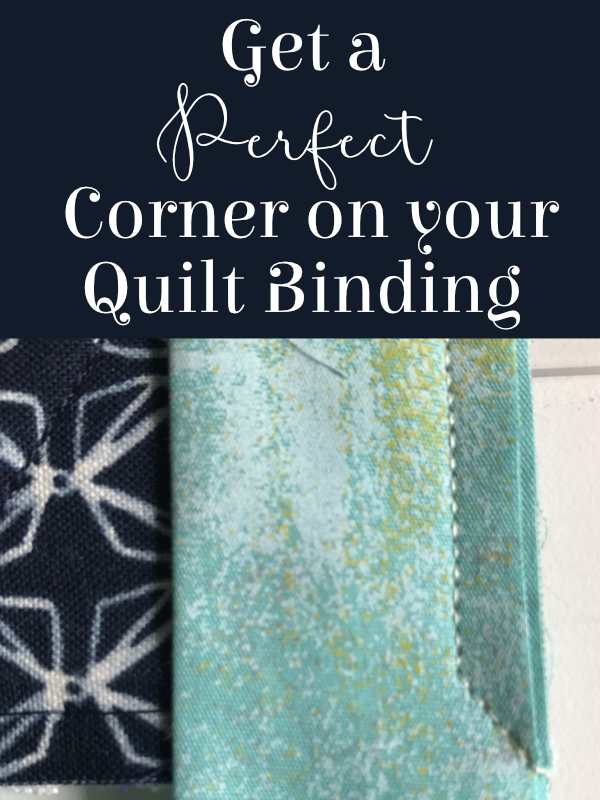


Why don’t you show the finished corner?
Oh my word, Dana—I didn’t realize that I never showed it! I just added it in for you. Thanks for the suggestion!
What machine hare you using. Beautiful straight stitch!!!
Hi Venora,
Thanks for your question. I use a really simple Janome 4623LE Plus. There’s no computer—it’s very very basic. I just got a Brother from my Mom though, which I’m excited to try out!
This is so very very helpful and simple and elegant. Thanks.
Thanks Sally! I’m glad you enjoyed it!
Thank you! It worked perfectly.
I’m so glad to hear it! Happy quilting 🙂
I would like to keep a copy of your Quilt Binding Blog on our Peace River Quilters Guild facebook group, but since you don’t have a .pdf with that information, I can’t post it. Now, I could copy the whole thing and put it on a word document and create a .pdf, but I feel as though I would be stealing your work. Can you create a .pdf so that we can post it on our Facebook Group? Please let me know – lots of people are asking for it. Many thanks, Pamela Hunt
Hi Pamela,
Thanks so much for your question! If you’d like to make a PDF, you’re welcome to! Alternatively, you can just copy the URL and post it in your group. It’ll give them a nice little preview and will take them straight to the blog post 🙂
Thanks so much for asking & happy sewing!
Thank you for this binding corners tutorial. I use it with each guilt I make. Makes such nice neat corners.
Thanks out was very helpful