Ever wonder how to get a perfectly matched back or border?! Today I’m going to show you with a quick and simple trick. This is a great tip for matching seams in blocks or even matching repeats on quilt backs and panels! No more waiting around for those serendipitous seams that we see all over Instagram!
Supply List
- Two seams that need matching
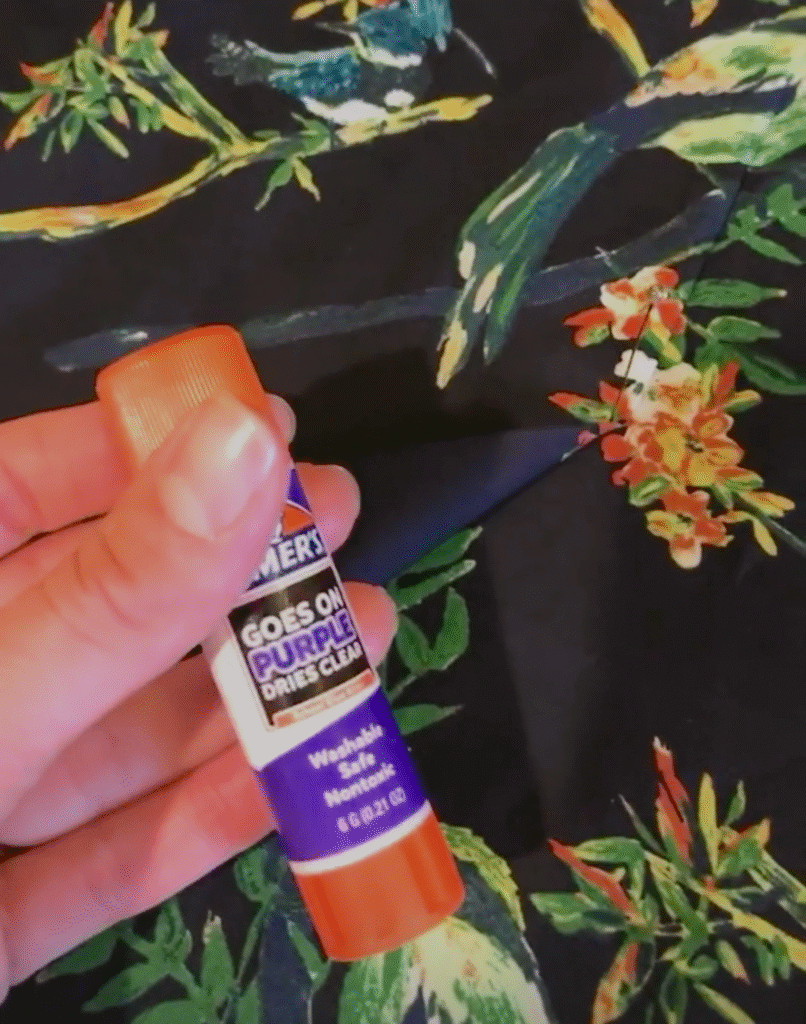
- Elmer’s Disappearing Purple Glue Stick
- Iron
- Sewing Machine
How to Perfectly Match a Seam
First, we need to lay out our two sides. In my case, I was trying to match a repeat on a quilt backing. This easily translates to borders as well! Be sure to give yourself some extra fabric to work with on the yardage. I suggest having at least 18″ extra because, as you work to get that pattern to line up, sometimes you’ll need to drop one side down further than the other.
How to Get Patterns to Line Up in a Seam
Lay the fabrics side by side and press the left side under (at least 1/2″ wide). This is where the two sides will join. Press to hold the fold in place.
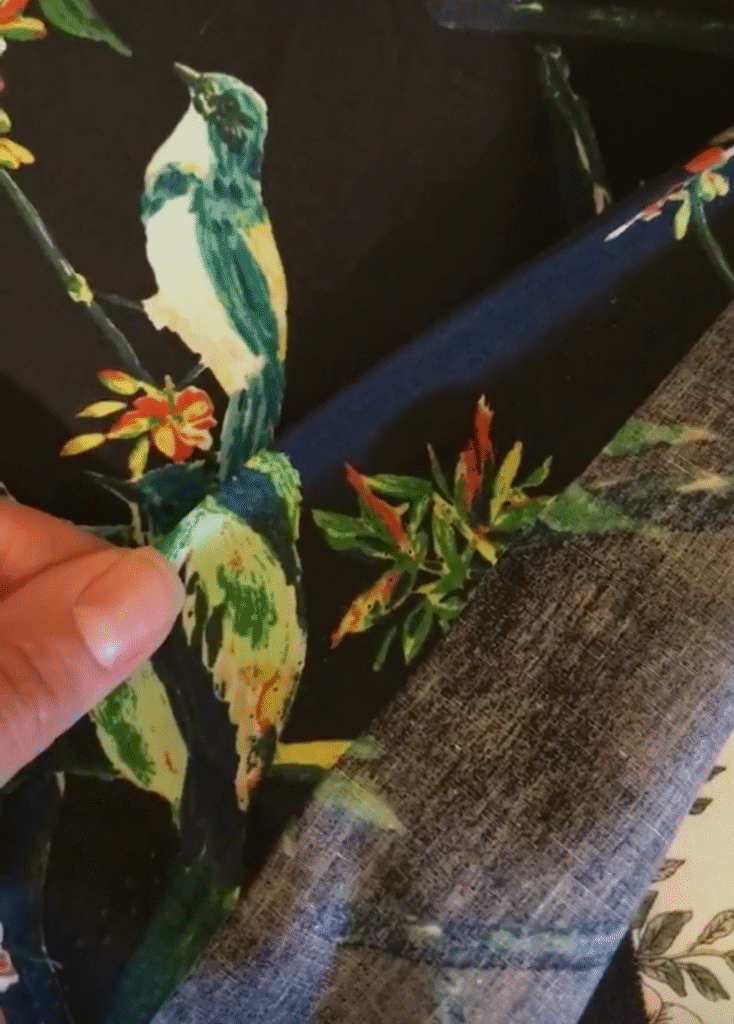
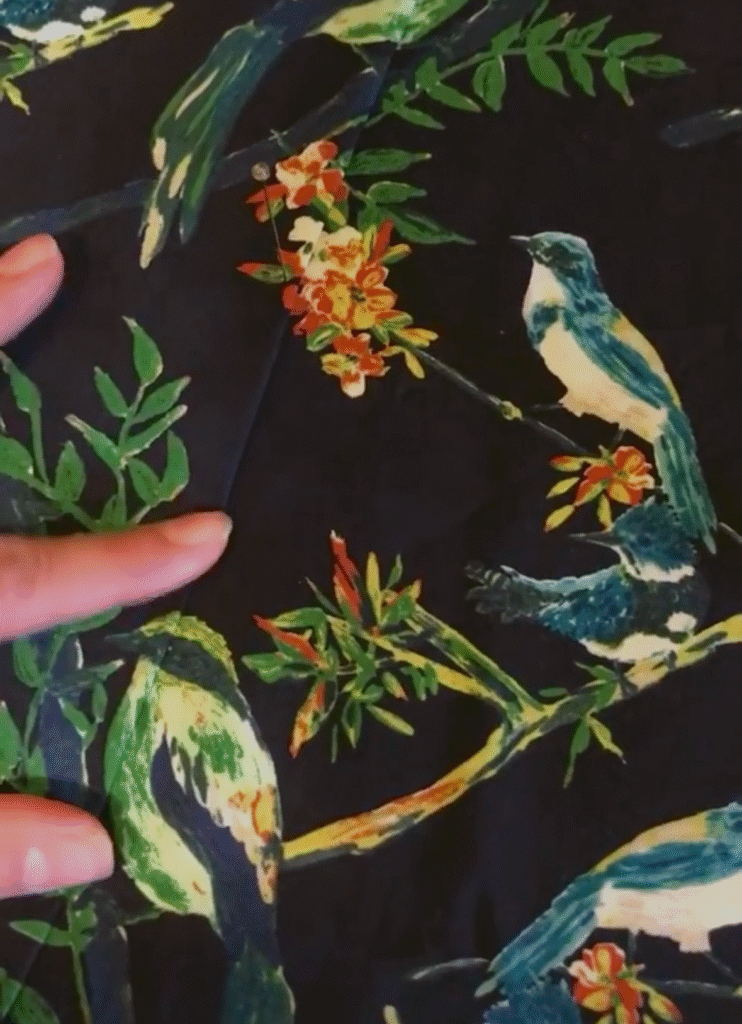
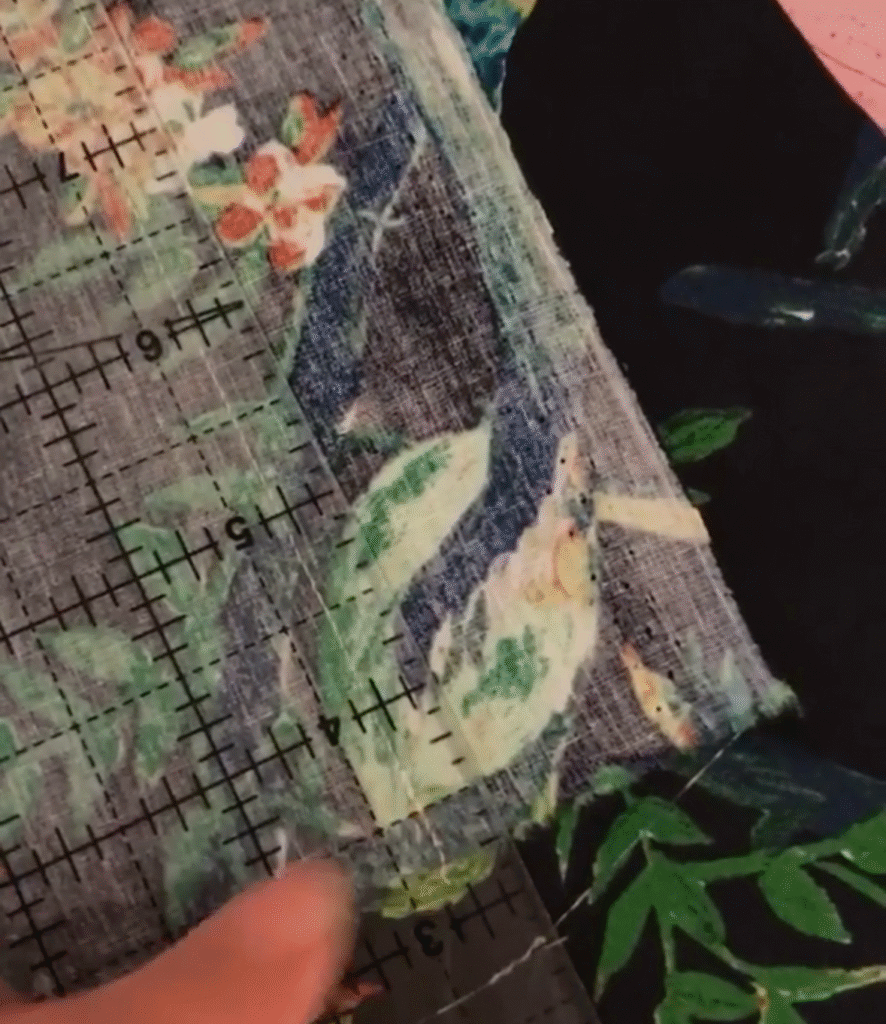
Now that you’ve pressed your seam, it’s time to find the repeat. Taking the folded edge, find the place in your fabric where the patterns line up with each other. This may be really close to the edge or further in than you expected!
Dab some glue along the underside of the folded edge. This will end up in your seam allowance.
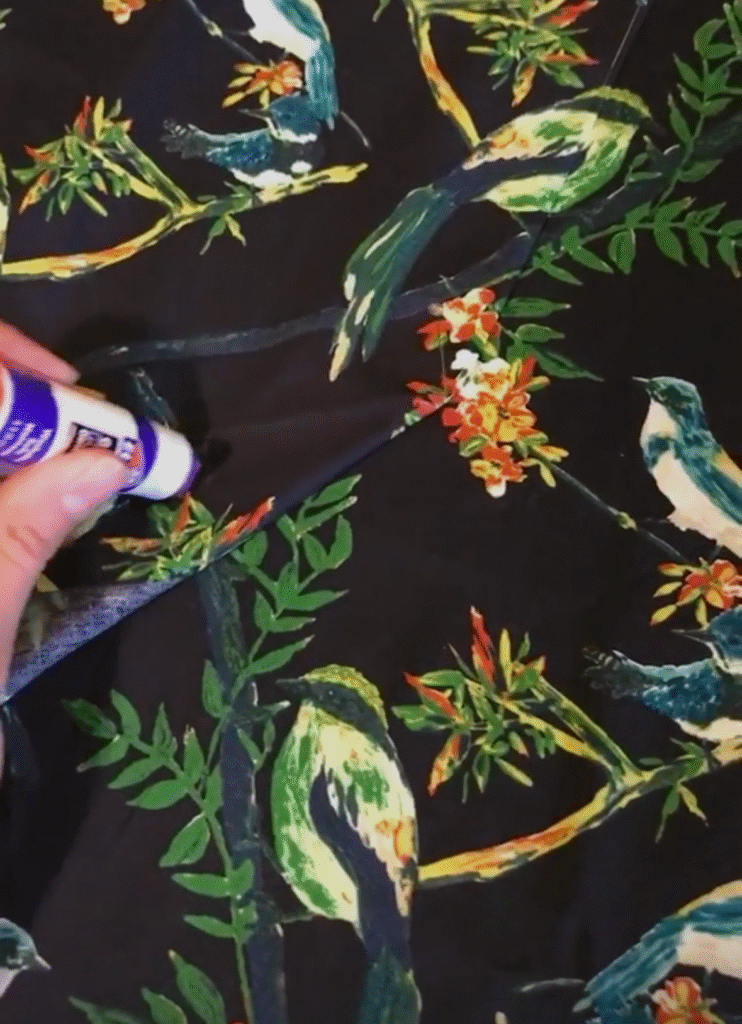
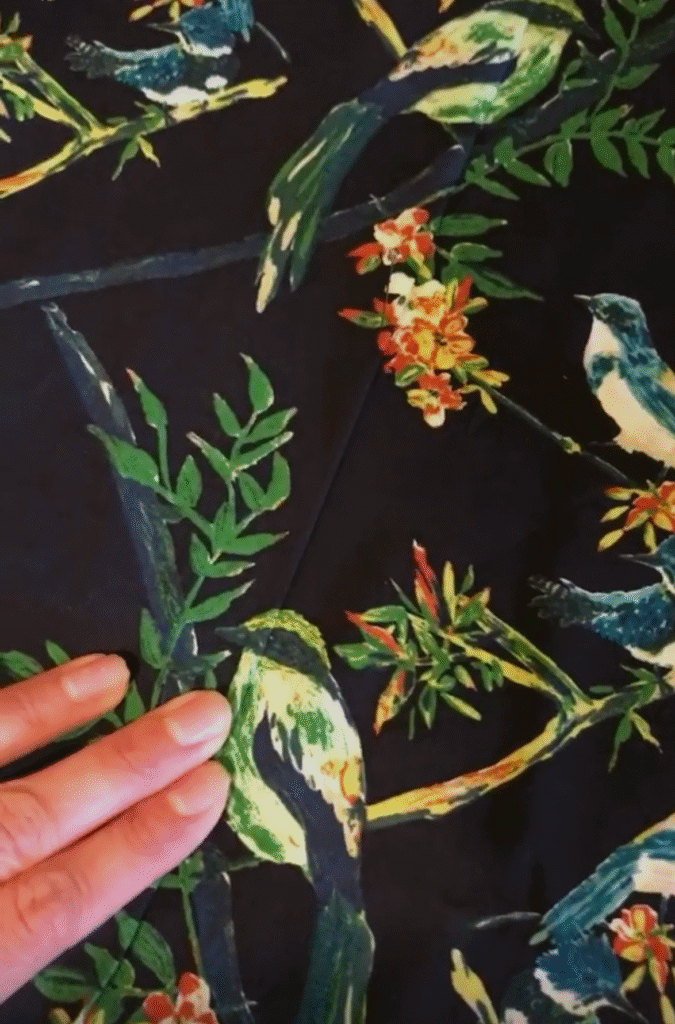
Place the folded edge of the fabric on top of the fabric you’re matching to, ensuring that the repeat lines up throughout the whole seam. Make sure to finger press everything in place before ironing it to set the glue. Iron firmly with a dry setting and let dry.
Unfold your fabrics so that they are laying right sides together. The glue should hold the two pieces in place without any need for pins.
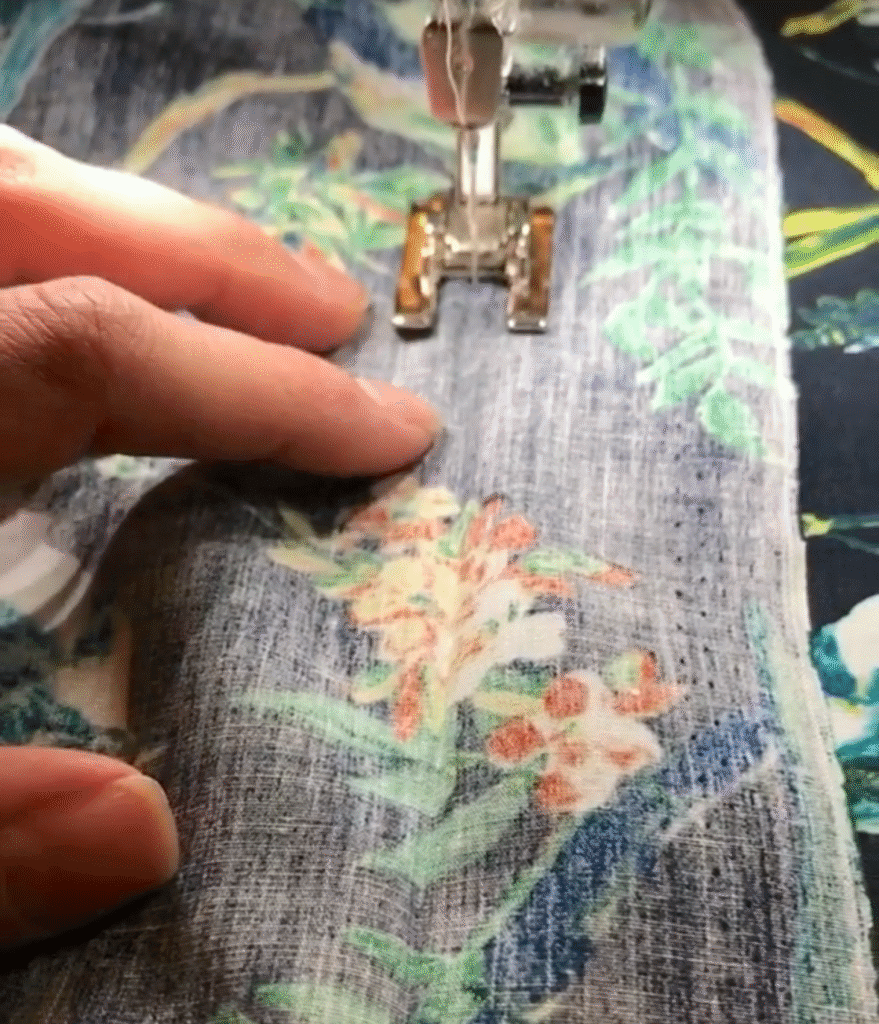
Stitch through both fabrics, along the fold line that you created with your ironing.
Trim the seam down to 1/4″, press again and oh-la-la! You’ve got one perfect little seam!
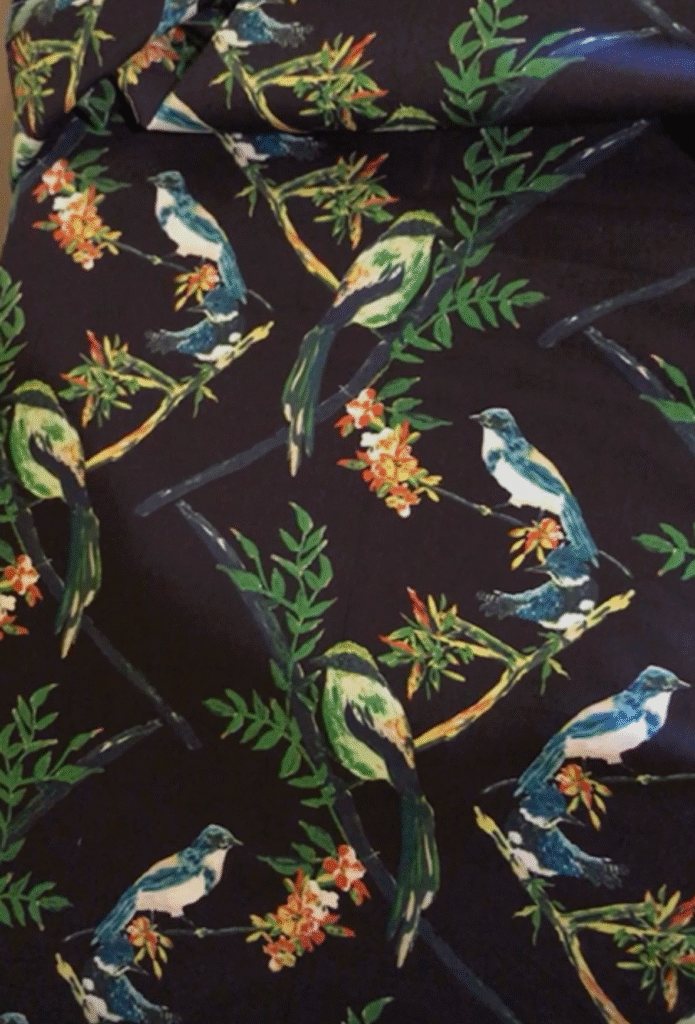
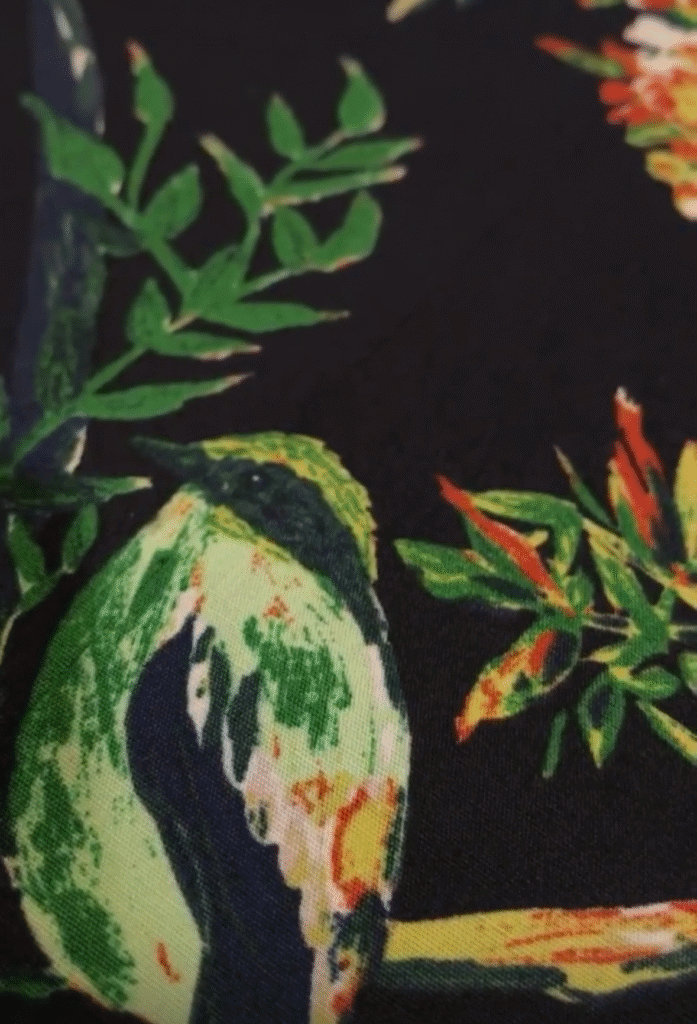
I dare you to find the seam in these pictures!