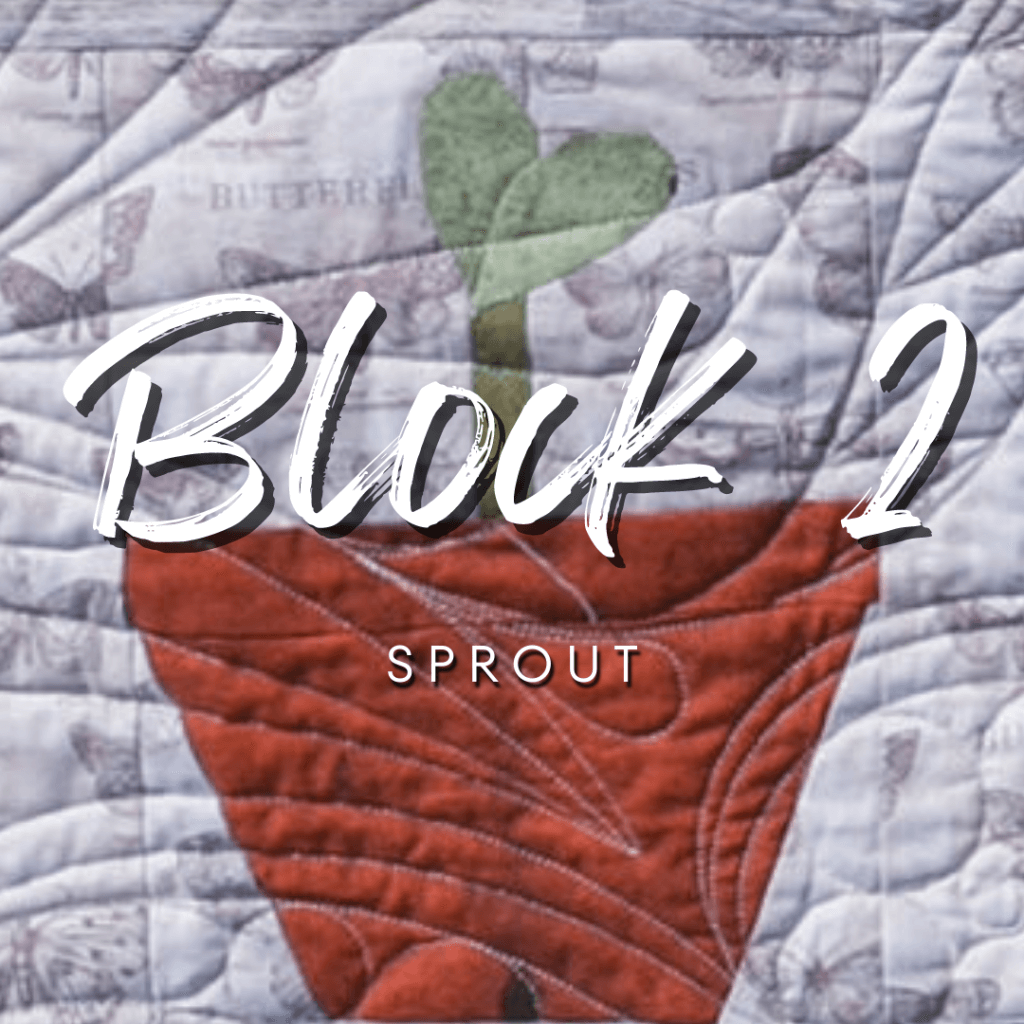
Yay, Block 2 is here!! I love each and every block that we’ll be doing this year, but this is our chance to get a little personality into the quilt, which is always exciting!

This month we’ll be creating our sprouted blocks – three adorable (yet simple) pots with fresh baby sprouts peeking out. I love the sweetness and possibilities in this set of blocks. Make them the same to create rhythm, make them different to create interest, make them wonky to attract some attention – the decision is yours!

Get Ready…
If you haven’t already, make sure you check out these posts to get you set before moving onto month 2:
- Tips and tricks for BOM Success: Ways that you can prepare and organize for the year ahead.
- Getting Started: This is just a little bit of prep work to save you lots of time (and fabric) this year! It coordinates with the Getting Started page of your pattern. You will be needing some of these fabrics for this month, so if you haven”t cut them yet, now is the time!
- Block 1: Didn’t quite get finished with last month? No problem, finish up this quick block and keep on going!
Get Set…
Supplies for the month

Need to grab some supplies? I’ve got everything listed for you below. We’ll be using all of these supplies throughout the year, so now is a good time to get them!
- 1/2″ Bias Tape Maker
- Starch
- Elmers Disappearing Purple Glue Stick OR Heat-n-Bond Tape
- Erasable Fabric Marker
- Tear Away Stabilizer
- Monofilament Thread
- 8/60 Microtex Needle
- Iron
- That Purple Thang
Get Sewing!
This month we are reviewing bias and adding in turned appliqué. The best part is that we are creating a whole row with these sweet blocks!
Cutting
Like we talked about in the Getting Started post, the cutting in this BOM is a little different than what you’re used to. Remember that you’ll be unfolding and laying out your fabric so that it is 45″ across your cutting mat.
- Make sure that you use the cutting diagram in conjunction with the cutting instructions. This will make everything make a lot more sense.
- Notice that you’re unfolding your fabric completely and cutting across the LENGTH of fabric…completely opposite of what you’re used to doing.
- Looking for your terracotta fabrics? If you cut your Getting Started pieces (and labeled!) You’ll be grabbing the pieces labeled Block 2 from Sections A and B.

Remember, if you’re not using the four terracotta fabrics as shown in the Getting Started page, you’ll refer to the left hand side of each month that calls out the yardage needed for your Terracotta pieces.
More about Bias Tape
Cutting Bias Tape
Last month I introduced you to how Bias Tape Appliqué works. If cutting was a little more difficult than you expected make sure to check out the quick tutorial below on a simple way to cut bias strips:
You may have noticed on the left hand side of my patterns little blurbs with suggestions. On page 2 of this month you’ll see a note about cutting extra bias strips now and saving them for later…I really think it’s a good idea since you’re here doing it now. Just make sure to label or store them with your month 12 fabrics!
Turned Appliqué

This month we are folding our sprout edges under before stitching on the appliqué, which sometimes can get a little tricky if you’re just starting out. Here are a few tips on working with this turn-under technique:
- Measure and make sure that your template printed at 100% – you DO NOT want to do all this work only to realize that your sprouts are two sizes too small! Check out my quick tutorial on the blog if you need help printing to scale.
- When pressing the freezer paper onto the fabric make sure that the steam is OFF on your iron. Steam will loosen the “stick” and you want it to stick to your fabric as much as possible.
- Be generous when clipping curves: Cut V shapes into the raw curved edges, making sure to not cut into the freezer paper. This will help those curves ease as you fold them under.
- Use a tool: I like to use That Purple Thang when turning the edges under. You can use a toothpick or skewer as well, but I’ve found the two different ends on this tool to be quite helpful.
Throughout the pattern you can use any appliqué stitch that you’d like, but I prefer the Invisible Machine Stitch. You can check out my blog post about it here!
I’ve got a quick little clip below that will show you what it looks like when I’m turning my appliqué pieces under – I think it’s really helpful to watch – it really isn’t so hard as it seems at first!
Need some help?
If you’re feeling a little intimidated by all of this, why not join the virtual class?
In my virtual class, we’ll cover each and every step. I’ll talk you through new skills, explain why and how we are doing things, and make it a little less scary! I’ve also included printable cheat sheets for techniques that might be new to you…great resources for down the road!


Now that you’ve got the know-how it’s time to sew! I’d love to see your progress in the Facebook group or on Instagram!

What’s Next?


