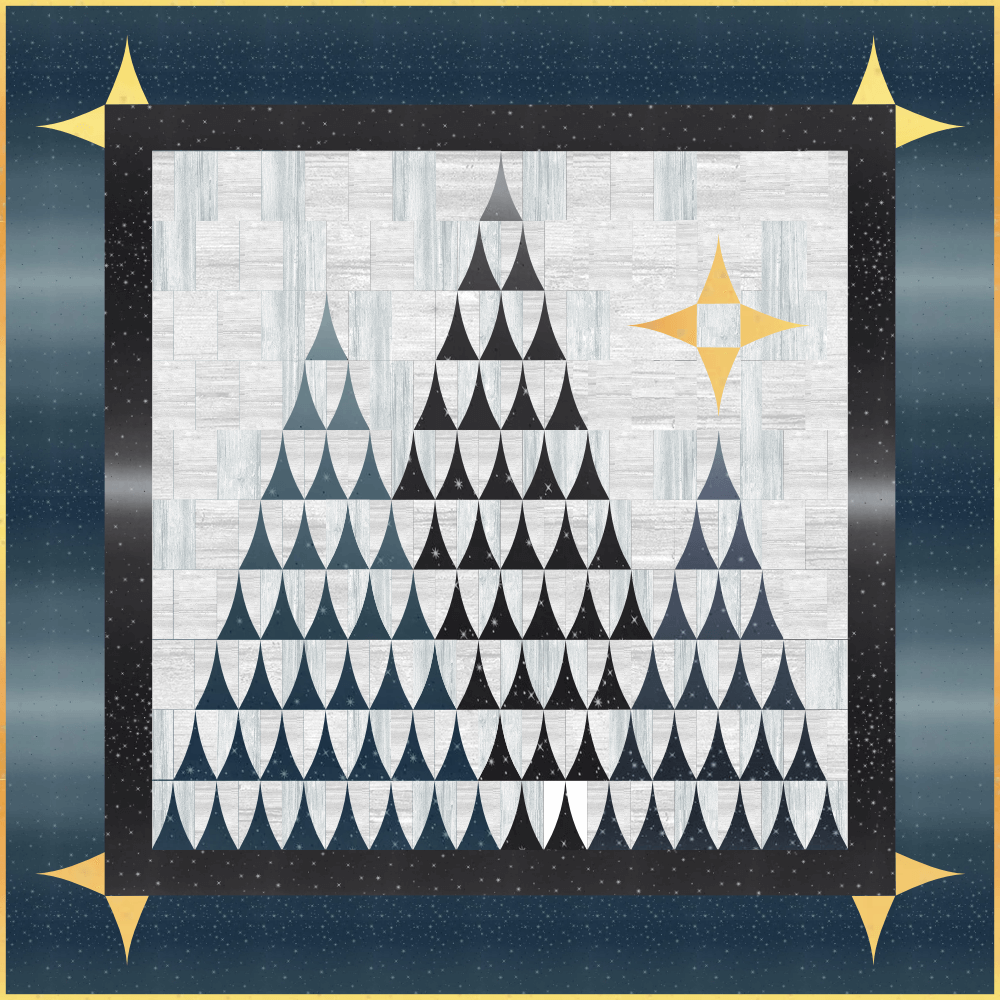
We are so close, I can almost taste the sugar cookies!

This week we will be adding our borders, after that we’ll start the long process of quilting and binding these beauties.
Borders Borders Borders
This week is pretty straightforward for those of you who are not working with ombre fabrics. Of course, you’ll want to pay attention to your instructions, but it’s a pretty straightforward process. Check out these helpful tutorials and get going!

For those of you using ombre fabrics, make sure to follow the cutting instructions for your size. Click the button below, make sure to read your tutorial thoroughly, and then carefully work through your borders.
I’ve got a few extra tips for you below as well:
A Note for Ombre Borders
Ebb & Flow
This layout is the simplest option for ombre borders. Simply follow the cutting instructions as written and piece together in one long strip as shown in your pattern (see the tutorial here!).

But here’s where we deviate from the pattern:
Instead of pre-cutting your border pieces, you’ll only pre-cut the first one to length. After that, you will:
✓ Match the gradient on the stitched border and loose strip.
✓ Cut to length
✓ Stitch on the following border
✓ Repeat this around the quilt until you have all four inner borders stitched on.
You’ll use this same though process when it comes to the outer borders! Just carefully plan your next step as you work.
True Gradient
This option isn’t necessarily more difficult, it just takes careful planning and a bit more fabric…

But here’s where we deviate from the pattern:
DO NOT follow the cutting instructions in the pattern for this border layout. Make sure you DO follow the cutting chart for your size shown here. Then:
✓ Stitch on the top and bottom borders
✓ Carefully lay out and measure the side borders to fade into the top and bottom borders.
✓ Once you have the placement, cut to size according to the pattern and stitch on!
You’ll use this same though process when it comes to the outer borders! Just carefully plan your next step as you work.
Getting Square Corners
You might remember this from our week on creating the star block, but if you forgot, here’s a great video on how to get that nice corner match while piecing the star corners on the border:
This is an excerpt from my Starline Mini Runner Class that I thought would be good to see again. Enjoy me, me trying to hide my very pregnant belly, and my extremely short hair!
Please note, any time I’m referring to a pattern in this video, ignore it – I’m referring to the Starline Pattern. You’ll just want to use this trick in Steps 7—12 to create your star block.

Done with this post? Let’s head on over to our next portion: Finishing!
Comments are closed.
