When we first moved into our home, the first thing I did was call my mom. I had been storing a secret treasure in her attic for the past 13 or 14 years and finally had somewhere to display it! After climbing up and digging through all of my “treasures” (the woman is a saint), she found it: an intricately designed wooden antique, very likely the decorative back of a church organ! My dad found it when I was little—we lived on a farm then—and this treasure was shoved among some lumber in the rafters of one of our many barns. My dad knew that I would love it and asked if I wanted to keep it…and of course, I did! It’s now proudly displayed above my fireplace. You’d never find it in an antique or thrift shop & it’s got my own family history stamped on it—I absolutely love it!
Note: Some links in this post are affiliate links. I may receive commission should you choose to purchase through these links, this is how I can keep great content coming to you every week, free of charge! Thank you for your support.
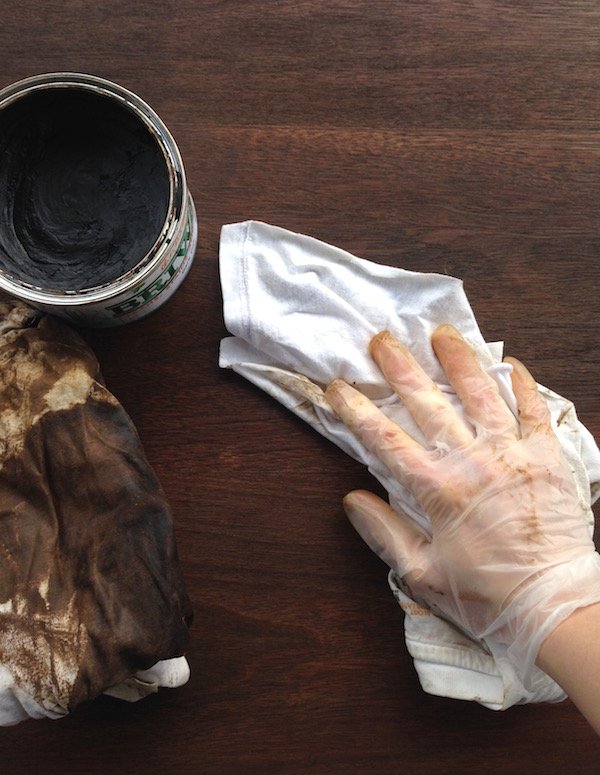
Recently, my mom was admiring this piece that’s now hanging over my fireplace mantle and said, “You should put some Briwax on that!” Having never heard of Briwax, I asked and quickly learned that my mom and aunt have been gobbling up wooden antiques and bringing them back to life with Briwax. Hesitant to try it out on my most treasured treasure, I tried it out on my sofa table (which has been in desperate need of a sand-down and re-stain). Needless to say, I’m thrilled with the results and can’t wait to try it out on my dearest treasure. Let me show you how it worked:
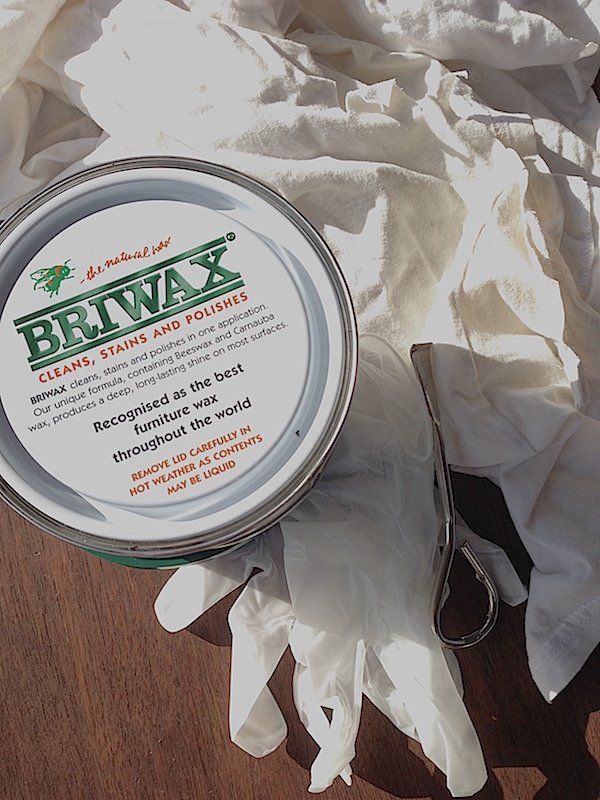
Briwax is somewhere between a stain and a wax, but it’s a great shortcut for refinishing antiques without sanding them down, staining, and sealing. It’s definitely something that you want to work with outside (or at least with good ventilation) and use gloves! You’ll just need a paint can opener to get the lid open.
The process is very simple. Using a dry rag (I love to use my husband’s old white t-shirts), wipe a small amount of wax onto your furniture piece. I like to go with the direction of the grain. Then follow up with a dry rag and wipe off any remaining wax. You can wipe this pretty hard, the wax settles in very quickly.

I would suggest working in a 1’–2′ section at a time. This way, you won’t let the wax dry for too long, leaving you with a waxy-feeling piece.
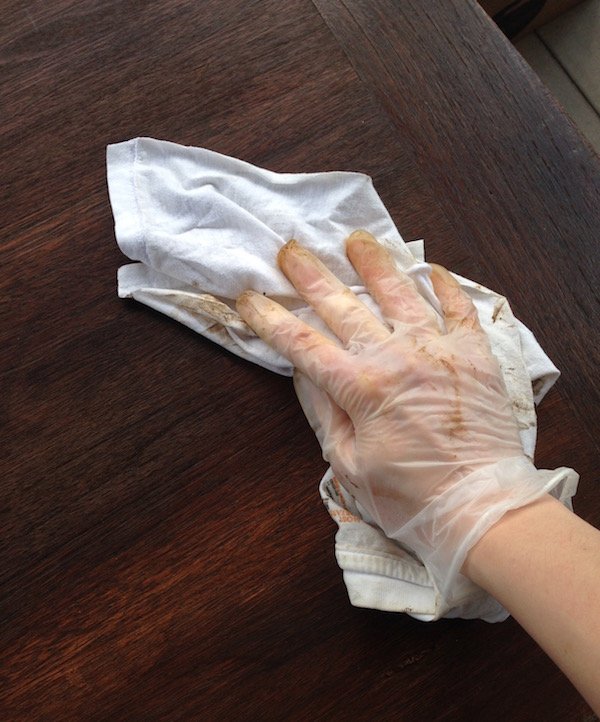
If the finish looks blotchy, feel free to use extra coats. I only used one coat, but multiple layers tend to be more uniform.
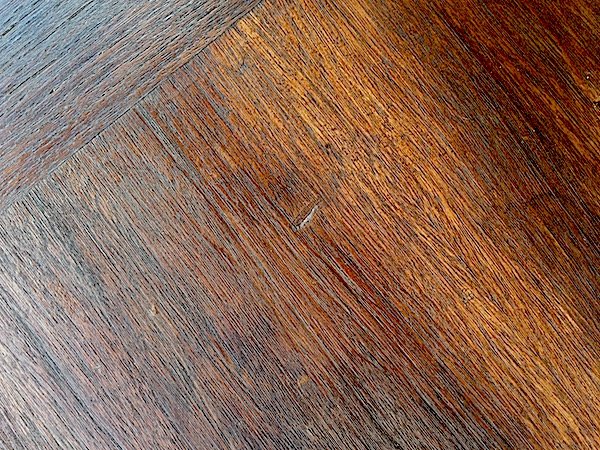
Look at the difference! Not only does the top look significantly less dried-out, it also looks really vibrant!
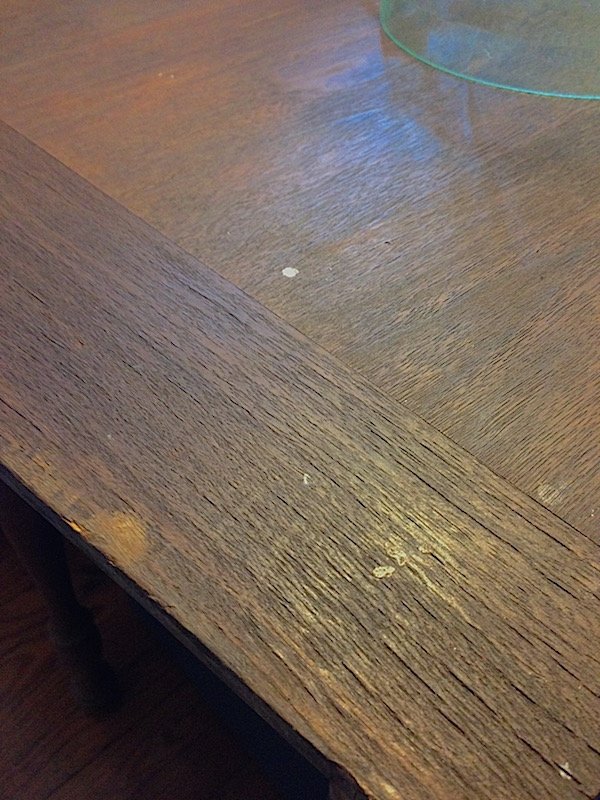
Before Briwax

After Briwax
Notes:
- I used Briwax: Dark Oak
finish on my table, though there are lots of different colors available.
- Briwax does not work on pieces that are finished with a clear coat like poly or acrylic. It is meant to go on unsealed wood. If you want to use it on a sealed piece, you’ll need to sand off the finish first.
- If you’d like to get some Briwax
for yourself, I’ve found that the best place to get it is Amazon.com, click here to shop!
Enjoy reading this post? To make sure you don’t miss a thing, follow me on Pinterest, Facebook, and Instagram and sign up for an email subscription to my blog.
What are your secrets for cleaning up old antiques? I’d love to hear all about it in the comments below, you can even leave a picture to show off your favorite pieces!
See this, and other great DIY projects on The DIY Collective:


A great product for a piece that spent so long in an attic. That’s probably the second-worst place we could have stored a wooden treasure, second only to a damp basement. But glad we saved it. Can’t wait to see it done-over!