Curves don’t have to be intimidating! If you’ve ever looked at a quarter circle quilt block and thought, “There’s no way I can sew that,” you’re in the right place. I love a “easier than it looks” project!
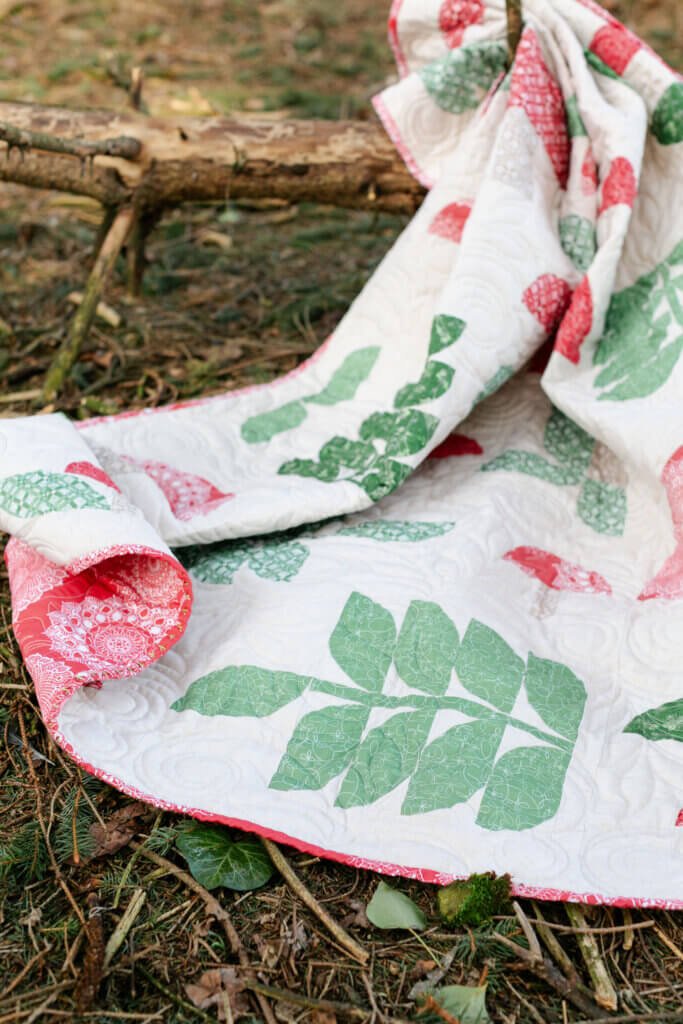
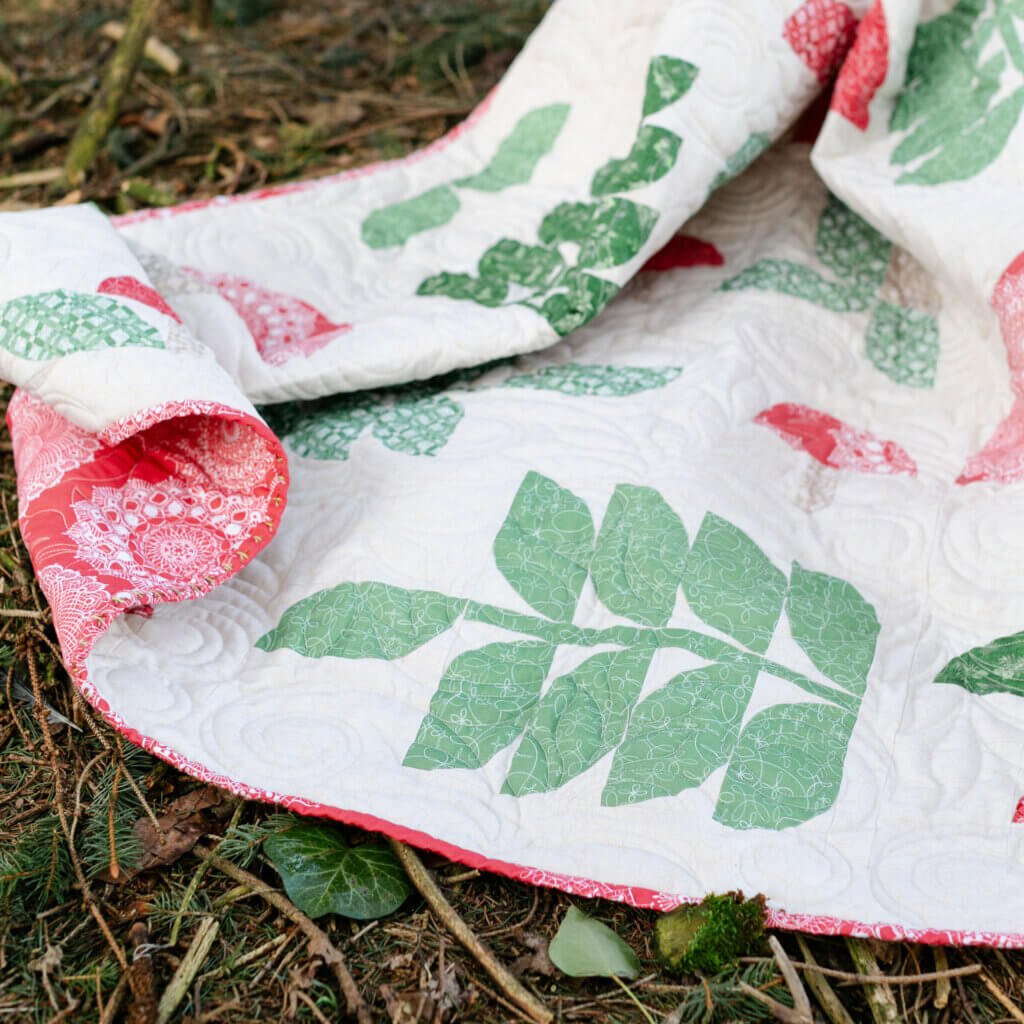
In this tutorial, I’ll walk you through my favorite method for cutting, sewing, pressing, and trimming quarter circle blocks. This is the same technique I use in my Understory quilt, but it works with any quarter circle template set. Best of all, there’s no pinning required!
A Quick Note: Some of the links below are affiliate links. That means if you click through and make a purchase, I may earn a small commission at no extra cost to you. It’s one of the ways I keep free tutorials like this available, so thank you for your support! And don’t worry—I only share products that I genuinely use and love in my own sewing room.
Watch the Video Tutorial
I know that a LOT of you love a video tutorial, so I’ve got that right here for you.
But if you’re more like me, you’d rather rip out fresh seams than watch a someone else sew! For you, there are written instrcutions (with pictures!) below this video 🙂
Step 1: Cut the Filling Pieces
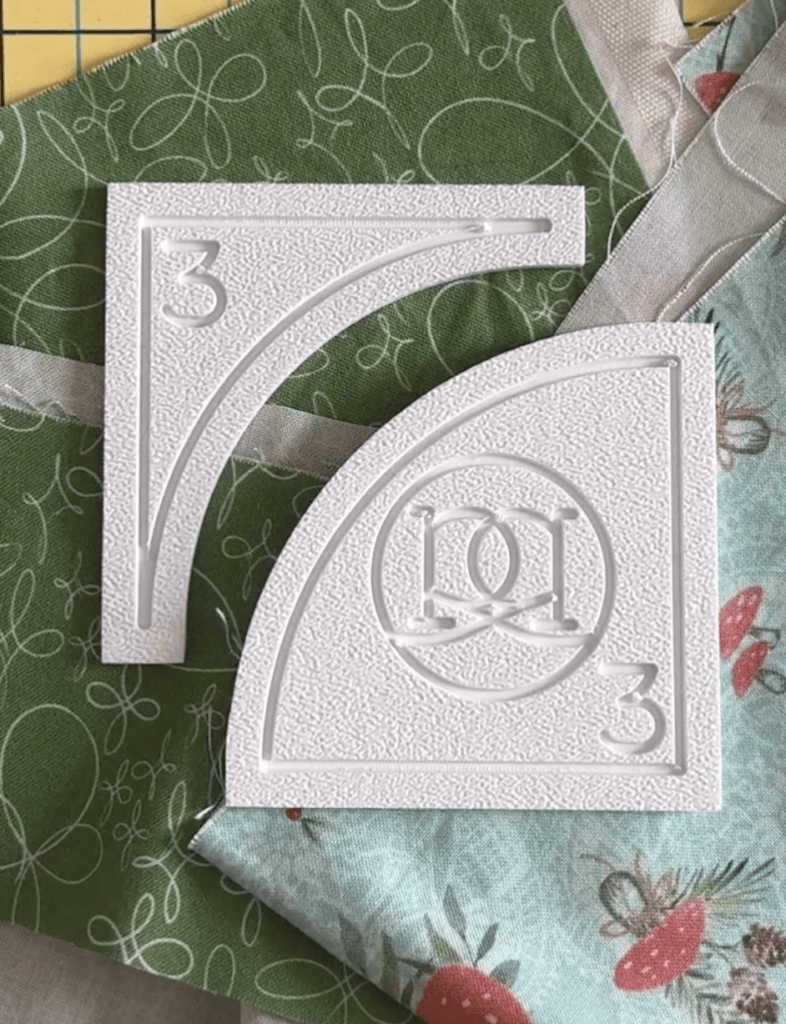
To make curve sewing easier to understand, I like to think of the two pieces as parts of a pie:
- Filling = the inner quarter circle
- Crust = the outer curved piece
It may sound silly, but it helps keep everything straight while we’re working.
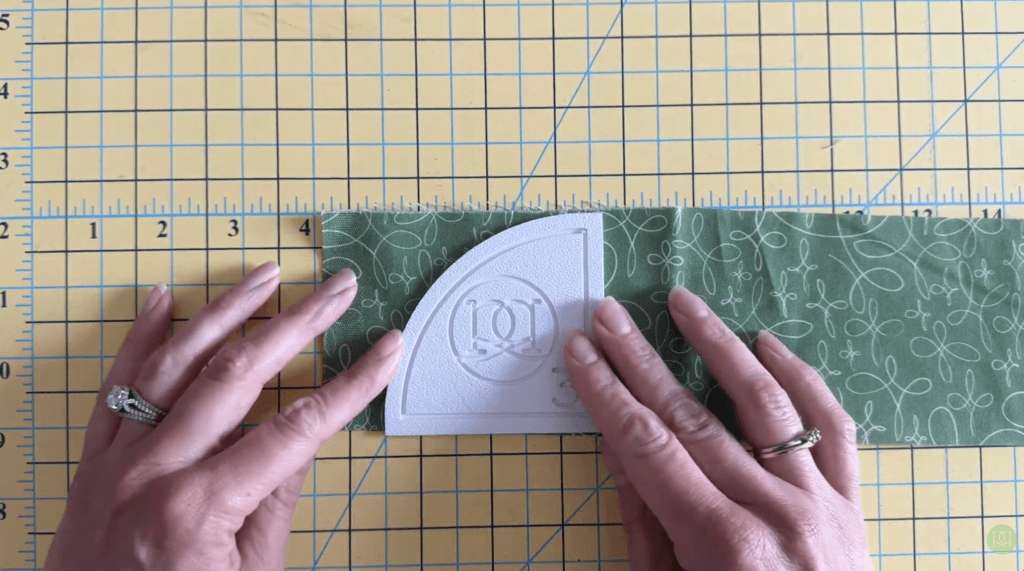
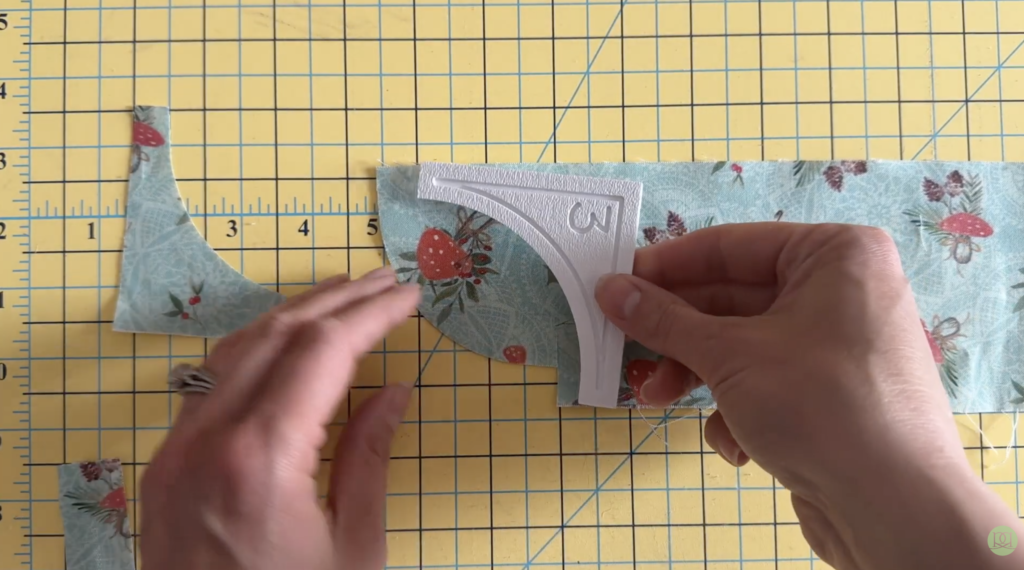
To cut your filling pieces:
- Place the filling template on top of your fabric strip.
- Align the flat edge of the template with the flat edge of the strip.
- Cut along the side of the template.
- Rotate the template and cut along the curved edge.
A 28mm rotary cutter works especially well for these tight curves.
Continue flipping and nesting the template along the strip to cut as many pieces as possible while minimizing fabric waste.
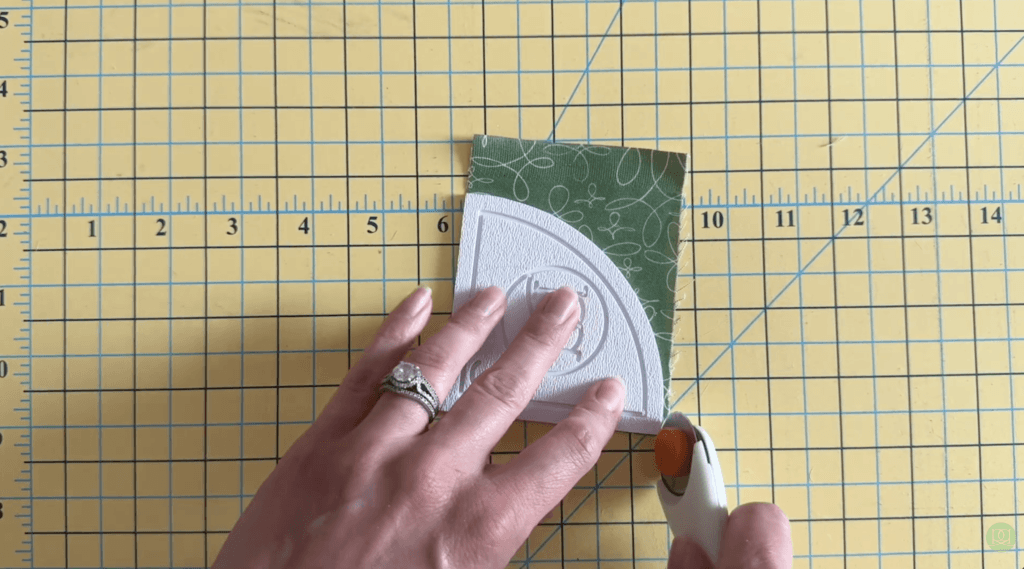
Step 2: Cut the Crust Pieces
Next, cut the crust pieces from your background fabric.
- Align the flat edge of the crust template with the edge of your fabric strip.
- Cut the straight side.
- Rotate and cut the curved edge.
Just like before, nest the pieces together as you cut to make the most of your fabric.
Step 3: Find the Centers
Before sewing, we’ll mark the center of each piece.
Fold the filling piece in half and finger press to create a small crease. Repeat with the crust piece.
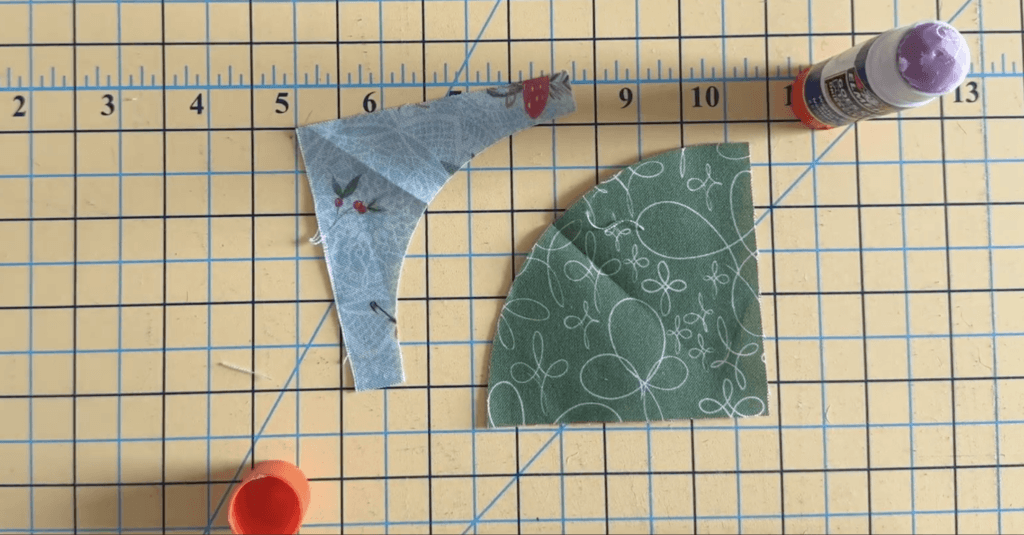
These center marks will help us align the curves accurately.
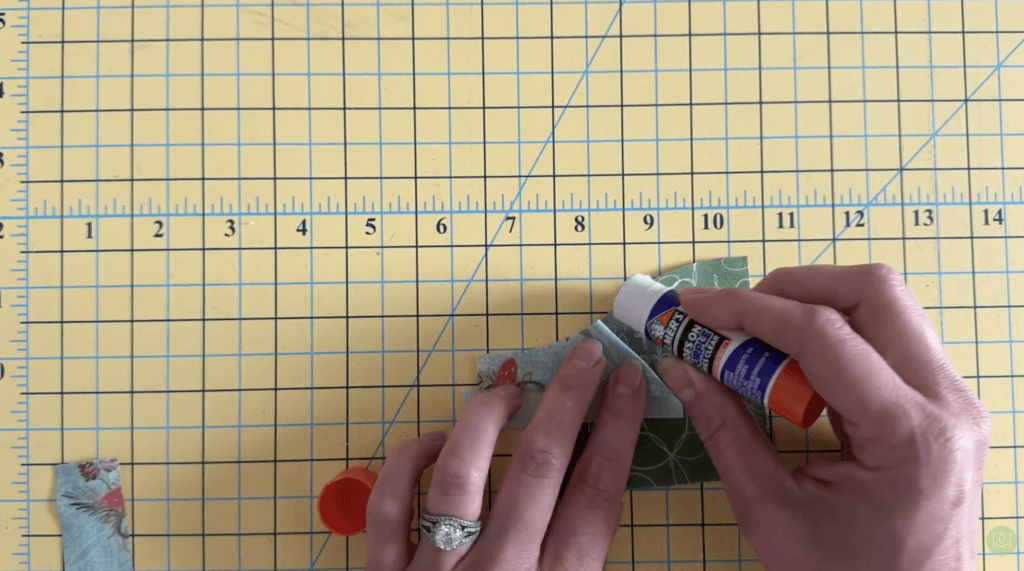
Step 4: Glue Baste the Curve
Instead of pinning, I prefer glue basting. It’s a great way to get really precise curved seams – and no start/stop while pulling out pins along the curve!
Using a tiny amount of washable glue (I like disappearing purple school glue), place a small dot at the center crease and match the centers of both pieces.
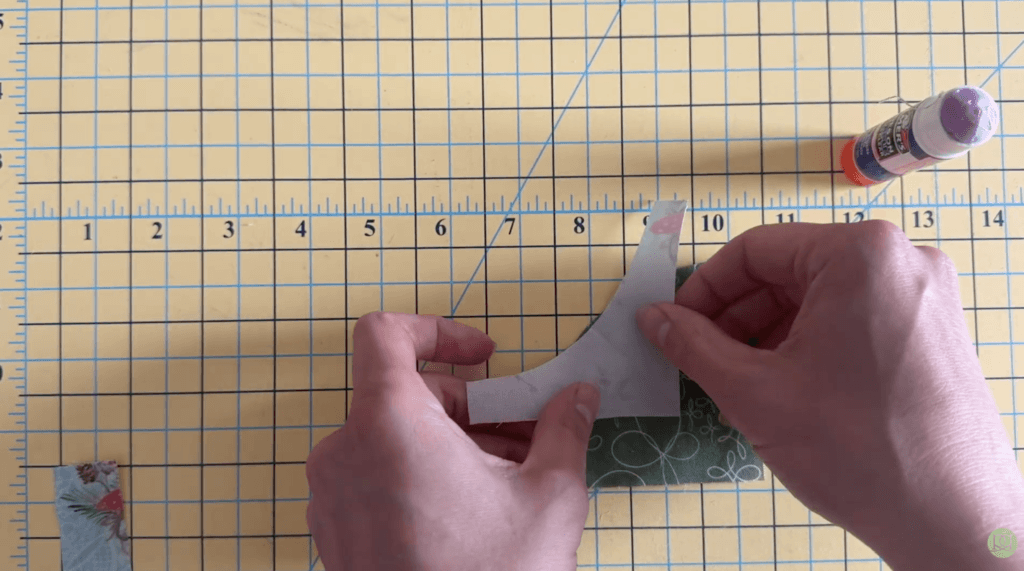
Once the centers are secured:
- Apply a very thin line of glue near the raw edge.
- Match the raw edges together as you work toward one end.
- Repeat on the opposite side.
Don’t worry if the pieces look wrinkled or puckered. That’s completely normal and will disappear when the seam is sewn and pressed.
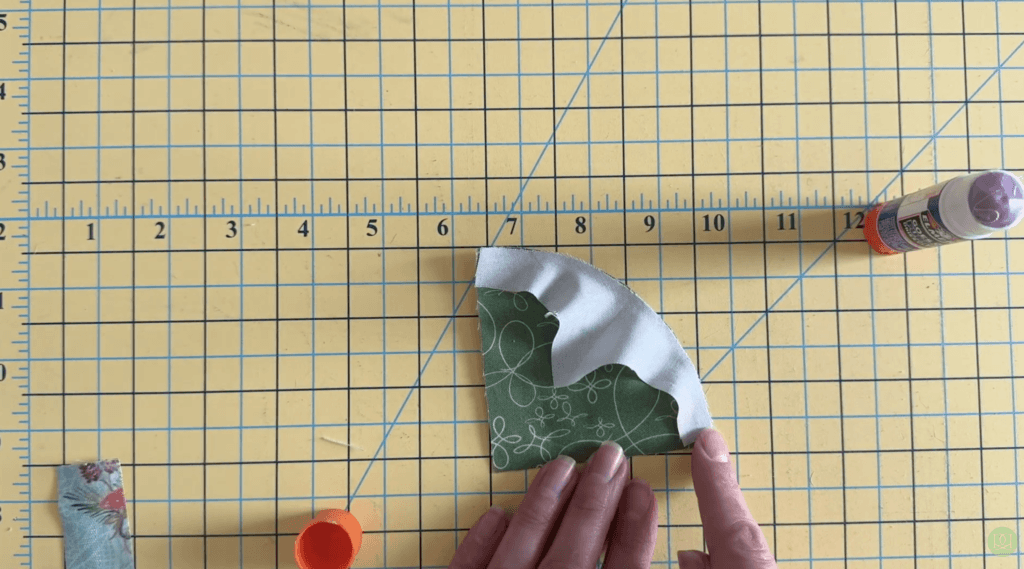
Tip: Use only a very skinny line of glue along the very edge of the piece. You’re simply holding the pieces in place until they’re stitched.
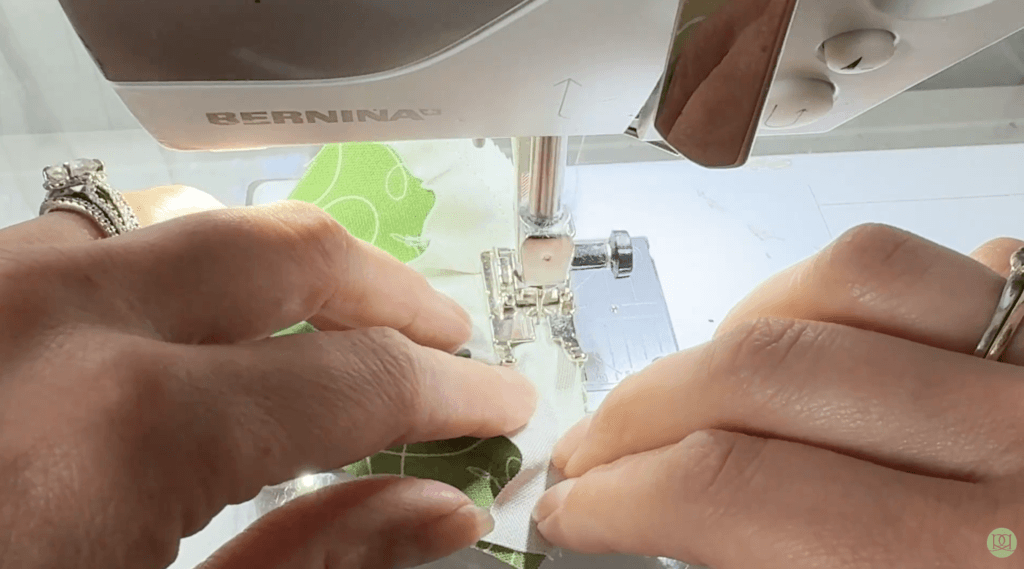
Step 5: Sew the Curve
Take your glued block to the sewing machine and stitch a ¼” seam.
The key is to focus only on the seam allowance.
Don’t worry about the wrinkles or bunching in the fabric. As long as your needle isn’t stitching through a fold, you’re doing great.
Sew slowly and let the machine do the work. Curves become much easier with practice.
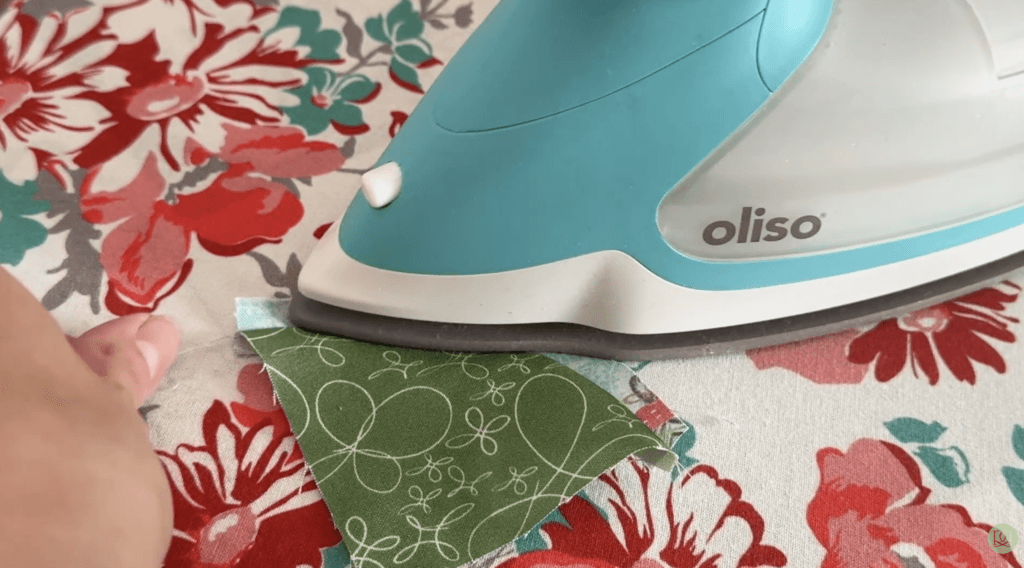
Step 6: Press the Block
Start by pressing from the back of the block. Press your seam toward the filling piece (away from the background!)
This preliminary press helps encourage the seam to lay in the correct direction and lets you check for any issues before pressing from the front.
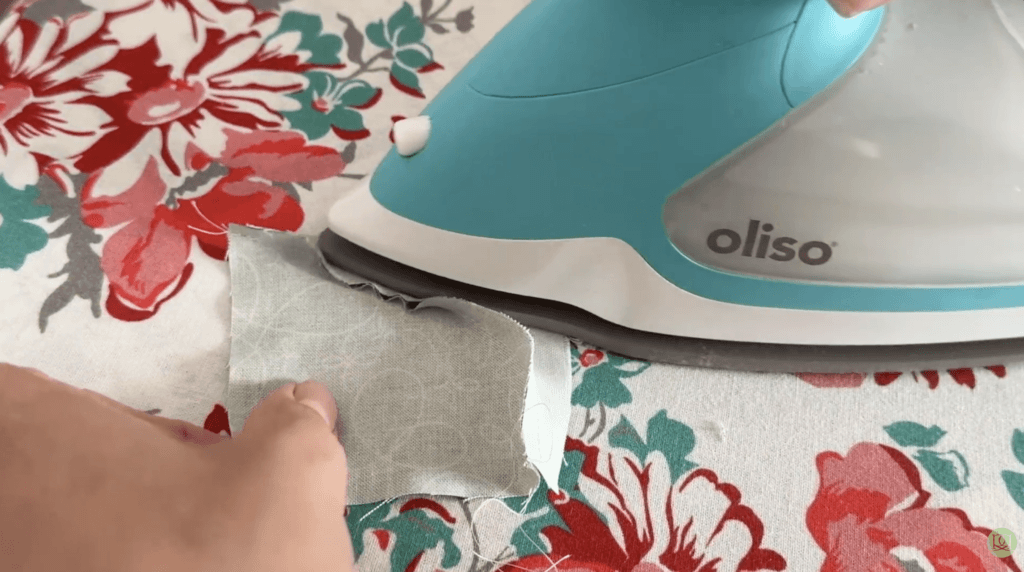
Then flip the block over and give it a final press from the front.
Try not to stretch or force the block into shape. It won’t be perfectly square yet—that happens during trimming. Your focus right now is getting the curved seam to lay flat. Perfect blocks are all in the trimming!
Step 7: Trim the Block
This is where the magic happens!
Start by trimming two adjacent sides to create perfectly straight reference edges. I think it works best to trim your crust edges first.
As you trim, make sure there is a consistent ¼” seam allowance between the edge of the filling and the outside edge of the block.

Once you have two straight sides:
- Align your ruler with those trimmed edges.
- Position the ruler at the finished block size.
- Trim the remaining two sides.
For this example, the finished block size is 3″.
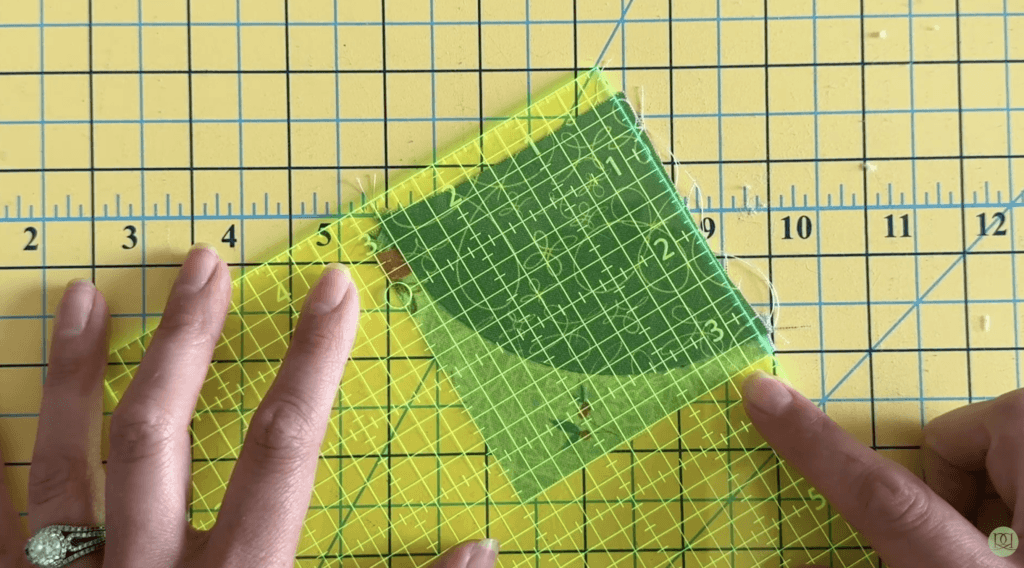
Even tiny slivers of fabric can make a difference, so don’t skip the trimming step.
Your Quarter Circle Block is Finished!
Once trimmed, you’ll have a perfectly sized quarter circle block ready to sew into your quilt.
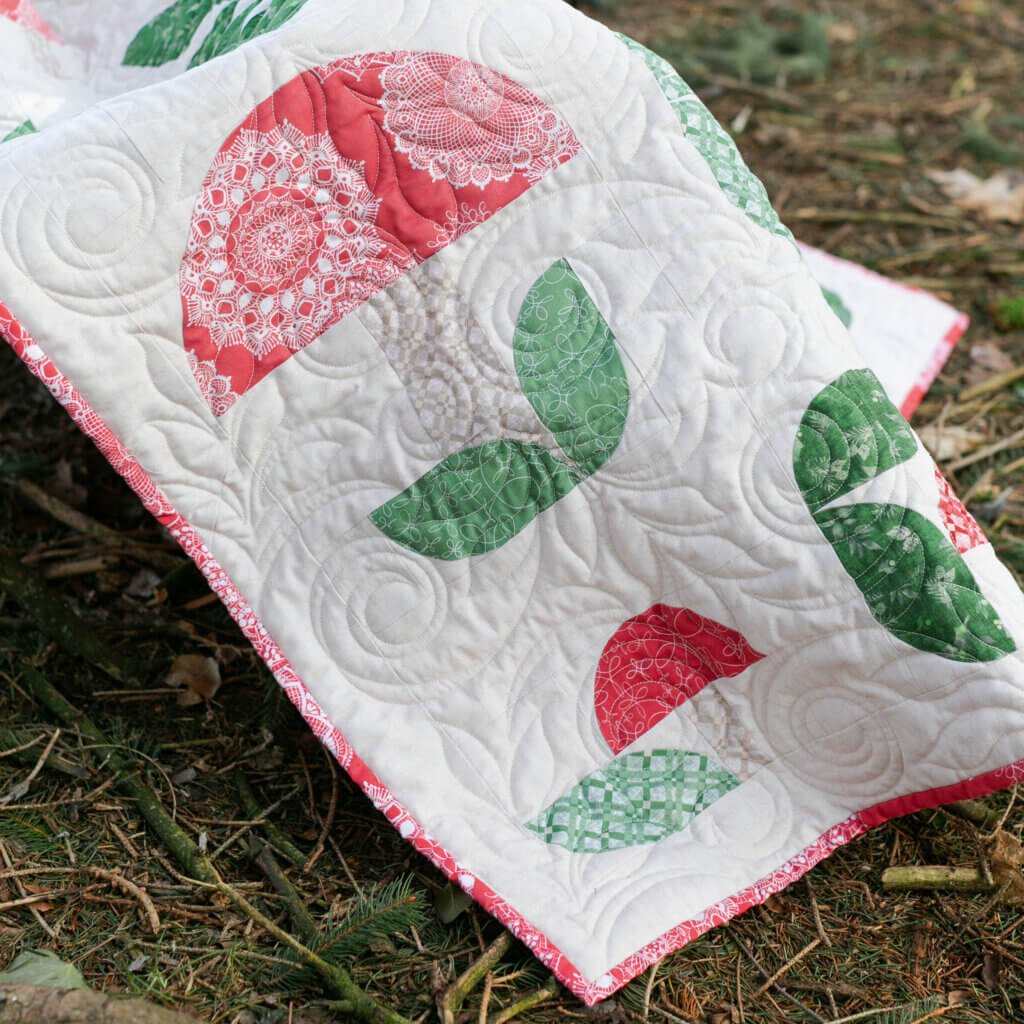
If your curves looked wrinkly before sewing or a little wonky before trimming, don’t worry—that’s completely normal. Trust the process. The trimming step brings everything together and gives you clean, accurate blocks every time.
Happy quilting!
Related Resources