Curves don't have to be intimidating! If you've ever looked at a quarter circle quilt block and thought, "There's no way I can sew that," you're in the right place. I love a "easier...
Curves don't have to be intimidating! If you've ever looked at a quarter circle quilt block and thought, "There's no way I can sew that," you're in the right place. I love a "easier...
Ever wonder how to get a perfectly matched back or border?! Today I'm going to show you with a quick and simple trick. This is a great tip for matching seams in blocks or...
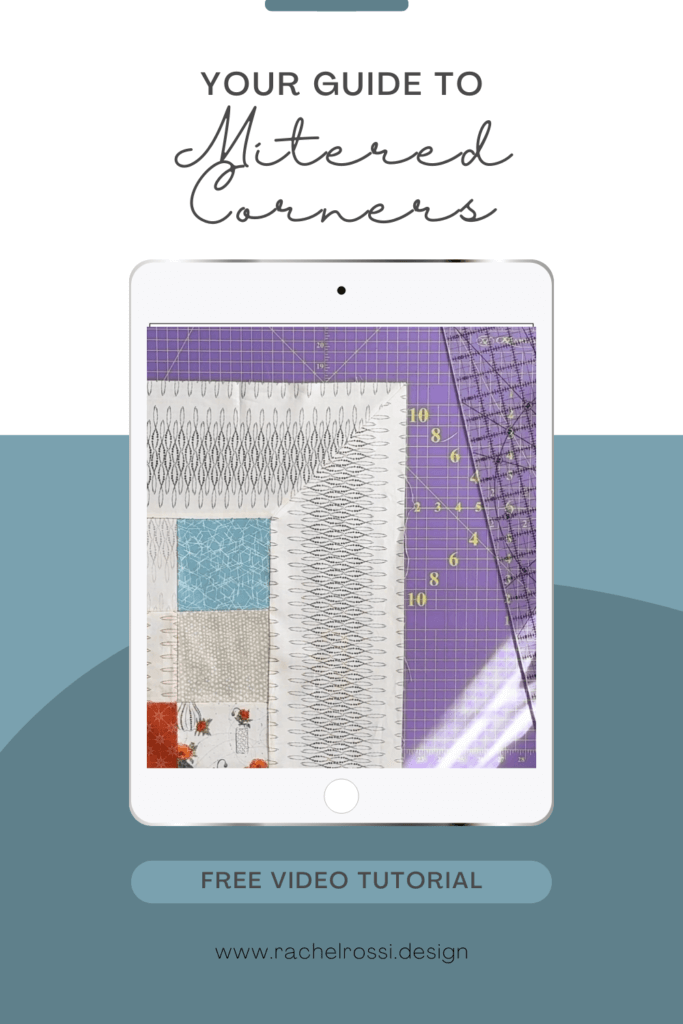
When you've spent weeks (or months!) creating a beautiful quilt top, those borders really matter! Today I'm going to walk you through creating mitered borders—a technique that takes your quilt from homemade to professionally...

On the Way to Cape May is a beautiful patten that uses a never-ending panel...so what happens when your quilt shop gets excited and chops up...

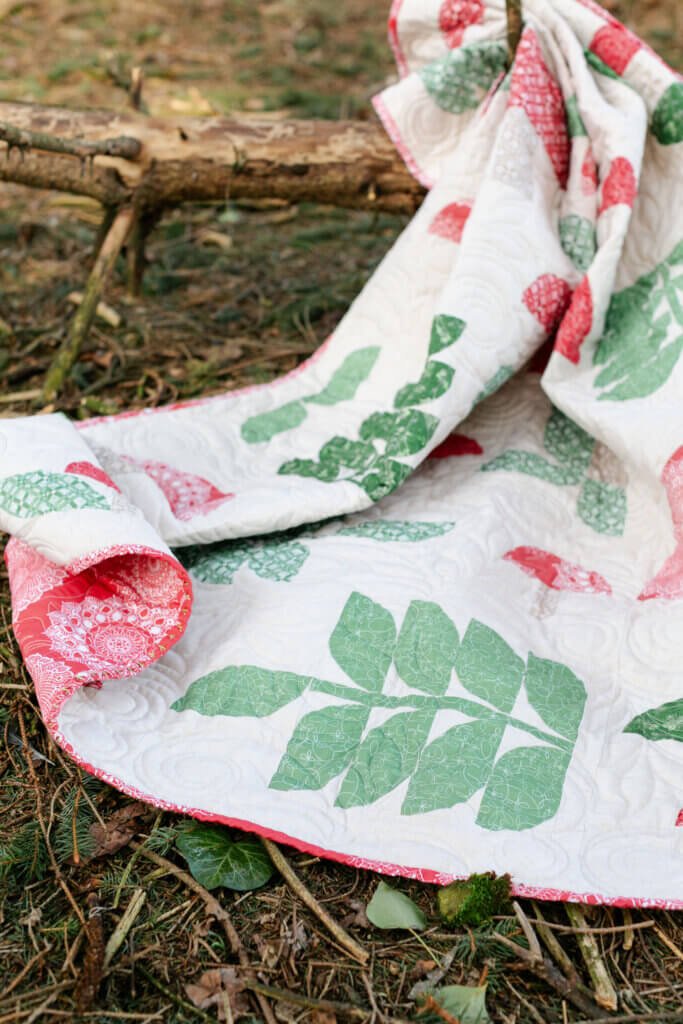
Turned appliqué tends to turn some away (and draw others in!), but what if I told you that I had a trick up my sleeve? Take a look at how I quickly (and painlessly)...

Big Stitch Binding is my new favorite thing! The best part is that there are only a few supplies needed to get started! From there, use your favorite embroidery stitches or a simple running...

Today I have a quick and easy tutorial that you can apply to almost any quilt! I want to talk about how to piece your borders on an angle. While this might be old...

Well hello there! Today I want to bring you a post that was inspired by a sweet customer of mine. She's a newer quilter and had a few questions on how to use ombre...

Foundation paper piecing has become one of my very favorite techniques for quilting. I love the precision and the freedom that it allows! Ever since discovering how...

I know you aren't supposed to have favorites, but I might need to make an exception for this fantabulous quilt...Hover is just a whole other level - I'm not sure I or my followers...

Today I have a REALLY fun tutorial for you on how to make a pocket pillow cover in any size. It's chock full of video, printables, exciting new patterns, and more!
In this...

Hi there! I wanted to drop in today with a quick little tutorial (a few, actually!) on different approaches to bias tape appliqué. But first, maybe a little introduction is in order...