A few months ago, I posted about how to whitewash your fireplace. The whole time that I was working on that project, I was thinking to myself: Gee, I wonder if “blackwashing” is a thing?! After much searching (and Pinteresting) without finding much, I decided to figure it out myself! Let me tell you, despite the adrenaline rush I got while working on this project (potentially undoing my work by scrubbing down my giant fireplace with acid is not on my list of things to do), it was 100% worth it! I’m tickled with the results and so glad that I took the risk! Here’s a tutorial for you on how to “blackwash” your fireplace or other brick.

This page contains affiliate links. As an Amazon Associate, I earn a small commission from qualifying purchases. This helps support the free content I provide, at no additional cost to you. Thank you!
What You’ll Need
- Drop Cloths
- Scrub Brush
- Chip Brush
- Lint-free Rags
- Disposable Gloves
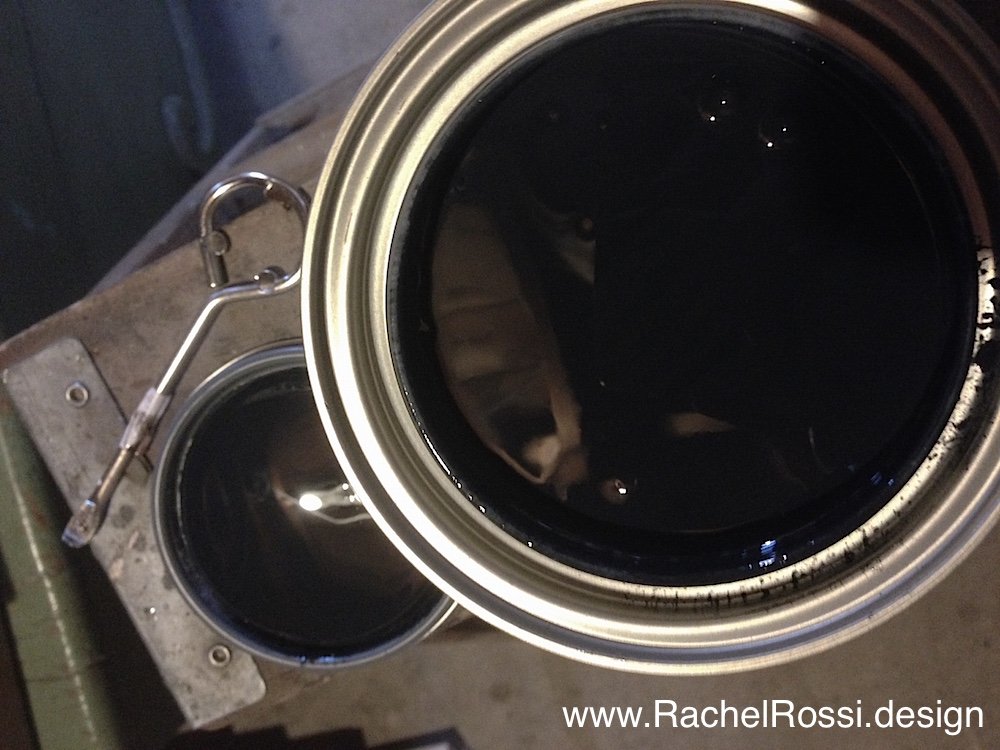
- Black interior flat paint
- Water
Before You Start
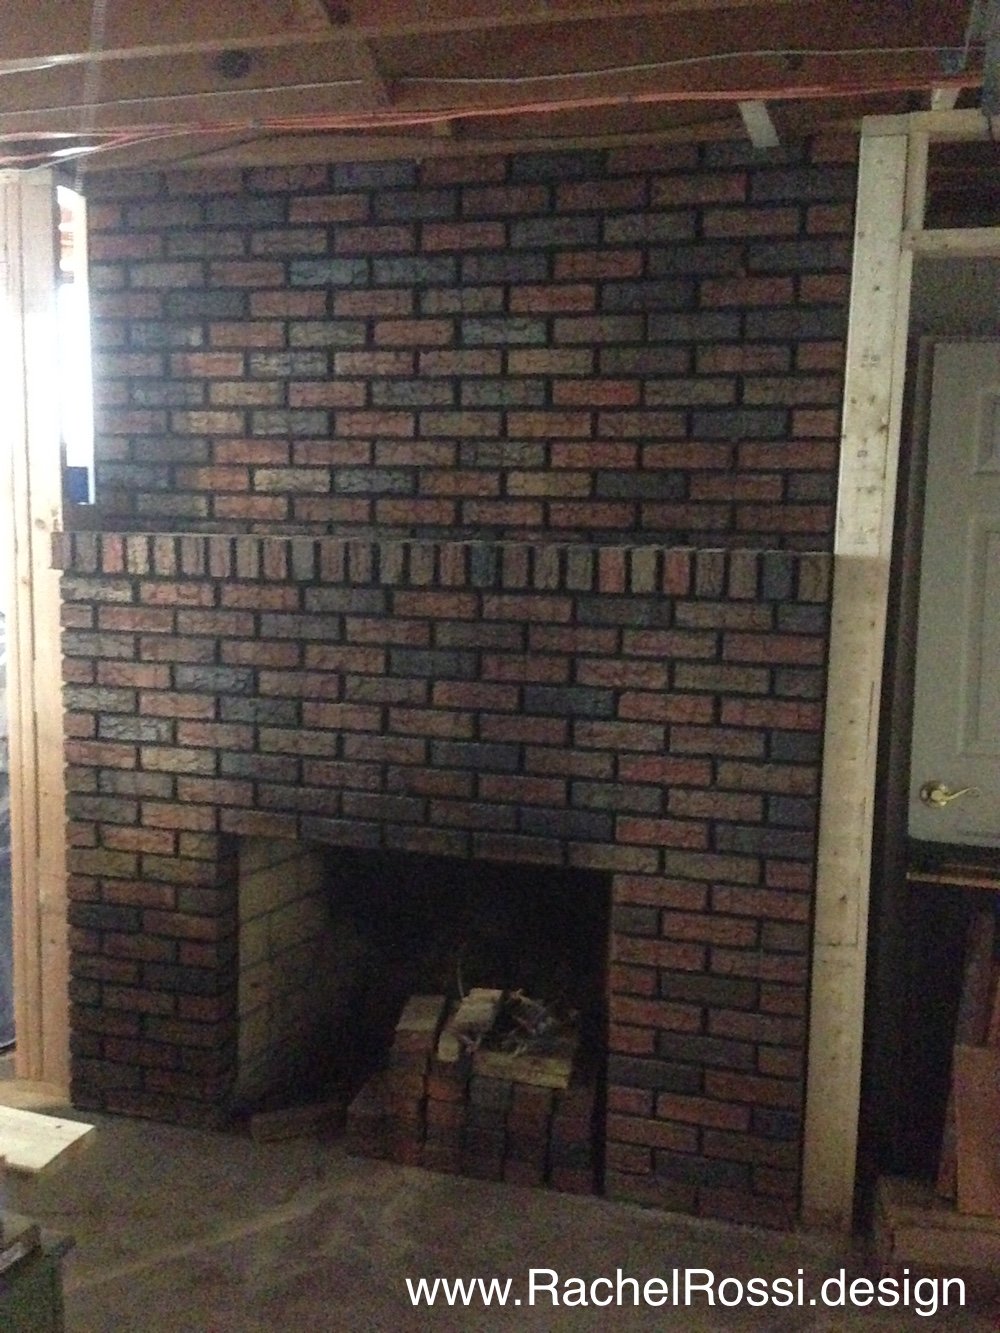
First, take a before picture—you’ll never believe how different this beauty will look!
Next, a warning: if you’re in the middle of a renovation or planning on doing this down the road, I would suggest that you complete this project before putting down new flooring, painting, or adding anything into the space that you want to keep clean.

My “Before” Picture
Step #1: Preparing the Brick
The next step will not be very fun…sorry! Put some drop cloths over anything that you care about within a 5 foot radius. Next you’re going to grab a scrub brush and some soapy water and start scrubbing every nook and cranny. This is important so that all the dust and cob webs stuck in there don’t create weird patterns in your blackwash.

Step #2: Mixing the Paint
Mix your black paint and water: 1 part water to 2 parts paint. Depending on how much your brick absorbs, this ratio may need to change a bit. There’s a little bit of experimenting with this, but it really doesn’t make a giant difference.

Step #3: Painting the Brick Black
After the brick is dry from its bath, we’re going to get to the fun part! This is where your heart will race a little as you lather on black paint to your existing brick! Yes, it’s a somewhat permanent treatment, but it’s totally going to pay off!
Working in 2 foot sections, use your chip brush to dab the black paint mixture into the mortar of the bricks. Go back over the section and use the same dabbing motion on the brick face.

Next, dab excess paint off with a lint-free rag. Continue working in sections across the entire fireplace.

Step #4 (Optional): Consider a Second Coat
Let the paint dry completely overnight. Even if it feels dry right away, the brick is porous and will continue to absorb paint for a while. It’s also good to look at it with a fresh pair of eyes and decide if you want a second coat.

If you choose to do a second coat, I will say that it goes much more quickly than the first! I would typically suggest a second coat on most surfaces, as it fills in nicely and creates an even look.

It’s time to decorate and show off your fireplace! I’d love to see your take on this project and make sure to leave any hints or tips that you picked up on the way! Feel free to post a link in the comments below or send me an email so I can see what you came up with!
Enjoy reading this post? To make sure you don’t miss a thing, follow me on Pinterest, Facebook, and Instagram and sign up for an email subscription to my blog.

Hi can you start the painting as soon as done washing or should you wait for thr brick to dry?
As long as it’s clean, you can start! The paint is watered down already, so a little dampness won’t hurt anything!
Could this work over a previously white washed fireplace? Also would the black wash work on floor tiles in front of fireplace. Mine are a reddish and I hate the color.
Great question Kim!
I haven’t done this before, but would think that the effect would work. You might need multiple coats to cover the white completely or a different ratio of water to paint. I’d suggest playing with it on a spare brick or a spot that won’t be seen too easily.
As for the tiles, it probably won’t work. Again, a simple test run on a spare tile would give you the official answer, but typically tiles are coated and won’t absorb the paint like brick does.