

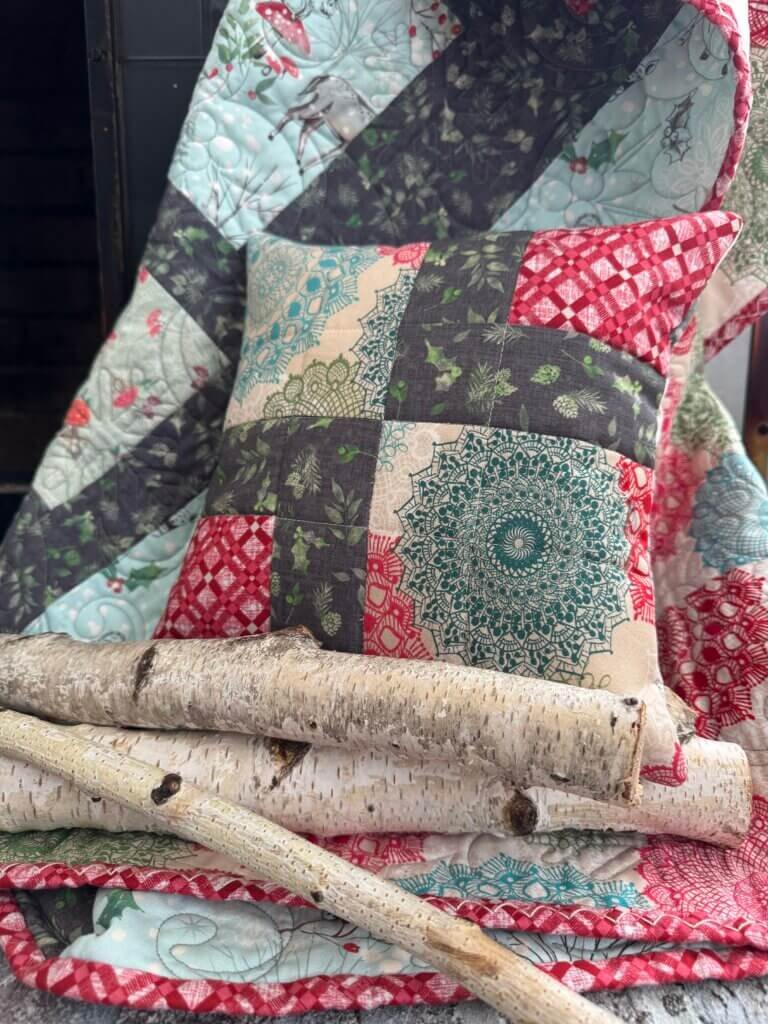
By the time I finish a pillow front, I’m usually pretty excited to get it on my couch (or bed, or in my gift) and get it done!
That’s exactly what happened when I was filming a video class about quilting for Hobbyscool this year. I taught Quilting 101 with a simple block from my Merry Mixer pattern (grab a copy here!) and talked about how to turn it into a sweet little pillow…
but then I wanted to just have the little pillow in my hands already!
So. Today I bring you the quickest, easiest way to finish off a pillow that I’ve found yet!
Before we get started, if you’re wondering what Hobbyscool is, it’s an awesome company that brings together awesome teachers from all sorts of crafting background to teach you new techniques!

I’m one of many teachers there and am teaching a class to introduce new quilters to their very first block!
Some of the links in this post may be affiliate links, by clicking on and purchasing through them, I will recieve a small commission. This adds to cost to you and is a great way to support my business and allow me to provide you with FREE quilty content like this!
Now, Onto the Tutorial!
A while ago I made a free pattern tutorial on pocket pillow backings (check it out here!), but I wanted to take it 1 step further just to get you and your pillow on your way more quickly.
Do the Math
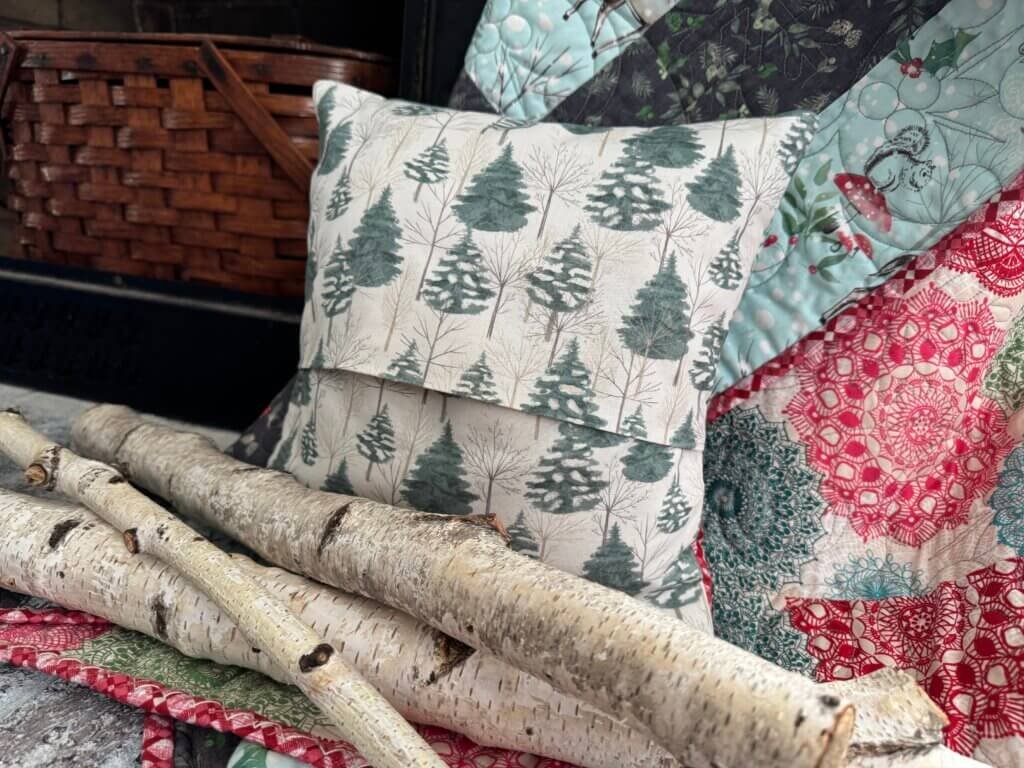
For this project, you’ll need two pieces of fabric that coordinate with your pillow front. I chose the Evergreen print from my Winter Haven fabric line!
The yardage needed will vary based on your pillow measurement. So, do the match below first and then add them up to get your required yardage!
Start by measuring you pillow front. Just to keep things tidy, we’ll refer to the top or bottom as Side A and the sides as Side B.
Mine measured 12″ x 12″
Divide Side B by 2/3. Continuing with my example:
12 x .66 = 7.92.
I don’t need to get crazy here, so we’ll round up to 8.
Take your number from the last formula and multiply by 2:
8 x 2 = 16
Cut it Out
Now, we’ll take that number and use it to tell us the dimension needed for our two backing pieces:
12″ (width of side A) x 16″ (width of side B)
Cut both pieces of backing fabric to this size!
Press
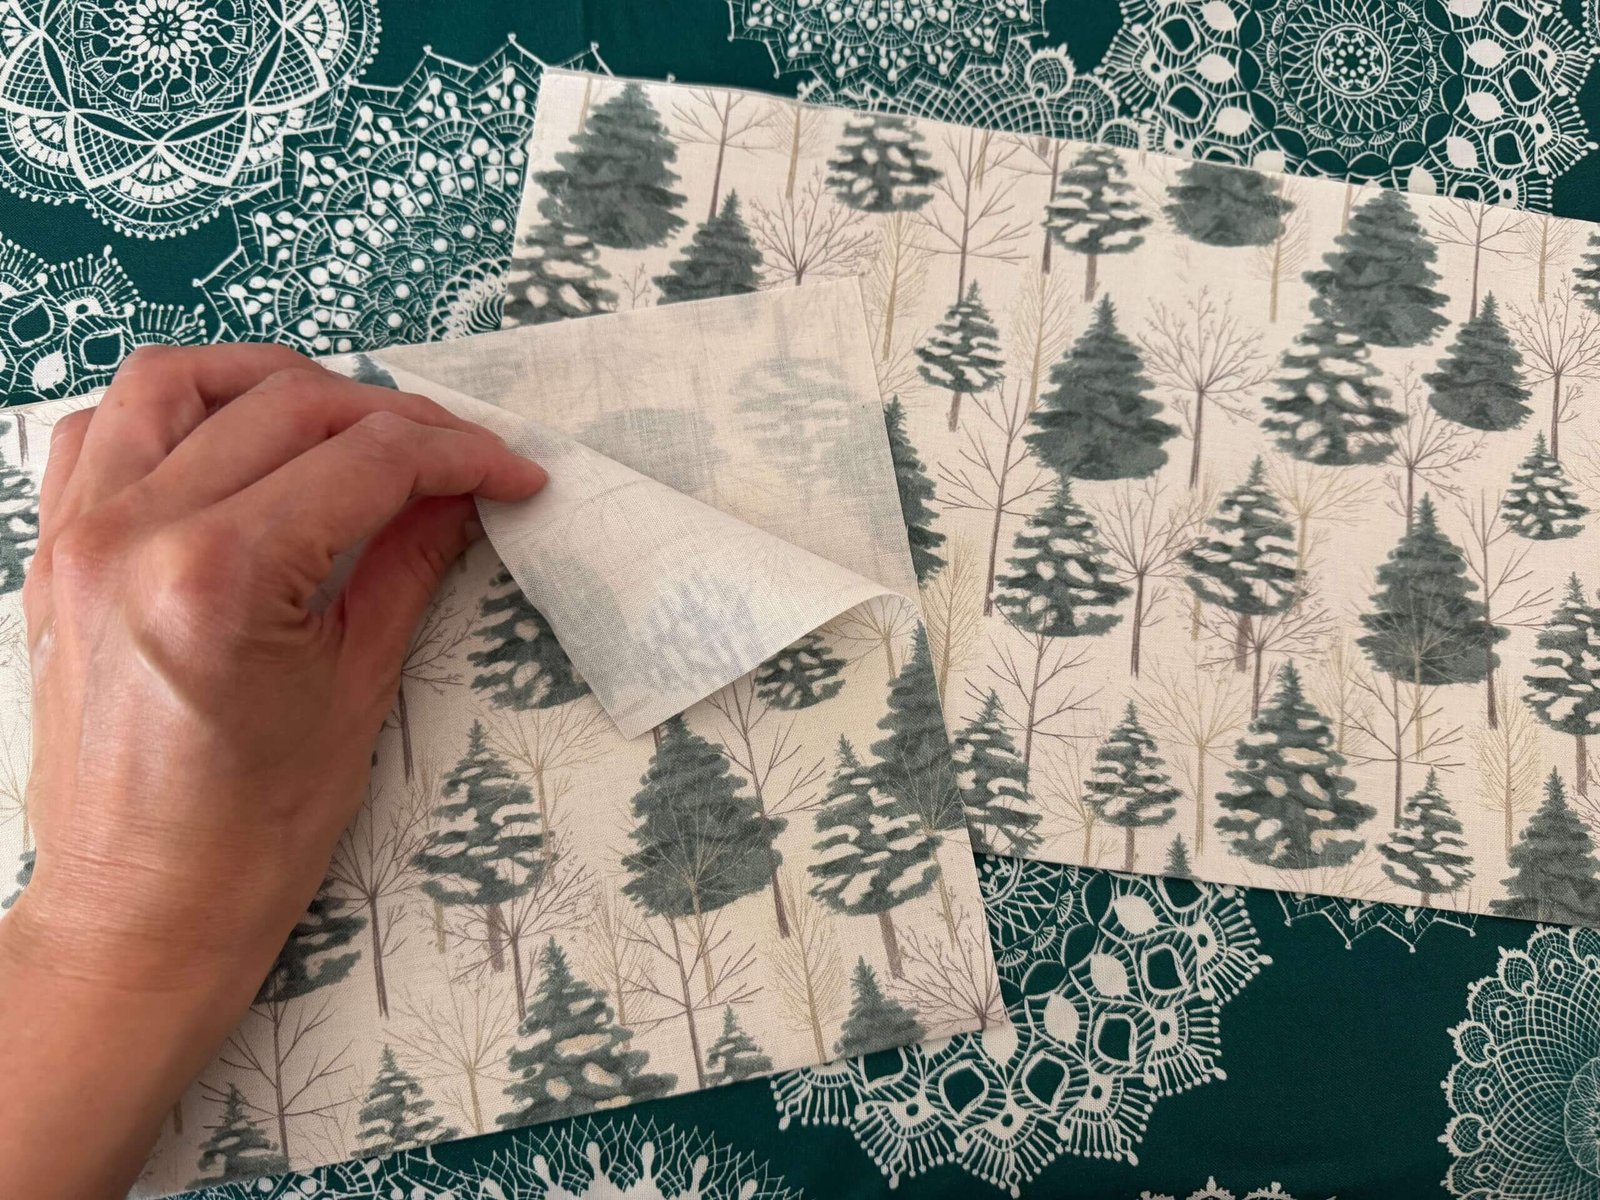
Now we will press this piece of fabric in half. You’ll want to match up the Side A edges (these will be the same measurement as the pillow front). Make sure that you are putting wrong sides together. Then press thoroughly!
Lay it Out
Now I’m going to take these two folded pieces and place them, overlapping on the RIGHT side of my pillow front:
Make sure that the folded edge is running through the center of your pillow and all raw edges are on the sides.
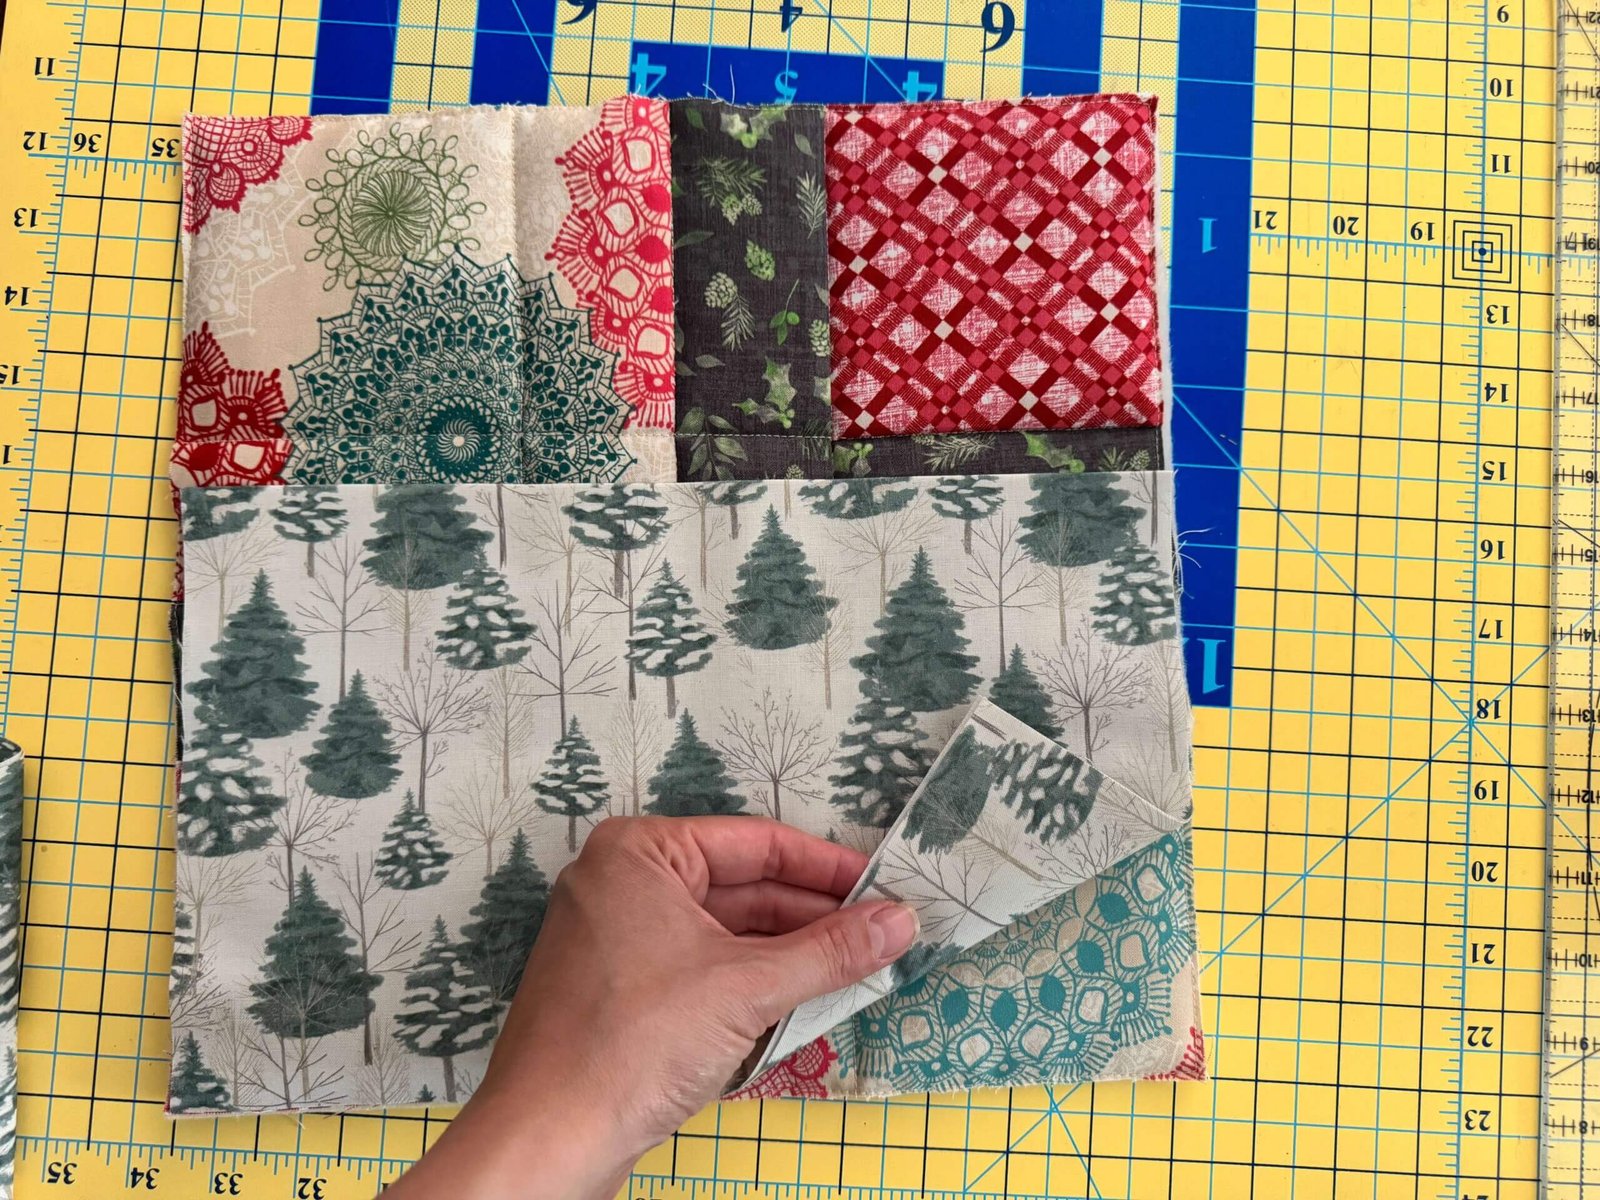
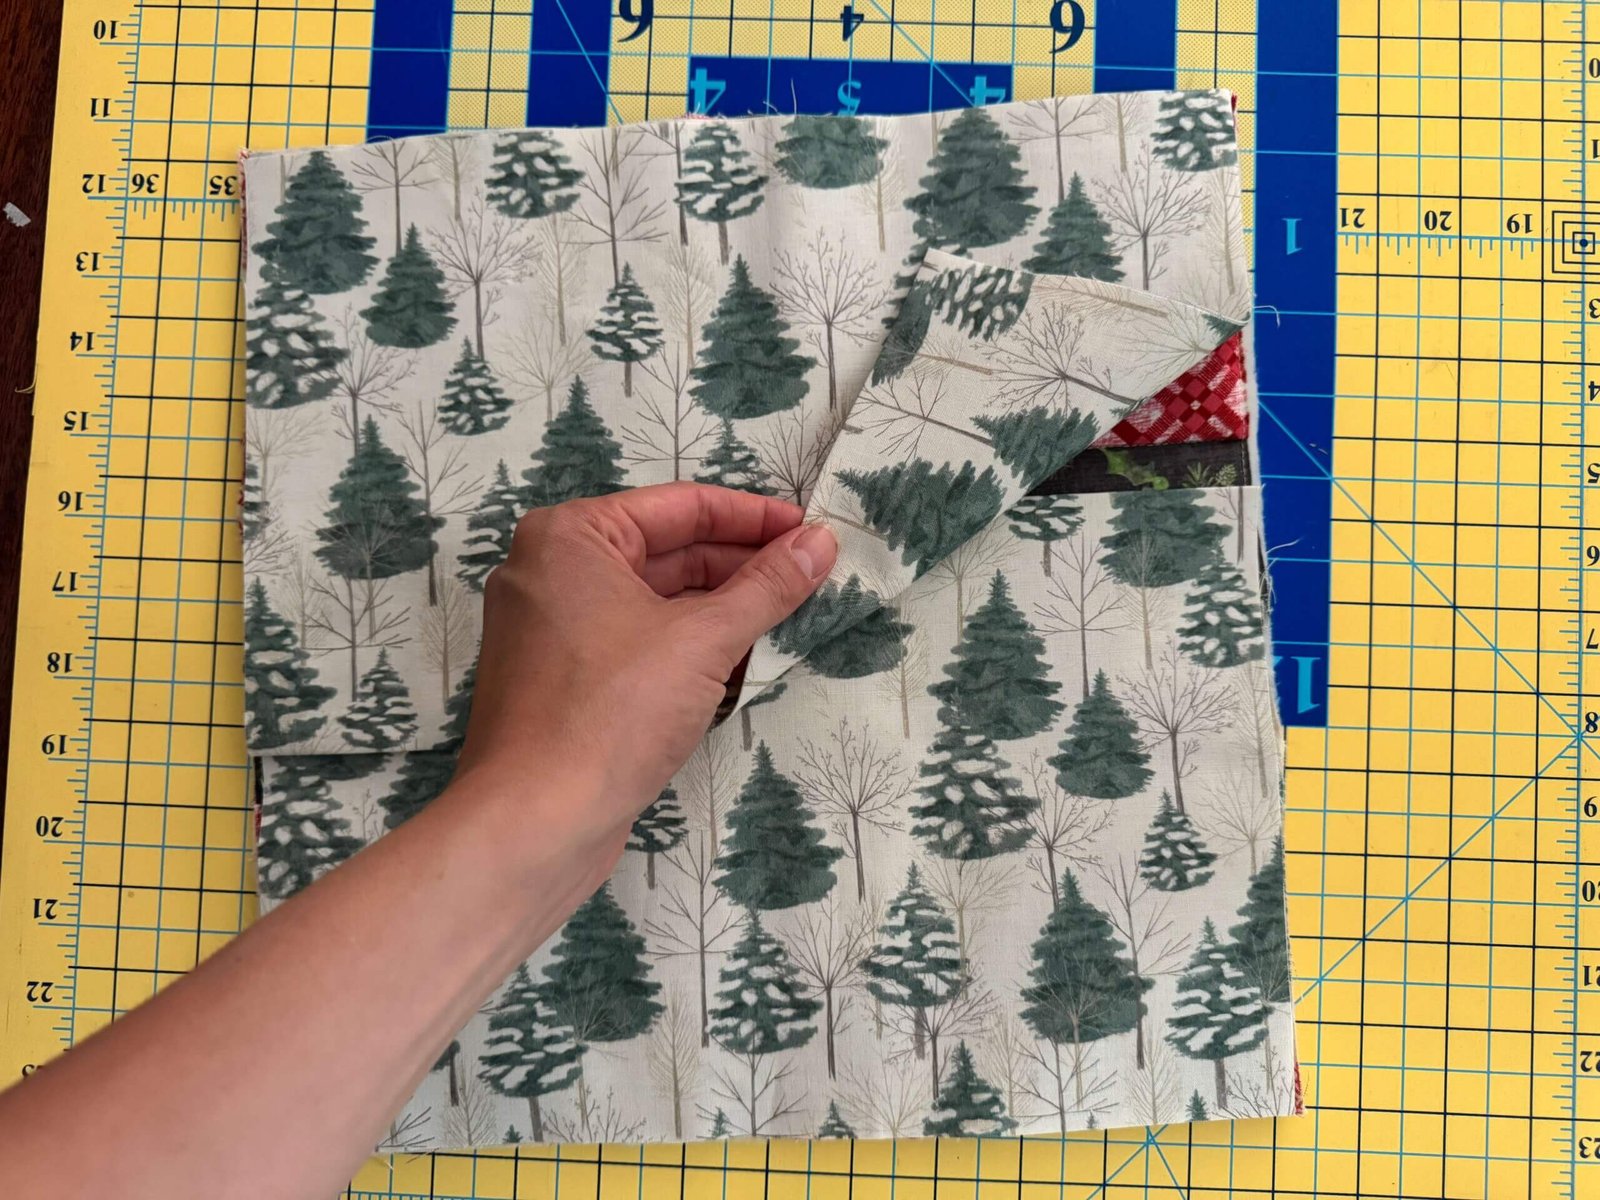
If you’re using a directional fabric or your pillow has a definite top/bottom orientataion, pay close attention here and make sure your prints are going in the correct direction once flipped right side out!
Stitch It On
Now it’s time to stitch around all sides of your pillow. I like to use a generous 1/4—1/2 inch seam allowance here, just to make sure I catch everything!
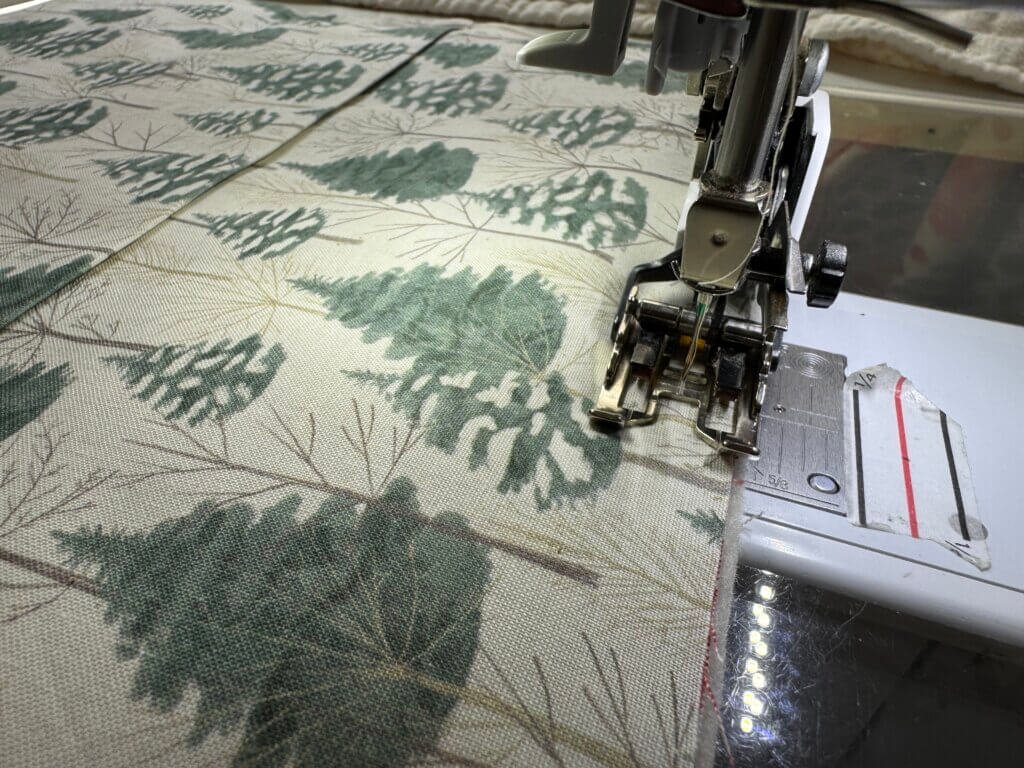
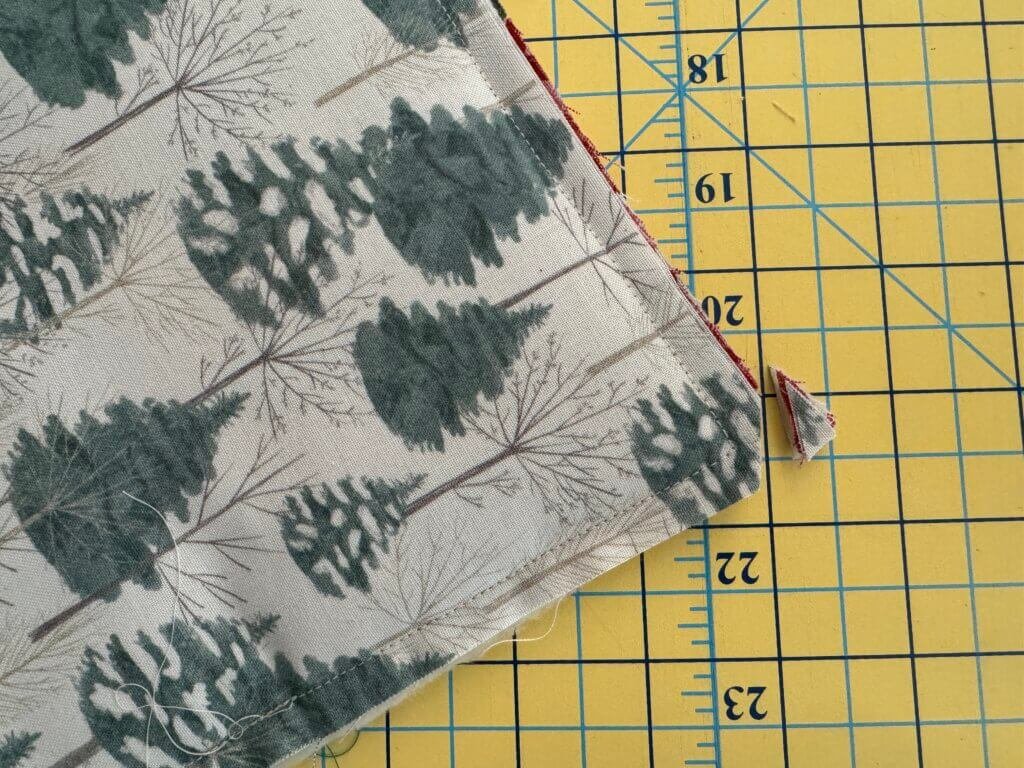
Before flipping right side out, make sure to clip the excess fabric off of each corner!
Flip it Out!
Now for the best part! Turn that sweet pillow right side out and slide in your pillow form!
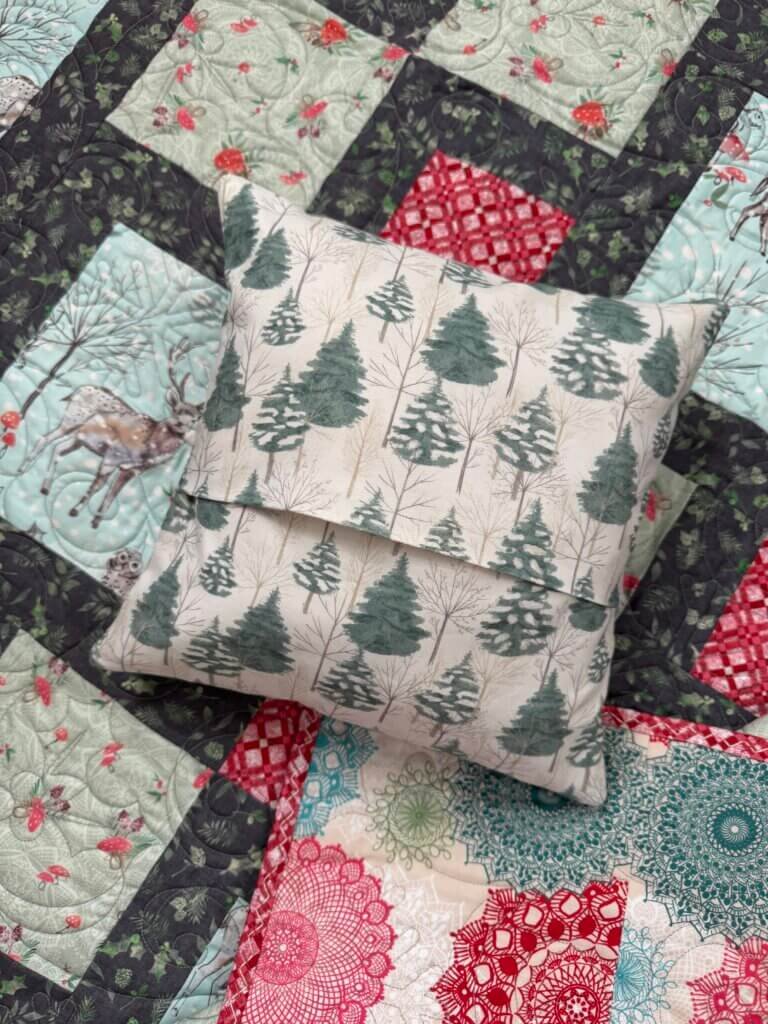
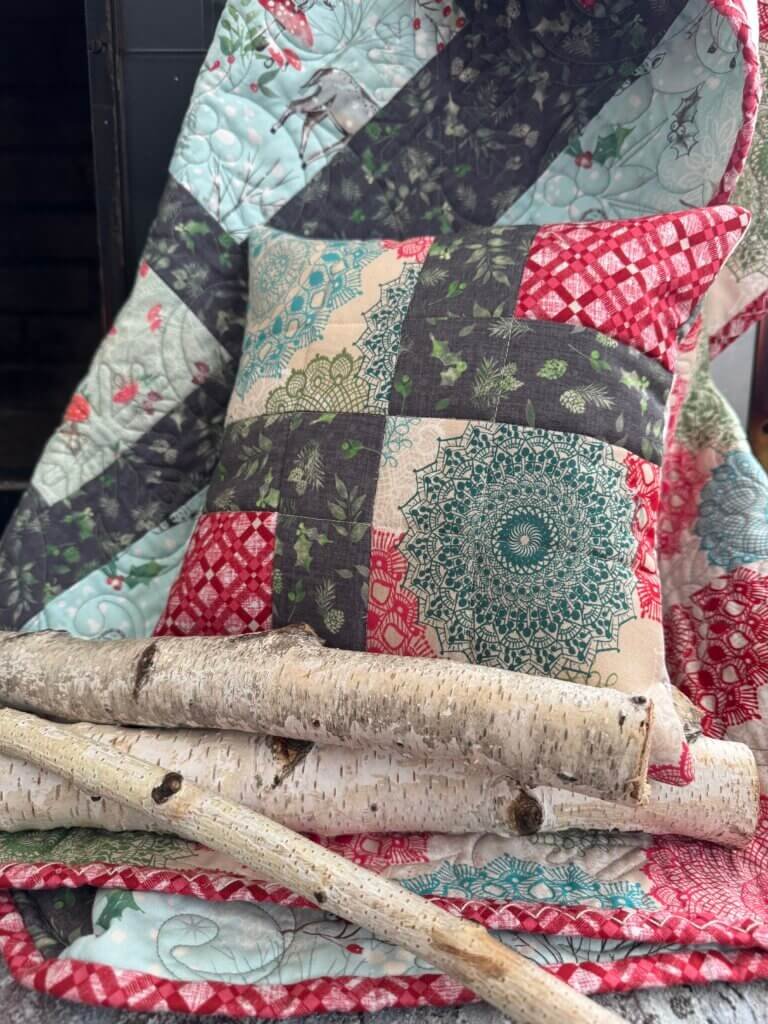
If you need some help choosing a pillow form size, here’s a handy chart for you!

Need the pattern?
I thought you might!
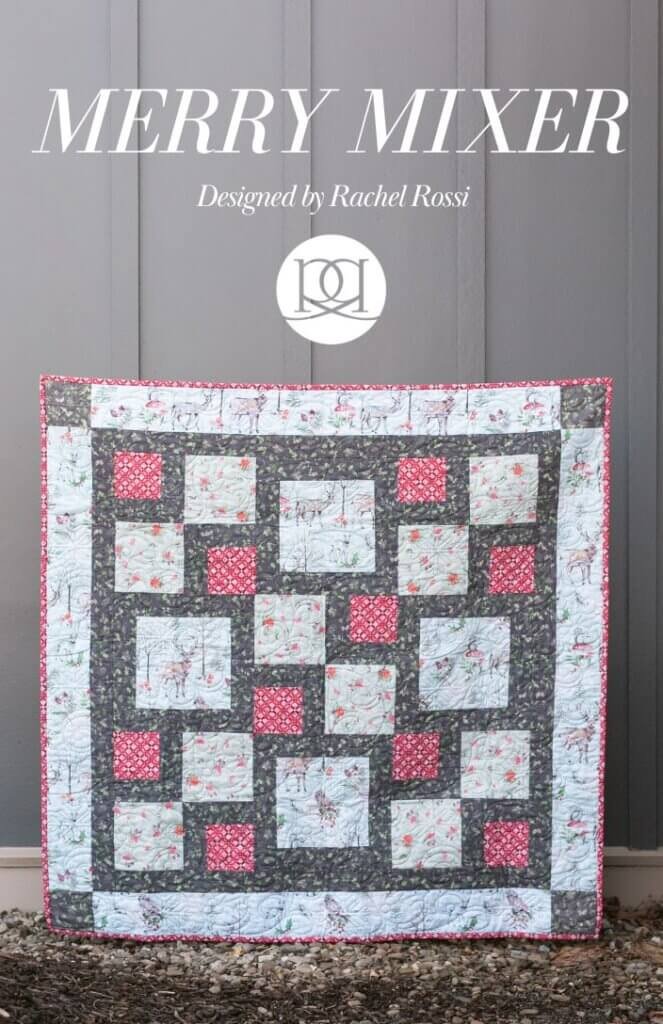
This pillow is made just using one block from my Merry Mixer pattern! This cutie was released back at the very begining of my quilting career and continues to be everyone’s favorite quick quilt. It comes together quickly and shows off those prints that you just can’t cut!
Make sure to grab a copy over in the shop and get started on your quilt…don’t forget to make an extra block while you’re at it for a matching pillow!
Recommended for this Tutorial
Merry Mixer | Winter Haven Edition