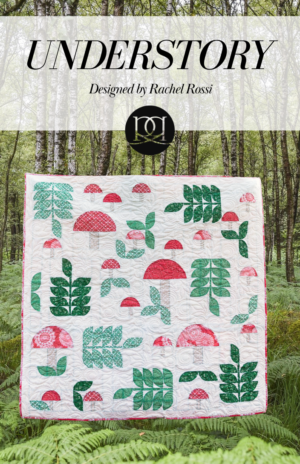

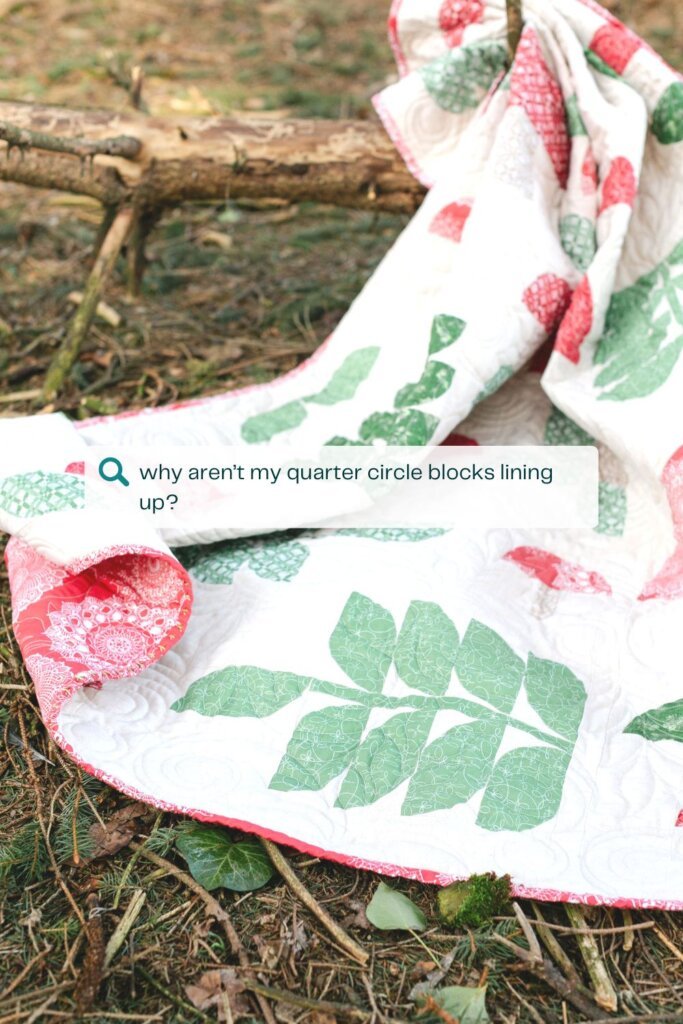
Quarter circle blocks can create some really incredible quilt designs…but they also have a way of showing every little mismatch. If one block is even slightly off, those beautiful curves can suddenly look a little wonky.
The good news? The secret to perfectly matching blocks probably isn’t what you think.
So let’s dive in!
If your blocks aren’t lining up quite right, the solution usually isn’t while you’re sewing them together—it’s how you trim them before they ever meet.
Start with a Little Grace
One of the reasons I designed my Quarter Circle Templates the way I did is because I wanted quilting to feel a little less stressful.
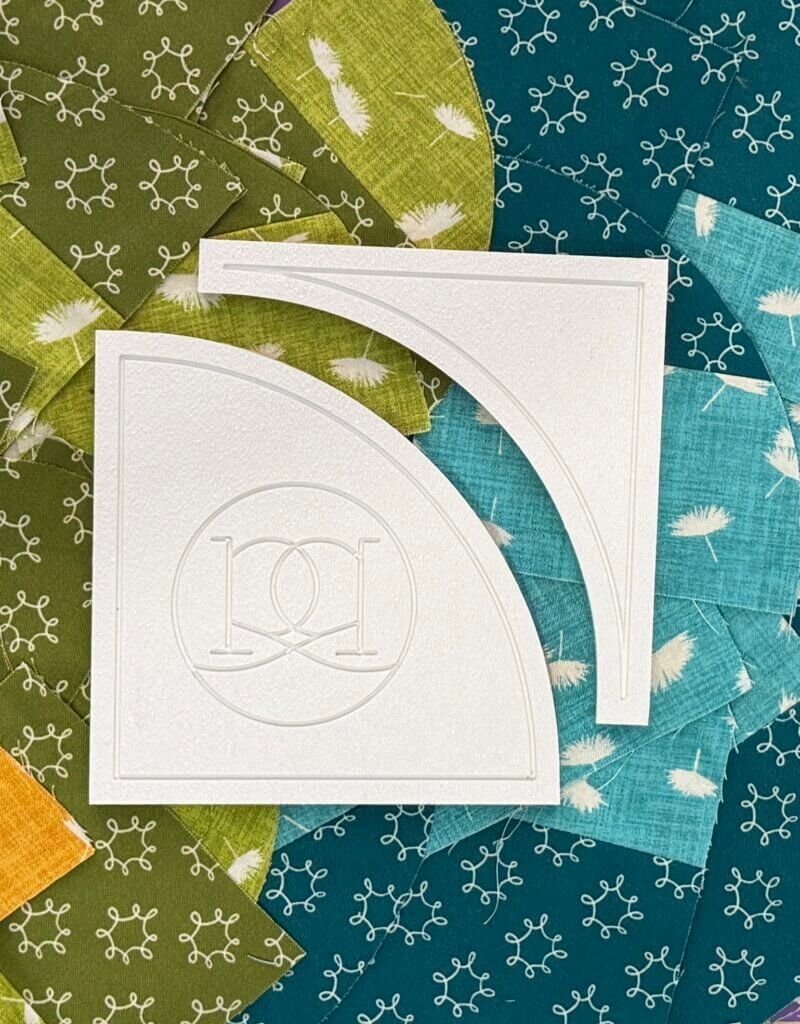
Every template includes extra room around the block so you can trim everything square after sewing. That means your stitching doesn’t have to be absolutely perfect. You have room to adjust, clean things up, and end up with a beautiful finished block.
I firmly believe a block doesn’t have to look perfect until it’s finished.
So let’s trim!
Step 1: Trim the Crust
If you’ve sewn one of my quarter circle patterns before, you already know I have names for the two pieces.
The outer background is the crust, and the quarter circle itself is the filling. (Because pie is always a good idea.)
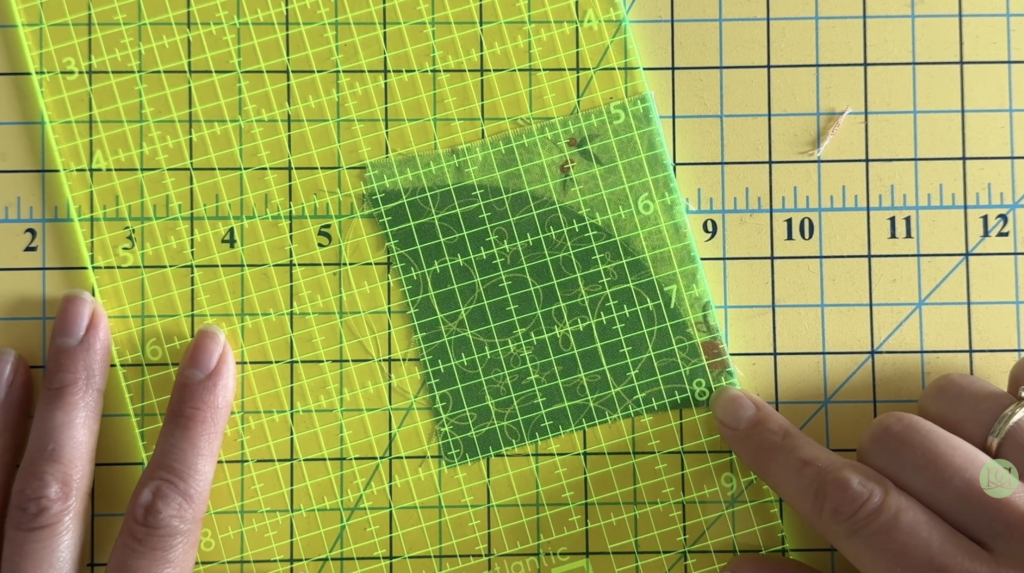
After stitching your block together and pressing it, start by trimming the crust.
You’ll want the crust to measure ¼” wide along both outside edges.
Trim one side…
…then trim the second crust edge so you have two clean, straight sides.
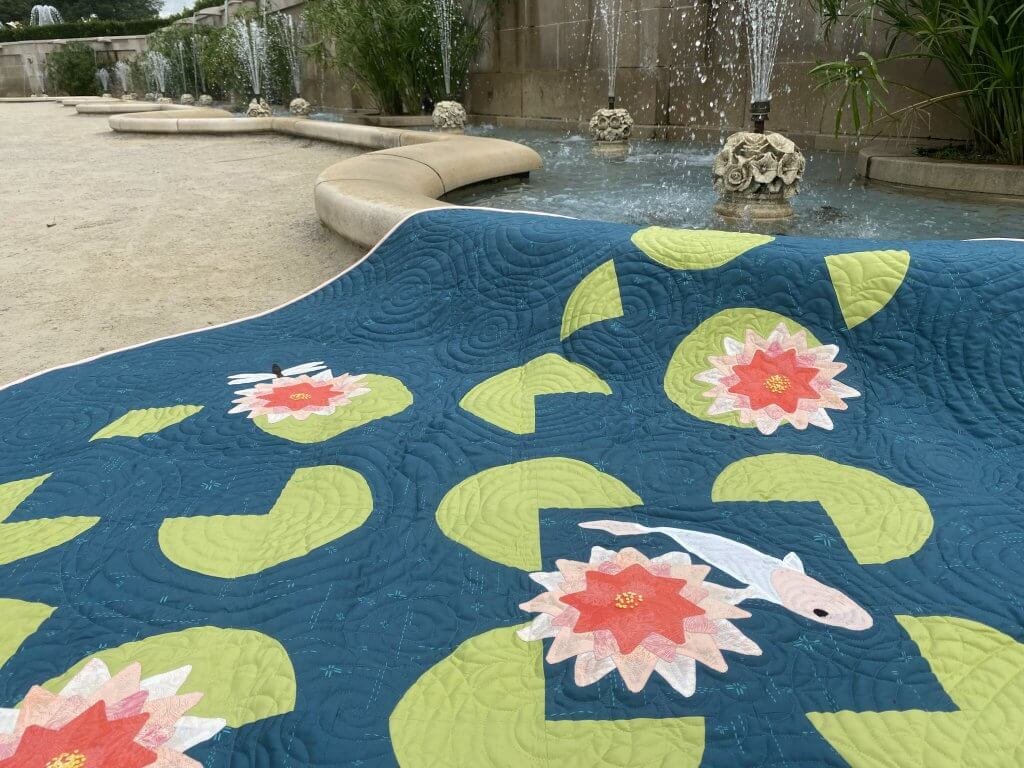
Unless you’re making one of my patterns that’s intentionally a little different (like Water’s Edge), that outer edge should always finish at ¼”. That little strip disappears into the seam allowance when the quilt is assembled, giving you those beautiful, uninterrupted curves.
Step 2: Trim the Filling
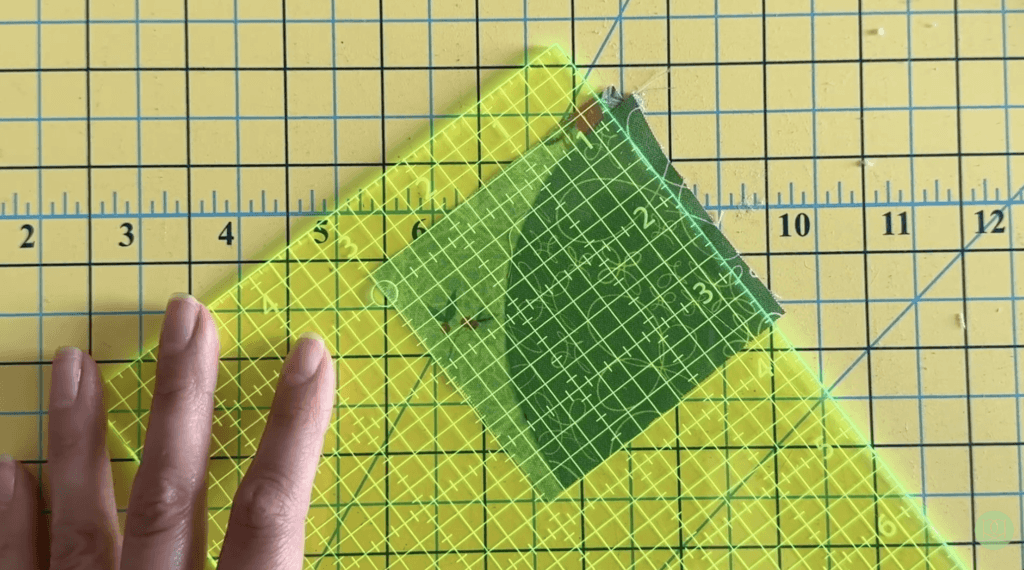
Now rotate the block and trim the remaining two sides.
This time you’re trimming the filling side of the block until it reaches the correct unfinished size.
Sometimes you’ll trim quite a bit.
Sometimes you’ll only shave off a few threads.
Both are completely normal! That’s exactly why I built extra room into the templates.
Repeat for the final side, and you’ll have a perfectly square block that’s ready to sew.
Step 3: Stitch Your Blocks Together
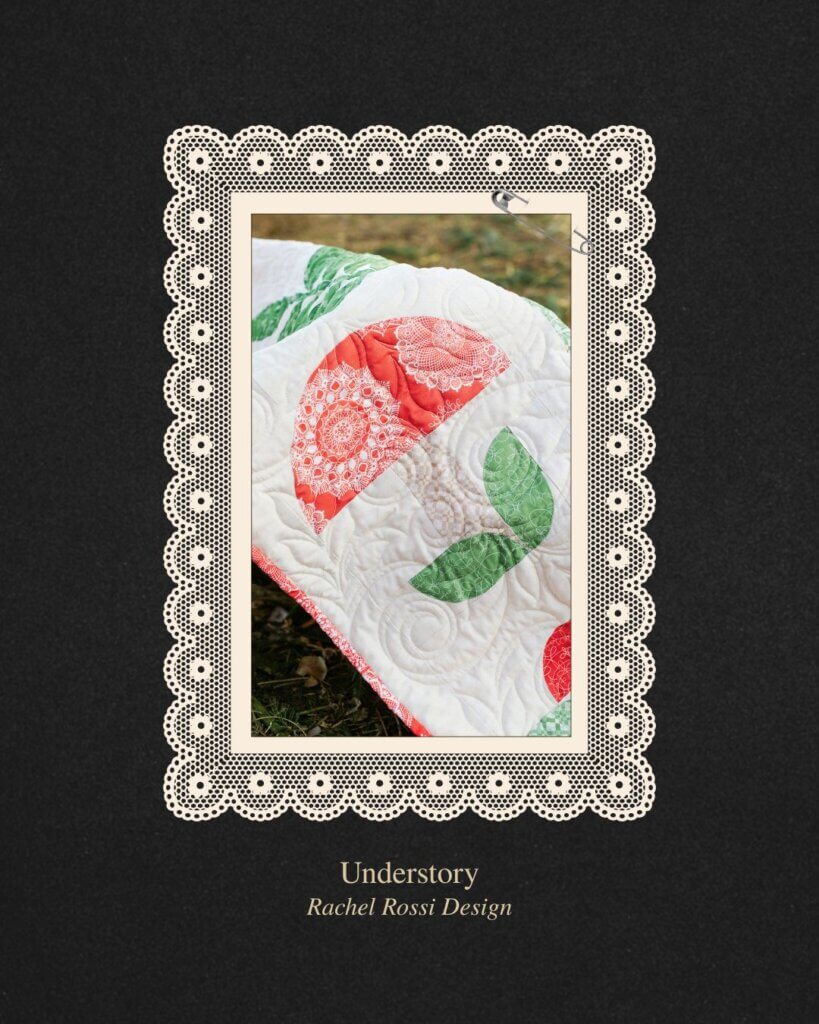
Now comes the easy part.
Place your blocks right sides together, line up the edges, and sew with your usual ¼” seam allowance.
Because each block was trimmed to exactly the same size, those curves should line up beautifully.
One More Tip
If there’s a seam intersection that’s giving you trouble, here’s my favorite trick.
Press one seam allowance back by ¼” so you can clearly see where the seams need to match. Line everything up from the front, then open the seam allowance and pin—or glue baste—it into place before sewing.
That little extra step keeps the seam from shifting while you stitch and makes matching those intersections so much easier.
If you’d like to see exactly how I do it, you can watch my step-by-step tutorial on that method by clicking here!
Prefer a Video?
If you would like to see how to piece and stitch curves, or watch a video of this trimming method (jump to time marker 5:01), make sure to check out the step-by-step video below!
Quarter Circle Templates and Patterns
I have lots of templates and patterns that use this method of piecing – if it’s something you’d like to explore more, grab a pattern and template set today!
Recommended products
-

Deco Bloom
$12.99 -
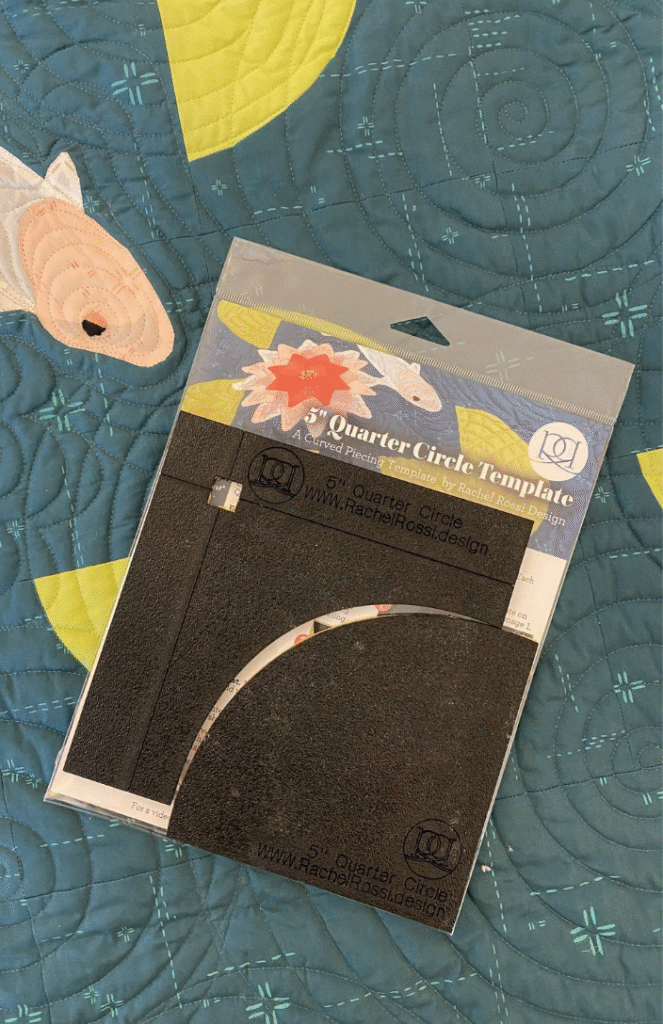
5″ Quarter Circle Template
$29.99 -

Water’s Edge
$14.99 -
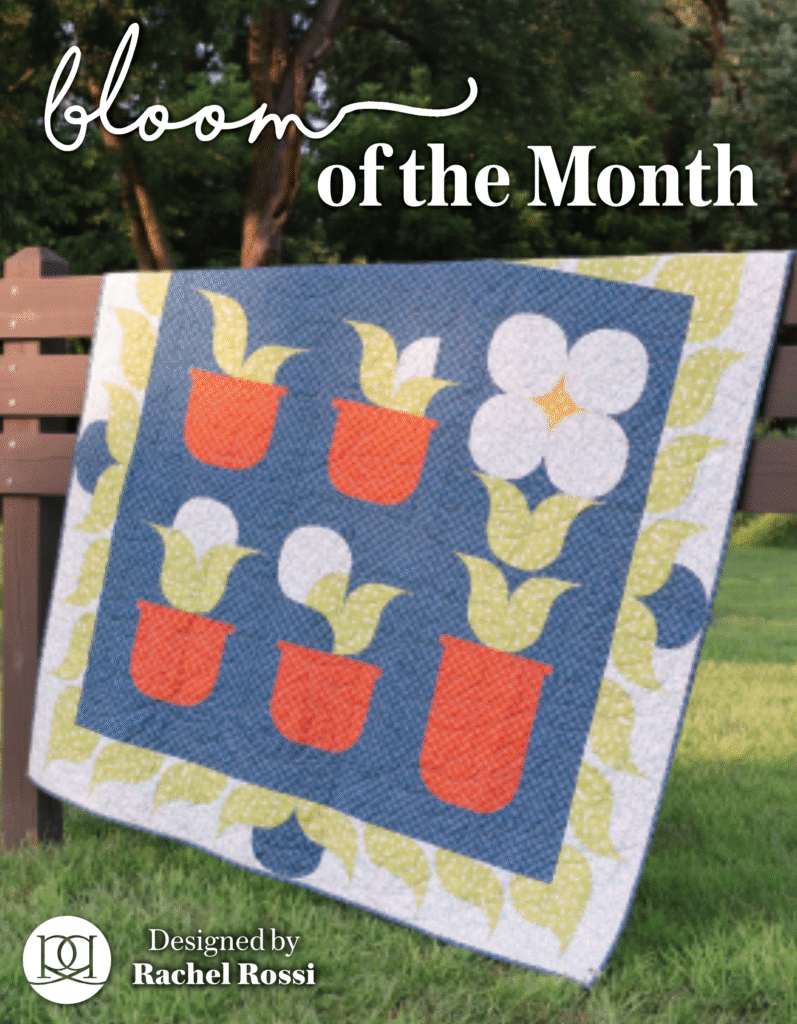
Bloom of the Month
$34.99 -
4.5″ Quarter Circle Template
$29.99 -

Field of Joy
$14.99 -
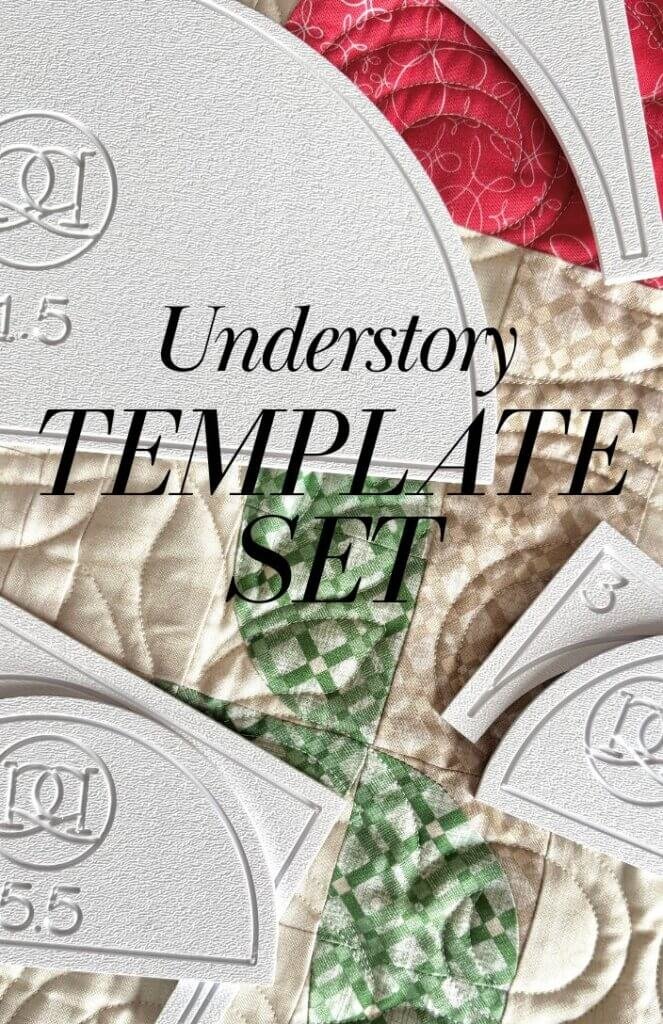
Understory Template Set
$98.00 -
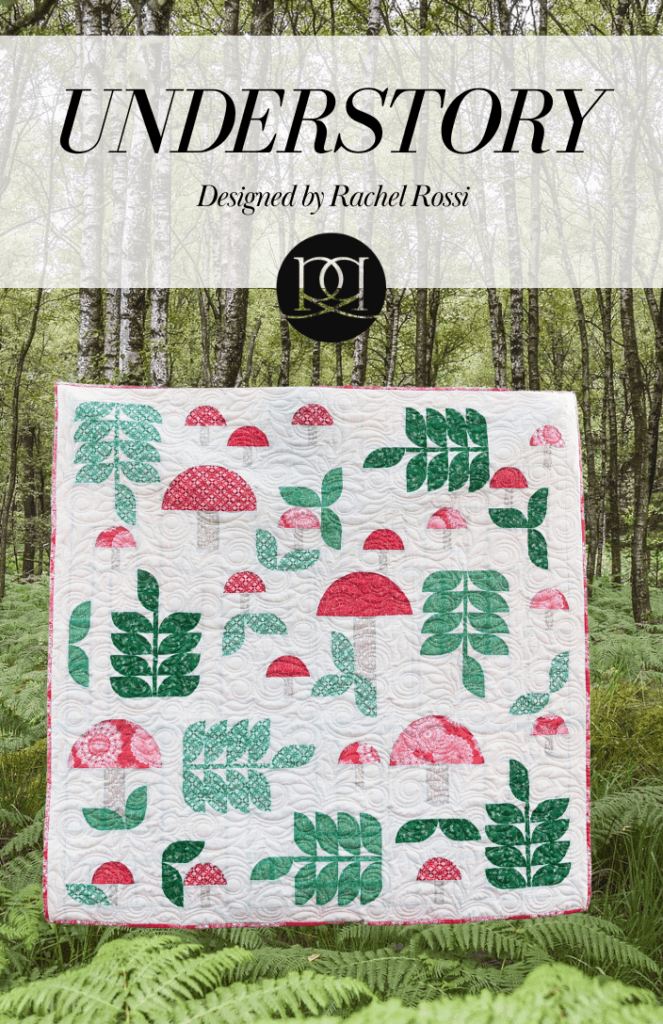
Understory
$49.99
Shorthand Template and Patterns
Liking the idea of curves but want to think outside of the box? Try my Shorthand Templates! These gentle curves create a lovely curved triangle block that can be used in so many ways!
Recommended products
-
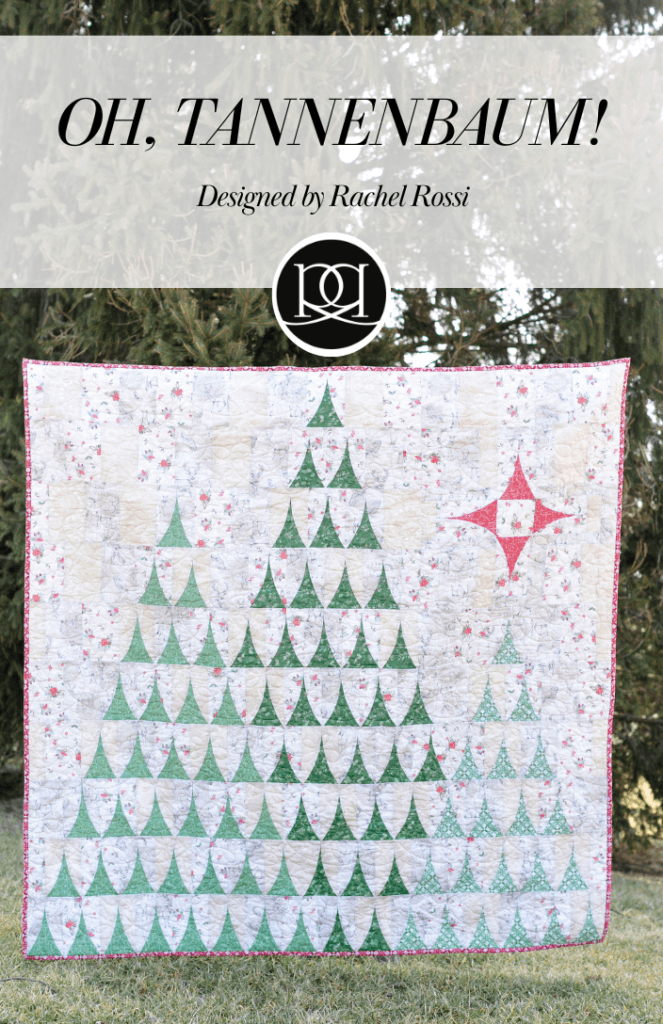
Oh, Tannenbaum! | Winter Haven Edition
$14.99 -
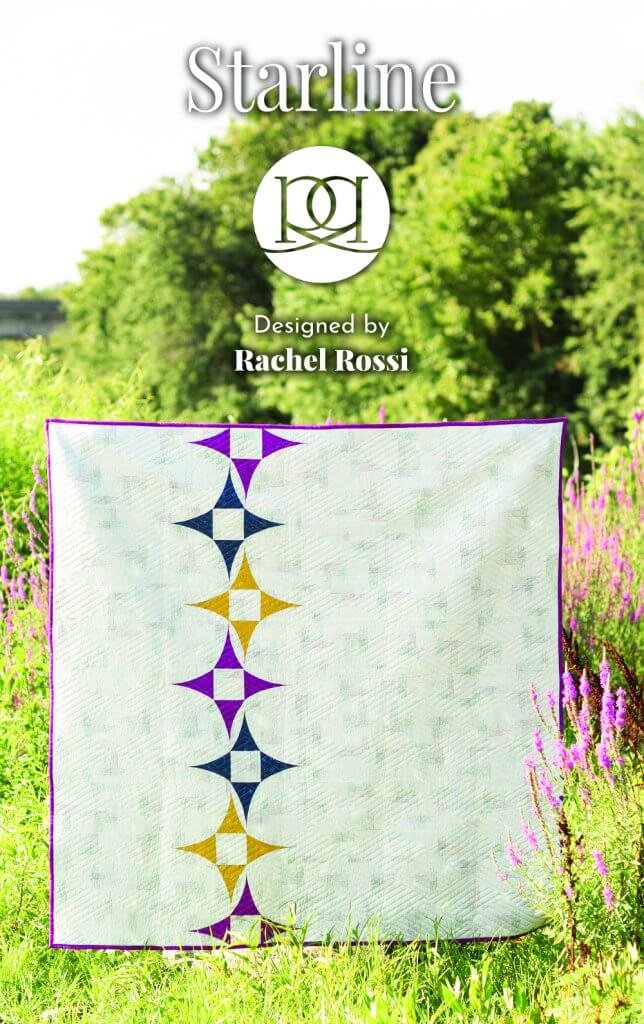
Starline
$12.99 -
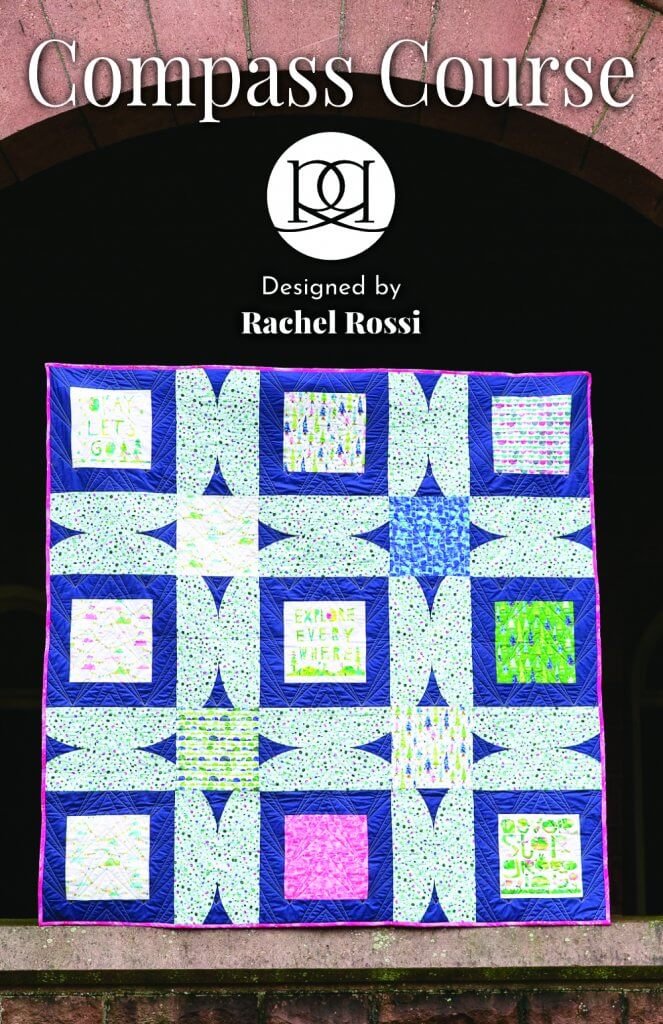
Compass Course
$12.99 -

Shorthand Template
$29.99 -
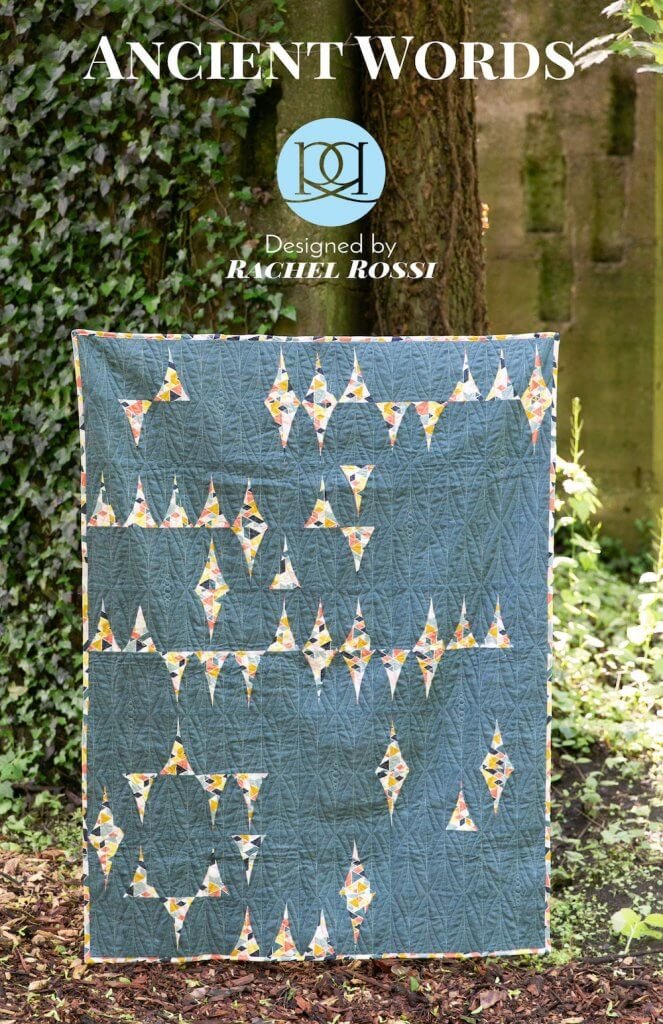
Ancient Words
$12.99 -
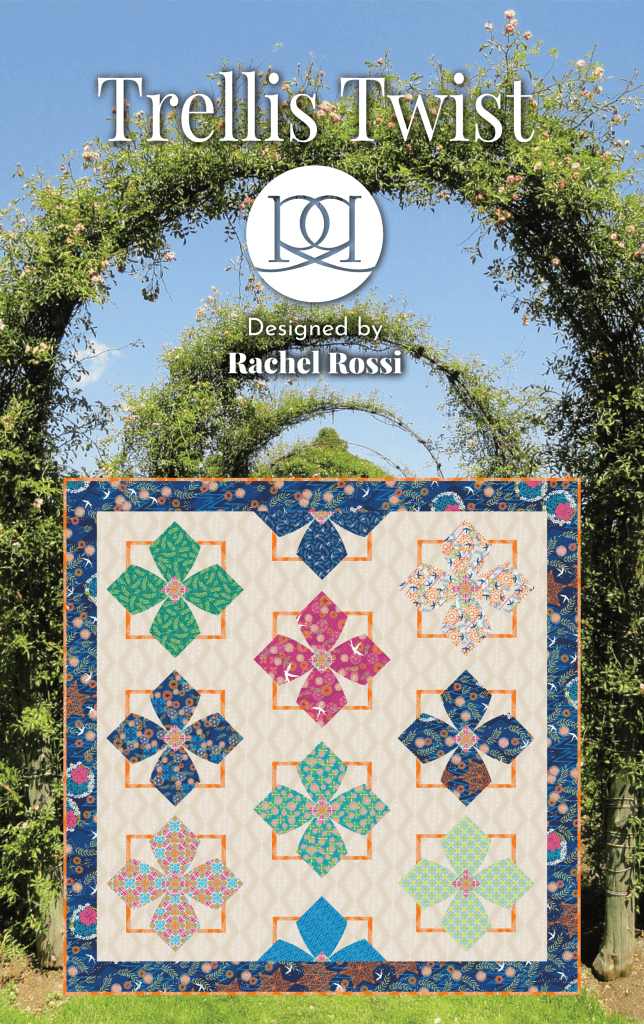
Trellis Twist
Price range: $6.99 through $12.99
Recommended for this Tutorial