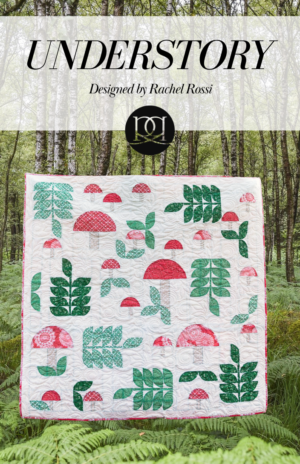

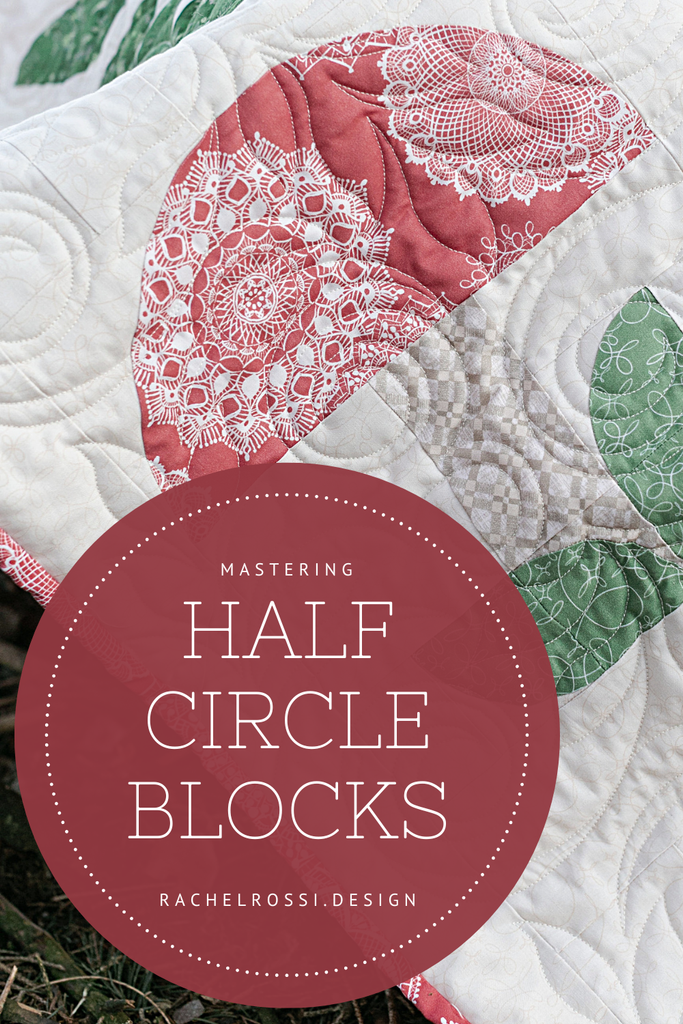
Curved Piecing can feel so intimidating, I mean, really…how does a round seam lay flat!? But today I challenge you to grab a scrap piece of fabric and just give it a try! Once you’ve given it a try, I know you’ll never go back.
I won’t lie, curved piecing does take a bit more time. But when you follow these few simple rules, you’ll be left with smooth, flat, crsip blocks every time.
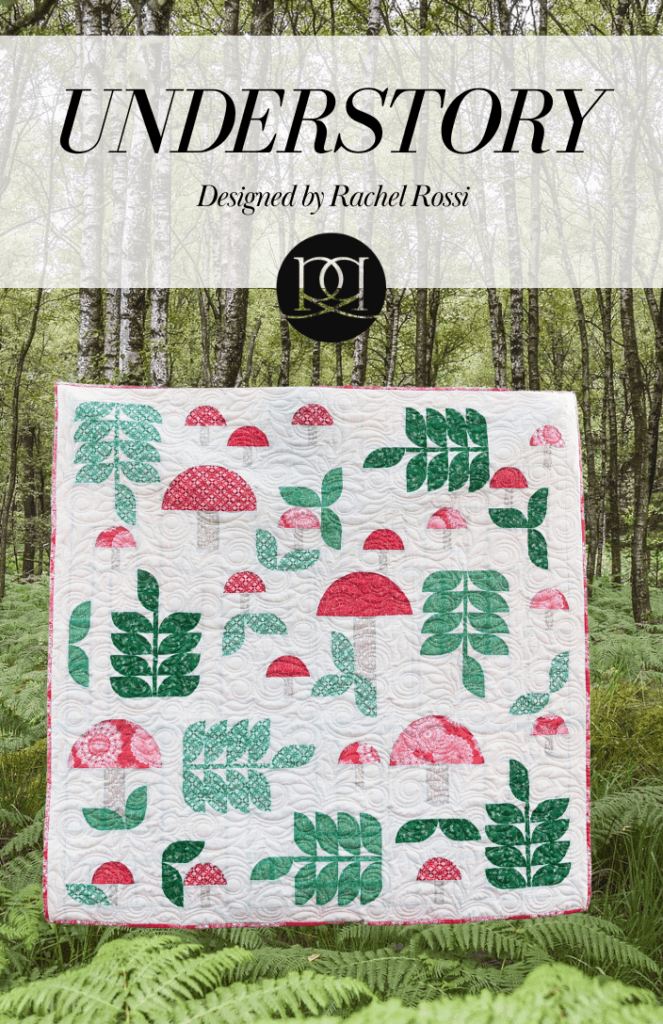
Whether you’re working on the Understory quilt or another half-circle project, this tutorial will walk you through cutting, glue basting, sewing, pressing, and trimming these curvy blocks.
Check out the full video tutorial below, or jump ahead for the step-by-step breakdown:
Video Tutorial
Before We Begin: Speaking the Language 🥧
To keep everything simple as we work through this block, let’s go over two quick terms for our template pieces:
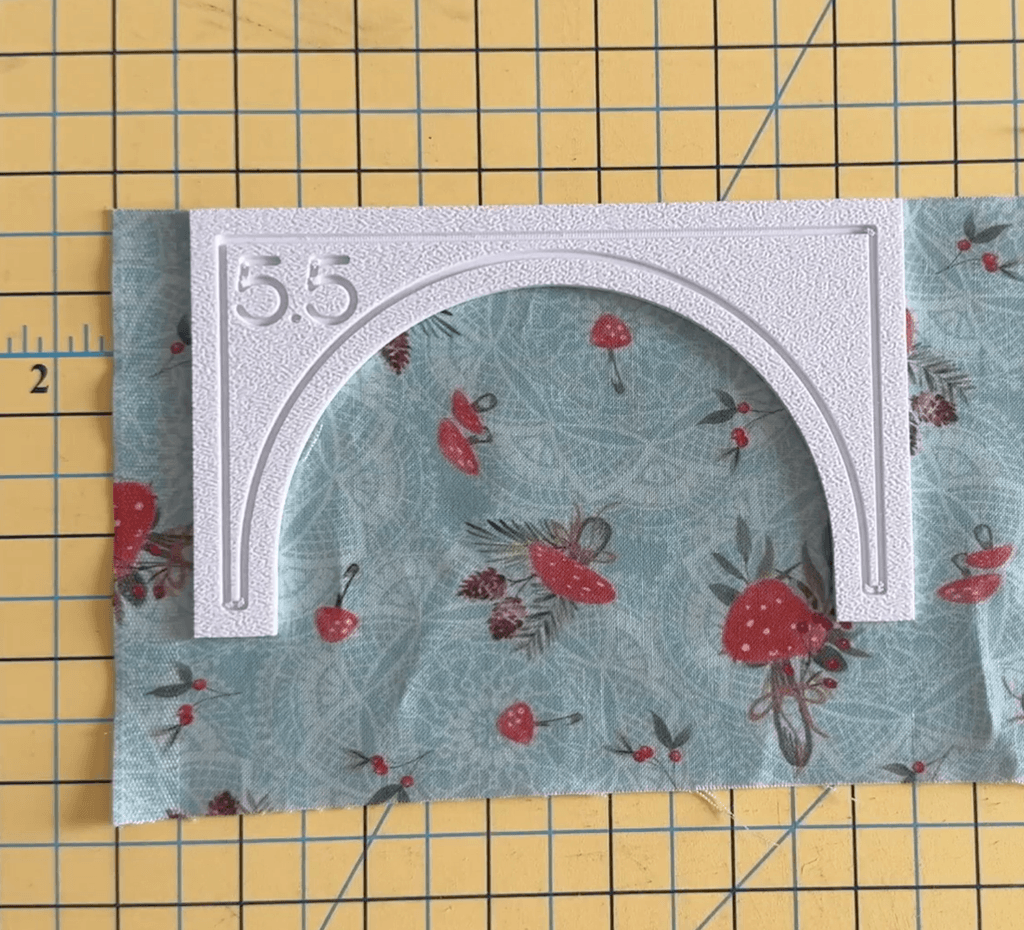
- The Crust: The outer background piece that wraps around the curve (just like a pie crust!).
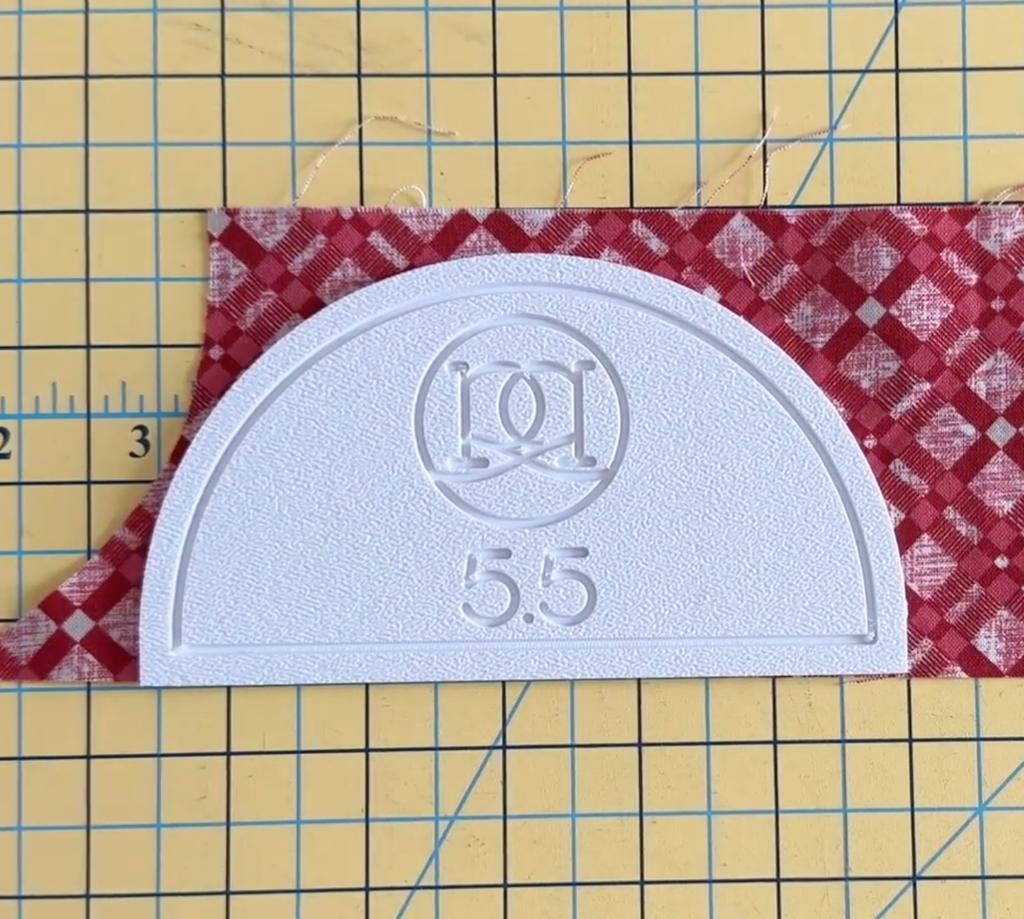
- The Filling: The inner half-circle shape that sits inside the crust.
Supply List
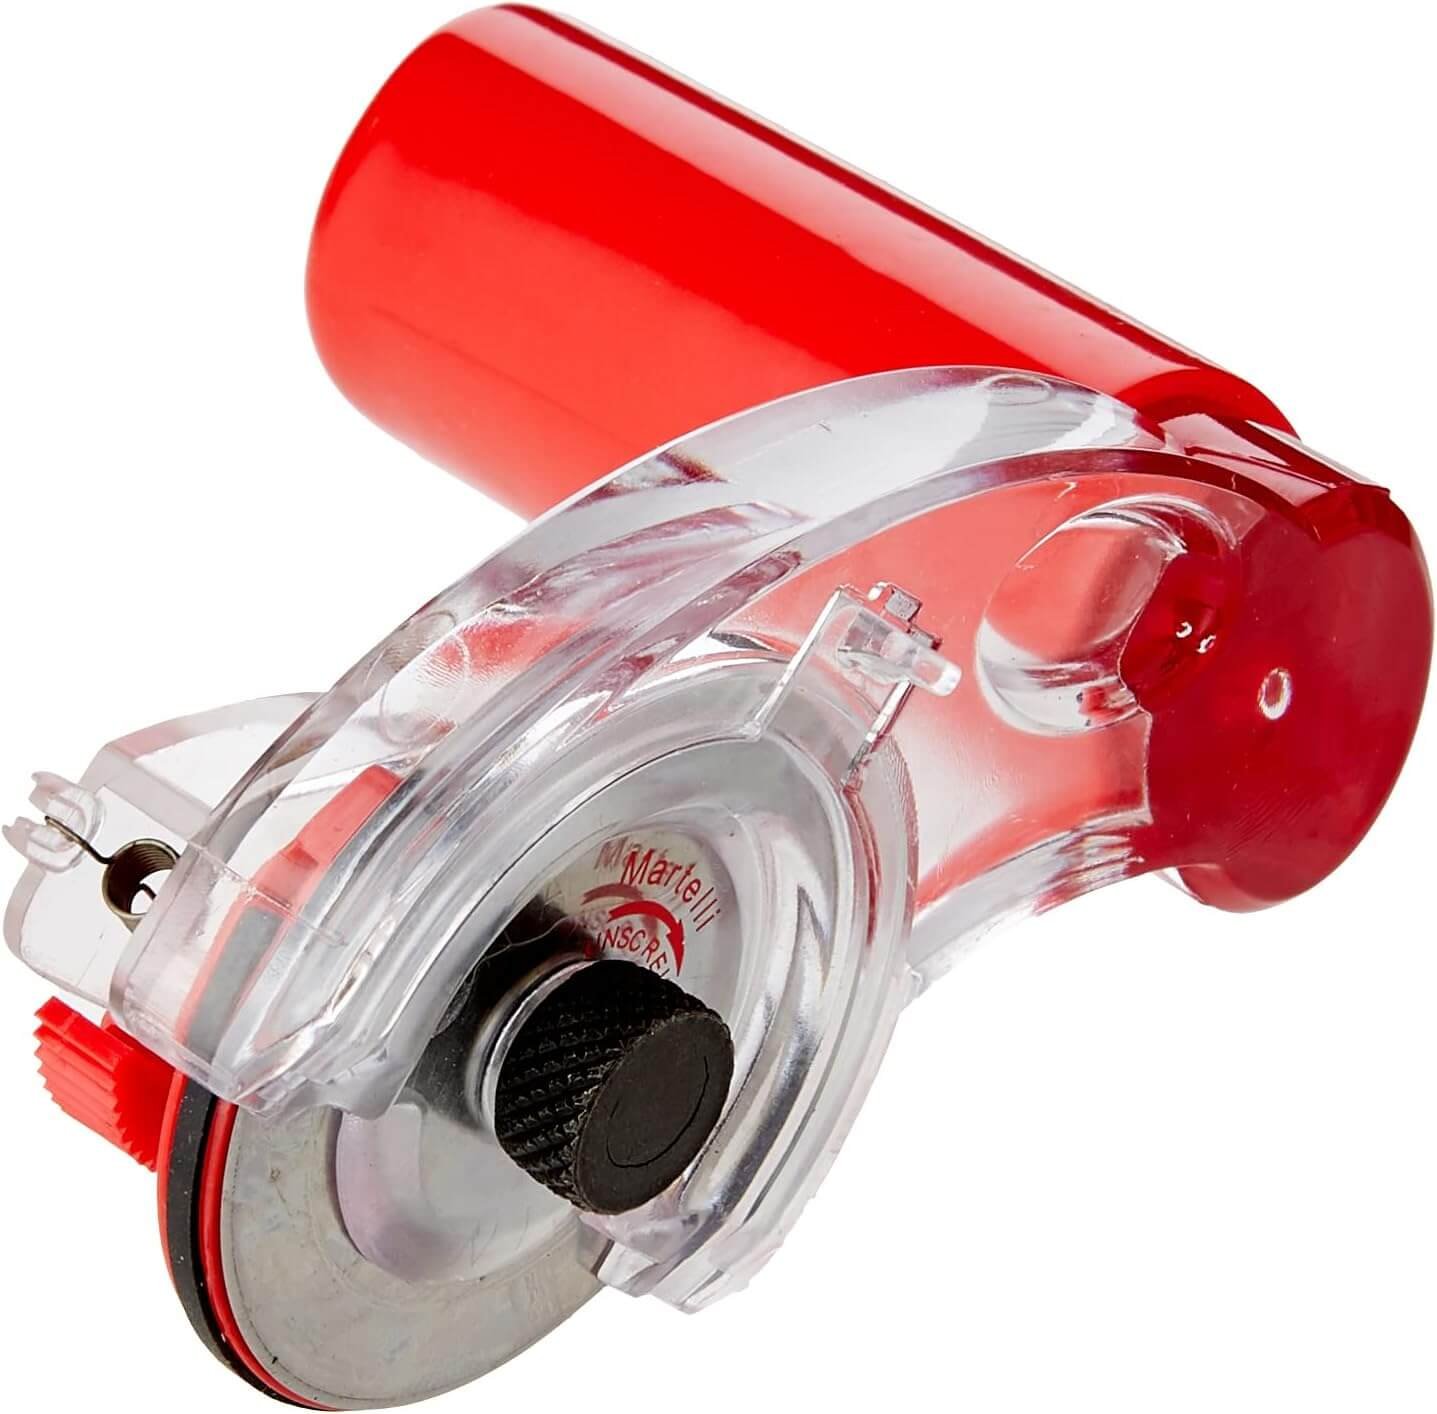
- 28 mm Rotary Cutter: My favorites for working around curved template edges.
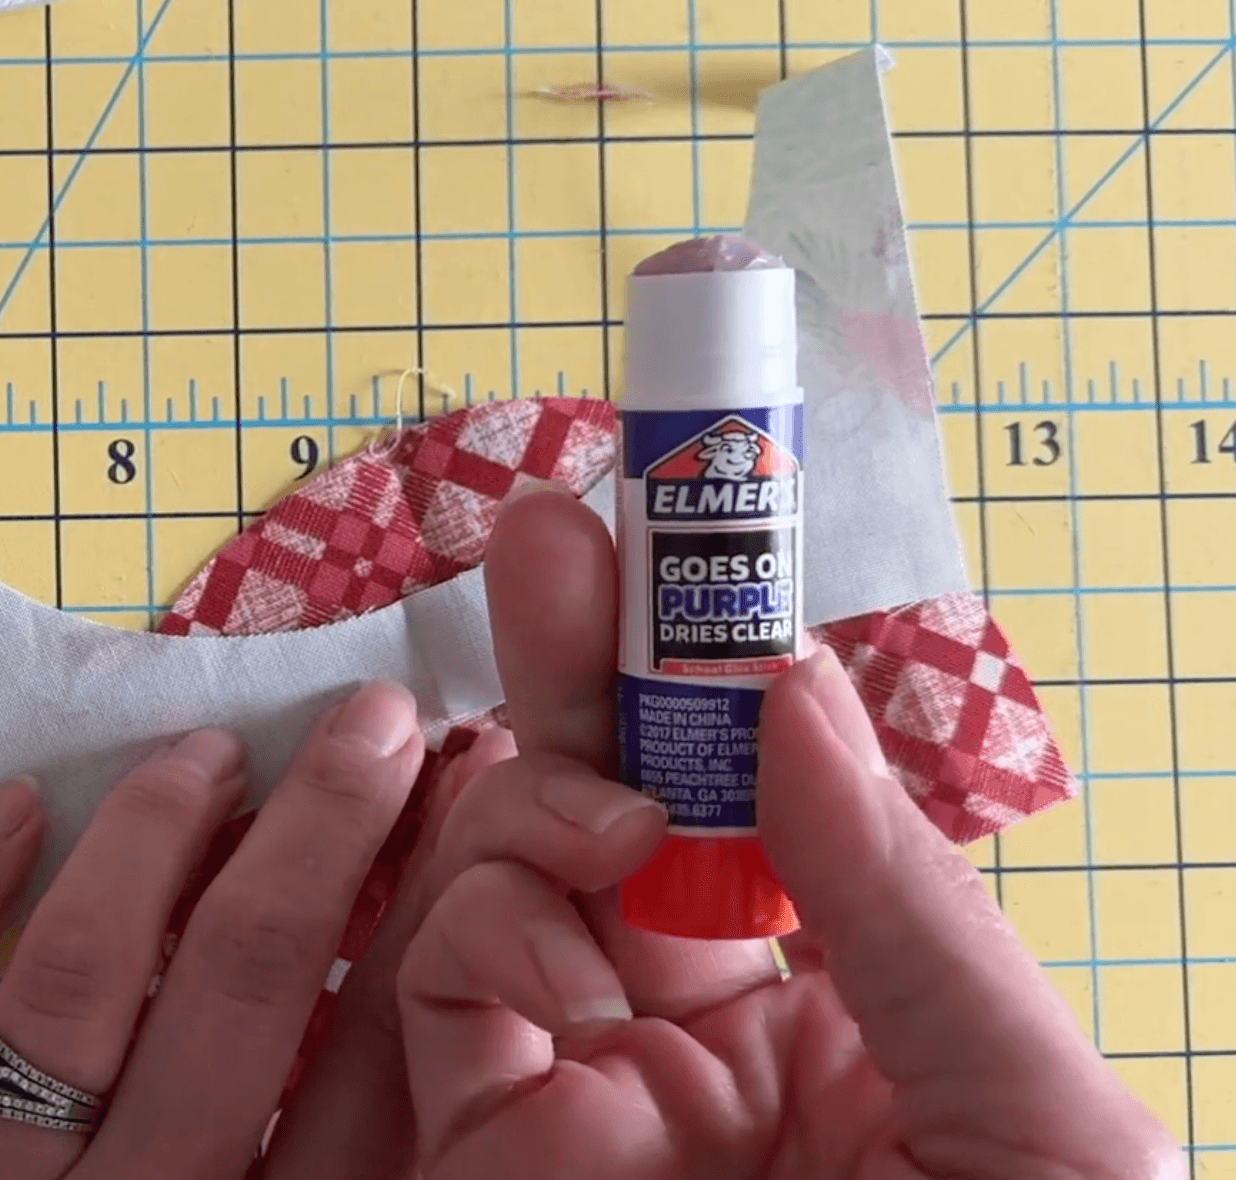
- Elmer’s Disappearing Purple Glue Stick: An inexpensive, washable favorite for pin-free curved basting (I stock up with all the Back-to-School sales!)
- Acrylic Ruler: Essential for measuring exact ¼” seam margins during trimming.
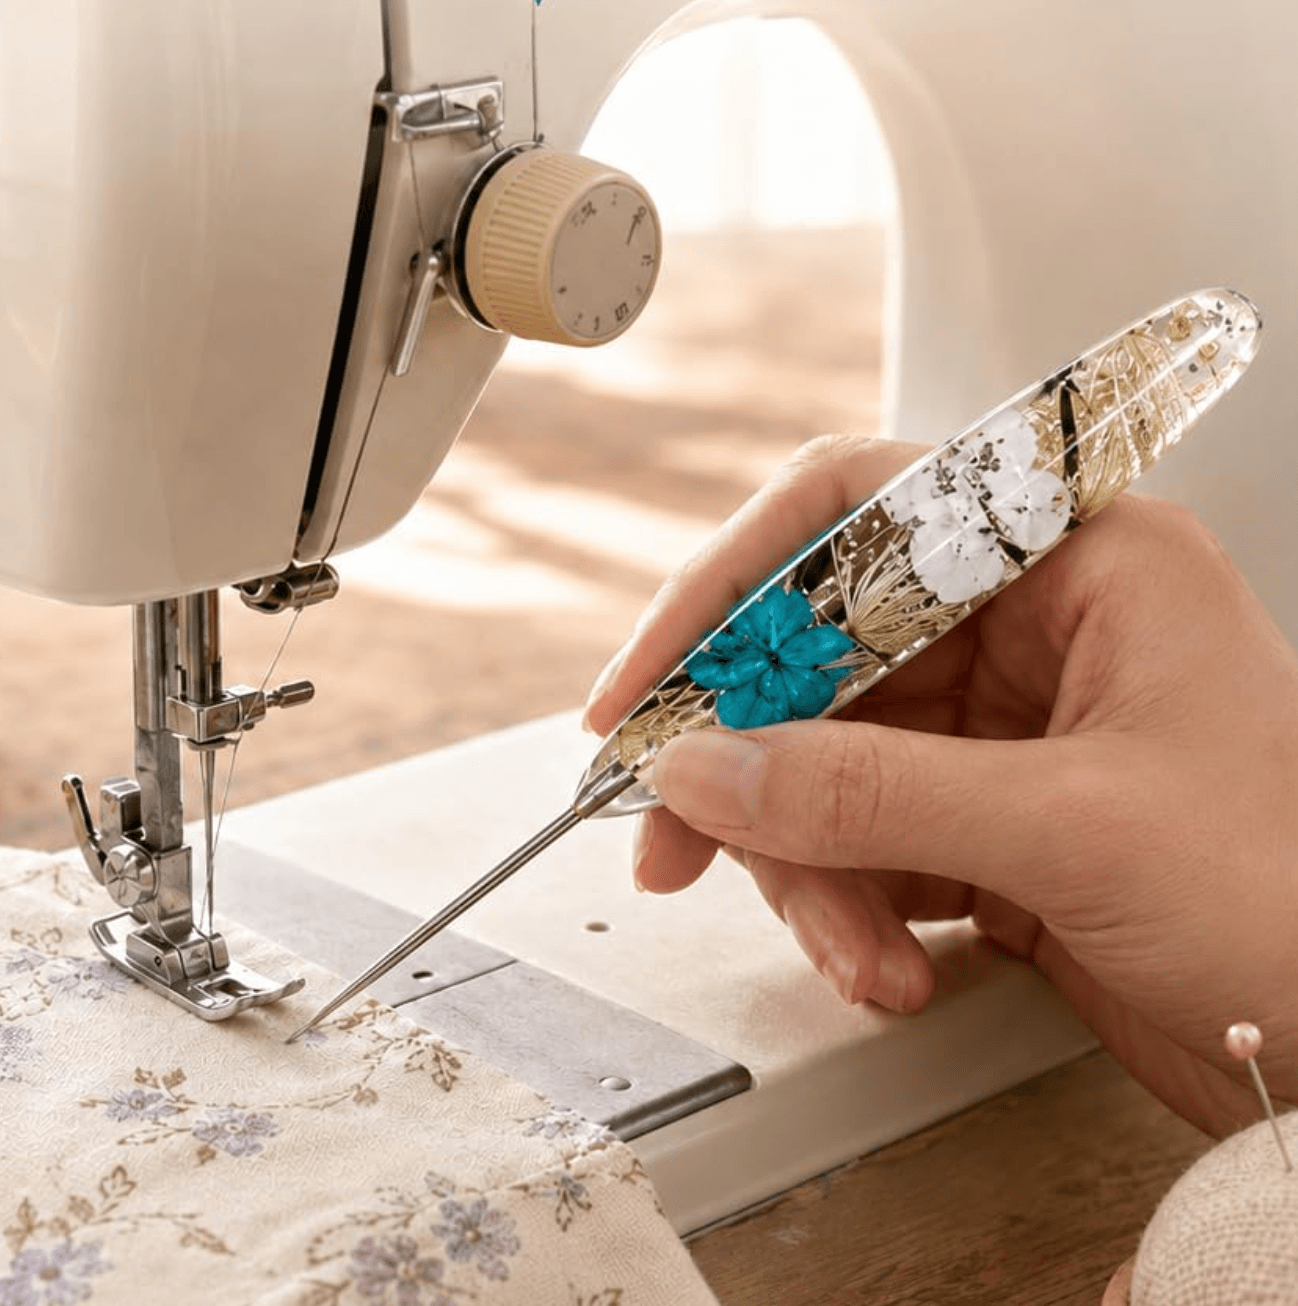
- Sewing Stiletto: Keeps your fingers away from the needle!
Step 1: Cutting Your Fabric Efficiently
Note: I have timestamps included with each step so that you can jump to that part of the video if you’d like!
Curved cutting can take up a lot of fabric if you don’t plan it out first. Start by cutting one piece, flipping, and interlocking each piece as you go.
Cutting the Filling:
- Lay out your strip of fabric and align the long straight edge of your filling template with the bottom edge of the strip.
- Using a small rotary cutter (I suggest a 28 mm rotary cutter for smooth curves), cut along the curved top.
- Flip the template upside down for the next cut, lining it up with the top edge of your strip, and cut around the curve again [00:43]. Repeat this down the strip!
Cutting the Crust:
- On a wider fabric strip, align the long straight edge of the crust template with the bottom straight edge of your strip [01:40].
- Cut carefully around the curved inner edge without slicing through the whole strip. This will allow you to interlock the shapes and save a whole bunch of fabric,.
- Rotate the template so the curves interlock [02:13], allowing you to cut as many crust pieces as possible from a single strip.
Step 2: Marking & Glue Basting (No Pins Required!)
Instead of wrestling with straight pins along a curved seam I always reach for my Elmer’s Glue Stick! This will keep your fabric perfectly aligned without puckering or slipping under the needle.
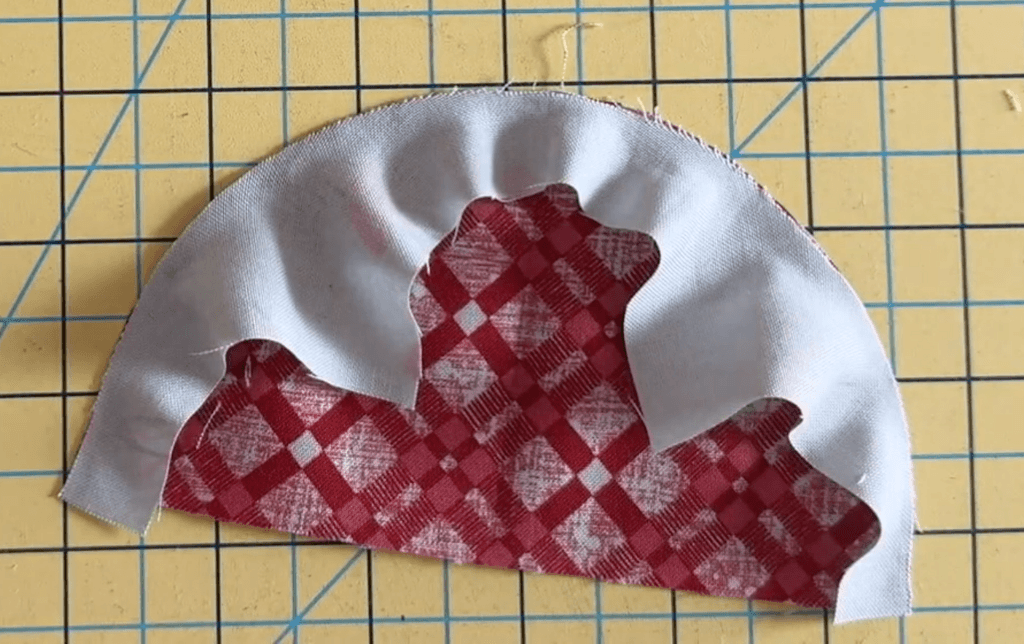
- Find the Centers: Fold both the crust and filling pieces in half and finger press a crisp crease right at the center point [02:26].
- Match the Center: With right sides facing together, dab a tiny dot of Elmer’s Disappearing Purple Glue Stick right on the center raw edges and press them together [02:50].
- Align the Edges: Working out from the center on one side, apply small dabs of glue along the edge. Match the raw edge of the crust to the raw edge of the filling, taking care not to pull or stretch the bias fabric [03:11].
- Repeat for the Other Side: Repeat on the opposite side. Don’t worry if your piece looks wrinkled or cupped right now—that extra fullness is exactly what allows the seam to lay flat once stitched and pressed!
Step 3: Sewing the Curve
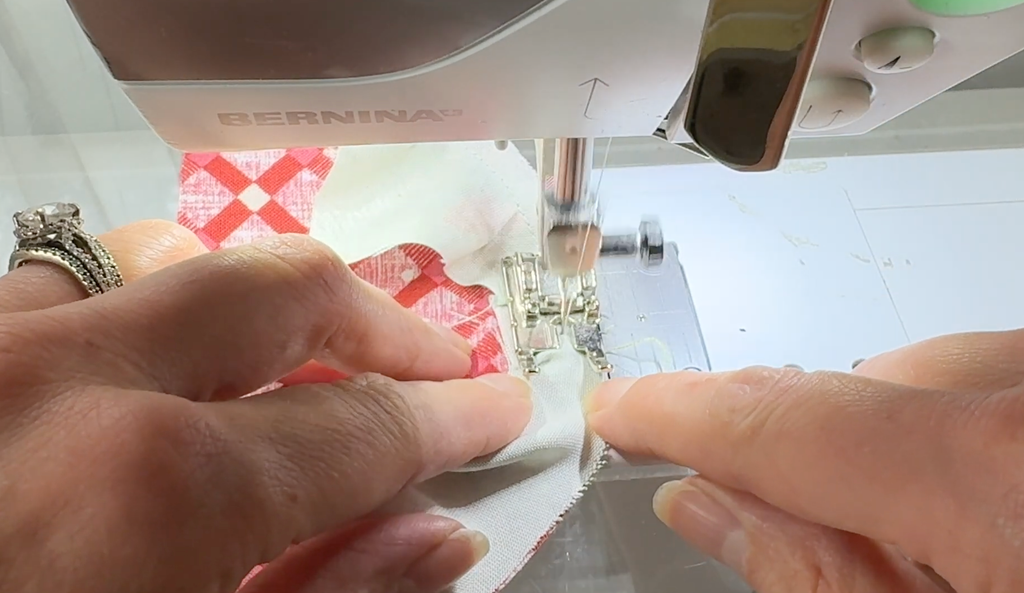
- Place your piece under the presser foot, starting slightly back from the edge to prevent bunching [04:33].
- Maintain a strict ¼” seam allowance. Guide the fabric slowly along your ¼” seam guide.
- Keep your eye out for small fabric folds heading toward the needle. If you see a bunch forming, stop with your needle down, raise your presser foot, and smooth the fabric out before continuing [04:49].
Pro Tip: If your fingers get too close to the needle while guiding the curve, use a stiletto tool to keep everything in line without putting your hands in harm’s way [05:31]!
Step 4: Pressing for Flat, Smooth Seams
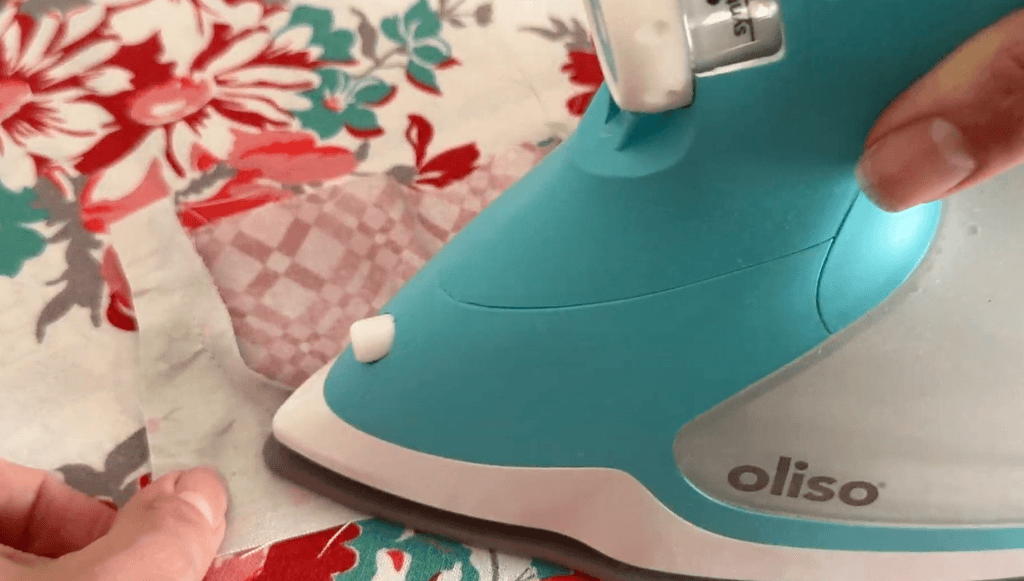
- Press from the Back: Lay the block face-down on your pressing mat. Gently push the seam allowances toward the filling [06:08].
- Press from the Front: Flip the block over and press from the top, focusing on pressing the curved seam flat without pulling or warping the edges [06:14].
Troubleshooting: If your fabric won’t lay flat or is slightly wavy, give it a light spritz of fabric starch or a starch alternative (Flatter is my favorite!), let it set for a second, and press again [06:44].
Step 5: Trimming to Size
Trimming is the most important part of making curved quilt blocks – if you don’t trim them correctly, they won’t lock seamlessly into your quilt top.
Note: If your block is looking a bit wonky before trimming, don’t sweat it! We’re asking a lot of this fabric and that’s exactly why trimming makes all the difference! See it all the way through trimming before you decide how it turned out.
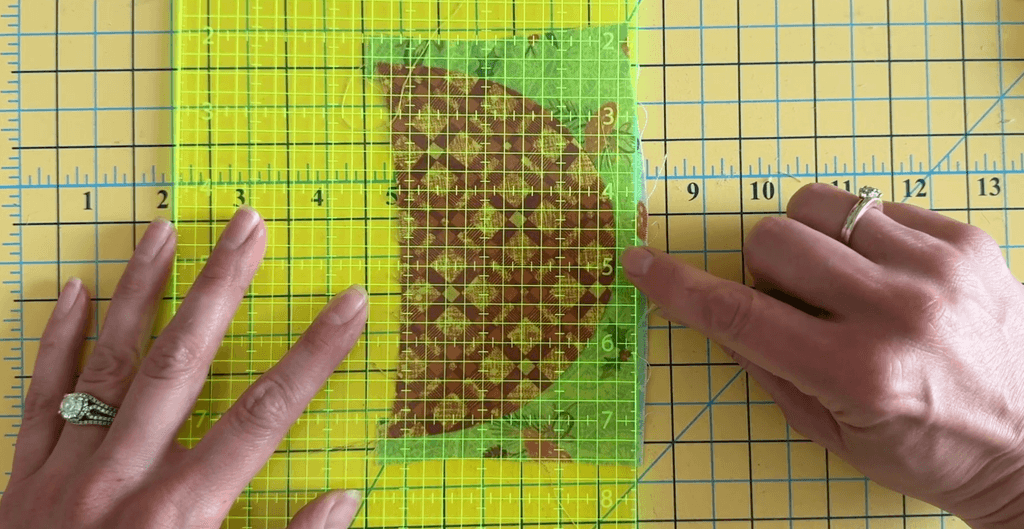
- Top Edge: Align your acrylic ruler along the top straight edge, leaving a ¼” of background fabric above the top point of the half-circle [07:11]. Trim this top edge first.
- Bottom Edge: Measure down from your newly trimmed top edge to your specified block height (e.g., 3″) and trim off the excess bottom corners [07:55].
- Side Edges: Line up your top and bottom trimmed edges with the grid lines on your ruler. Verify that you have a ¼” margin of crust fabric on both the left and right sides of the inner half-circle [08:24], then trim both sides to achieve your final block width (e.g., 5½” wide) [09:06].
Feeling Curvy?
Explore all of my curved piecing quilt patterns!
$49.99
(Instant Download)
$14.99
(Instant Download)

$14.99
(Instant Download)
Recommended for this Tutorial