

How to make quilt binding from start to finish!
Sometimes quilters (including myself!) take for granted our experience. We forget that there was once a time that someone had to show us how to make quilt binding, because it’s just second nature now!
So today, I hope that I can help the newest members of the quiltmunity out and show you just how binding is made:
Please know that there may be affiliate links in the post below. If you choose to click on or purchase through these links, I will receive a small commission at no extra cost to you! This is how I am able to continue providing free content (like this!). Thank you for your support!
How Wide Should Binding Be?
Binding can come in an array of sizes. Today, I’m going to show you how to make binding that finishes at about 1/2 inch once it’s stitched onto your quilt. So, we will start by cutting 2.5 inch strips:
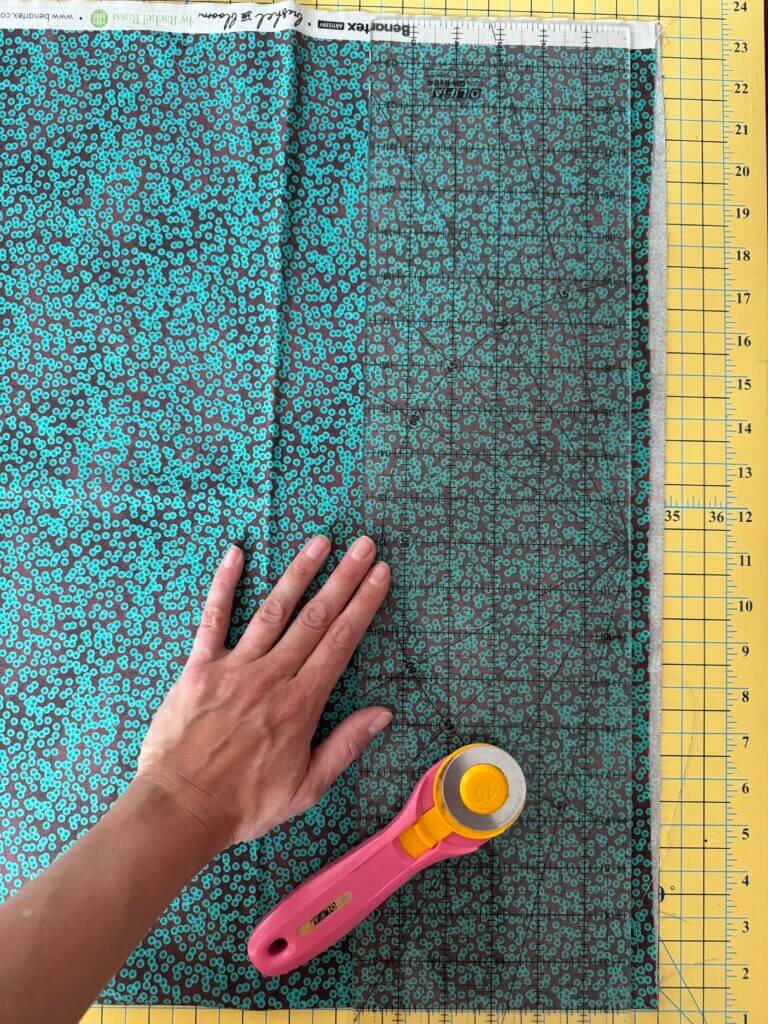
Before cutting, it’s a good idea to take a moment and get a straight edge on our fabric:
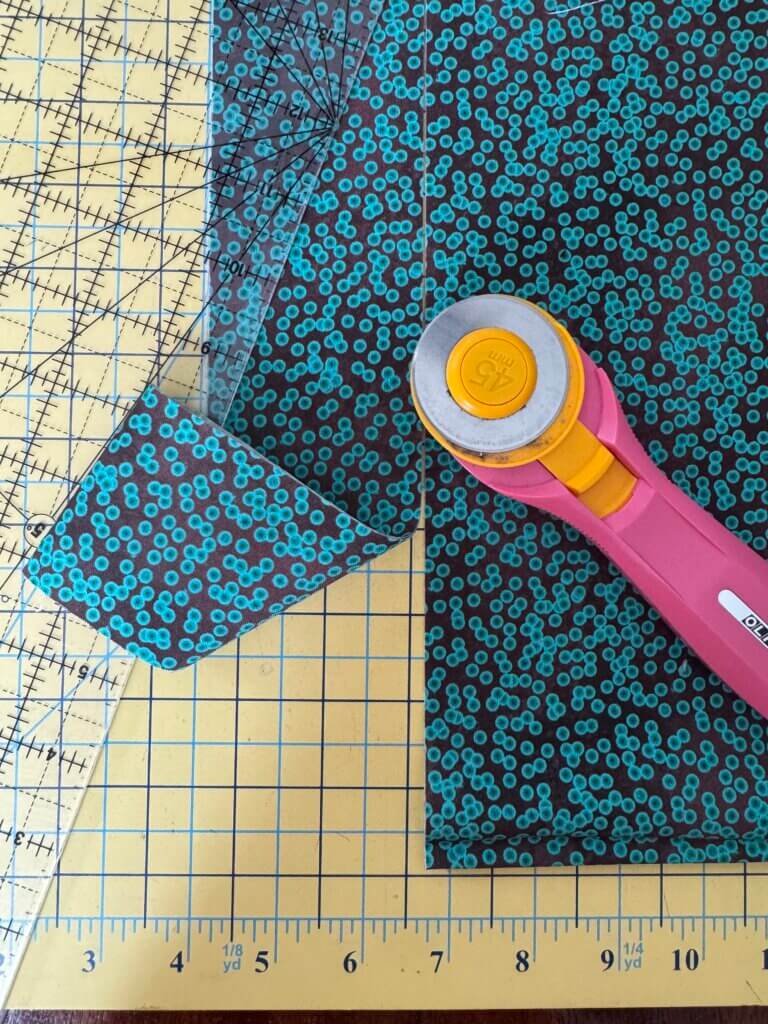
Leave your fabric folded, just like it came off the bolt. Place one of the lines on your ruler along the folded edge and then trim the side to get a 90 degree angle between the folded edge and the raw edge.
Cut Your Strips
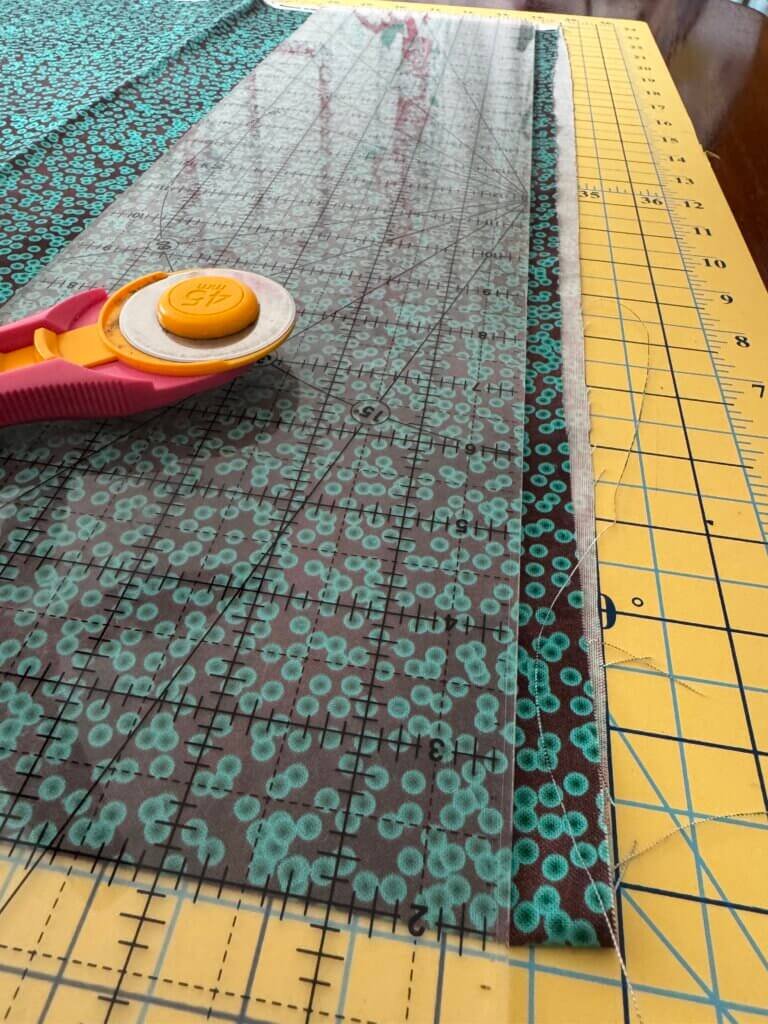
I am right handed, so at this point, I flip the fabric over so that the nice straight edge that I just cut is on my left hand side.
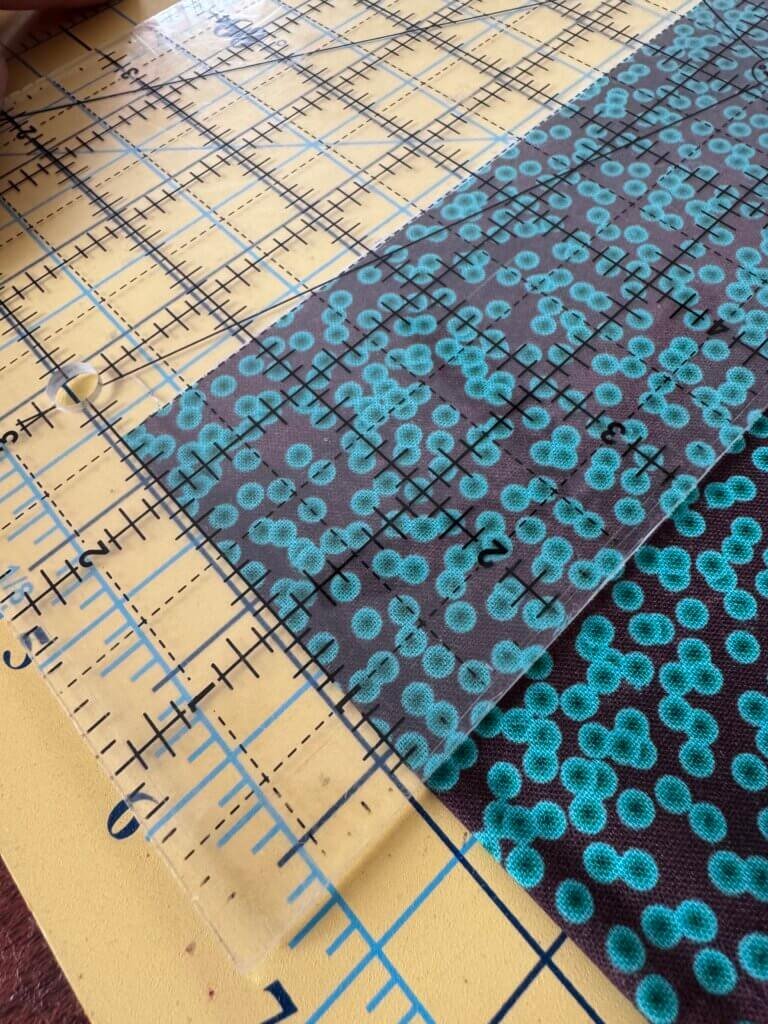
Next, I’ll place the 2.5 inch mark of my ruler along the straight edge of my fabric and then cut 2.5″ strips:
How many strips to cut?
Great question! First, start by measuring all four sides of your quilt. Take this number and divide by 40 (your usable width of fabric). This will give you the number of strips needed. I often will add one extra strip, just so I’m not cutting it too close! Here it is in formula form:
((Side A + Side B + Side C + Side D) / 40) + 1 = Number of strips needed
Example: ((60+80+60+80) / 40) + 1 = 8 strips
Piecing Your Strips
Now we want to stitch all of those strips together to create one giant strip that will go around the entire quilt!
You could stitch them together end-to-end, but most quilters like to do it on an angle. This helps disguise the seams and is a bit stronger than stitching straight across.
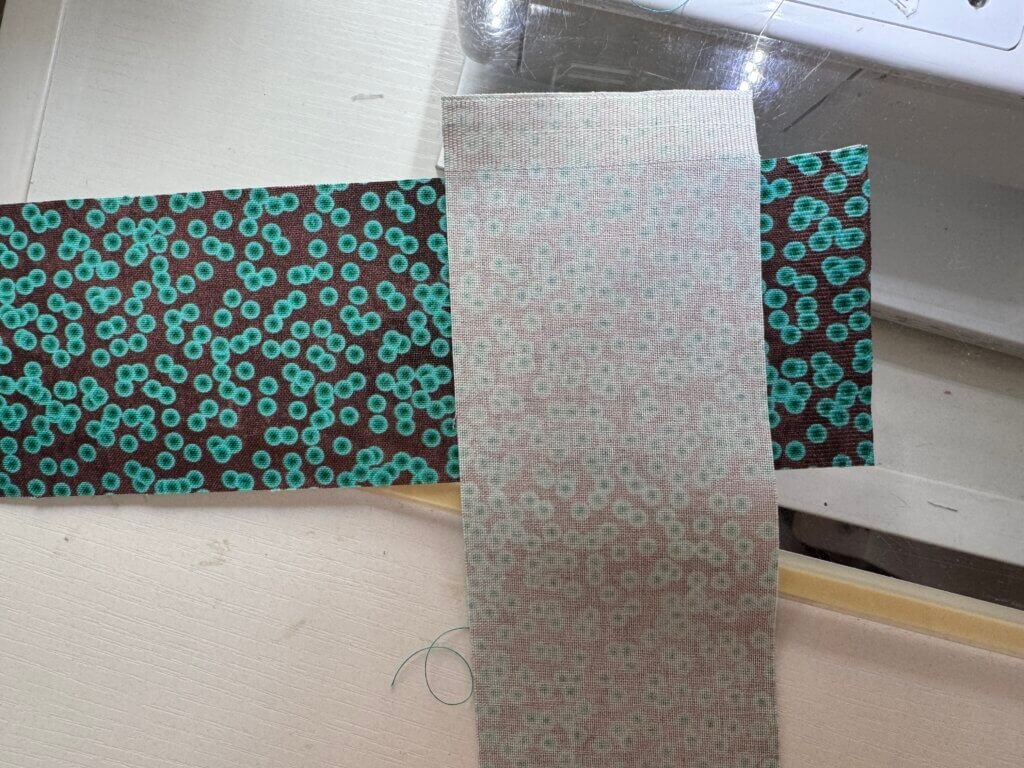
First, take two strips and make a T shape with right sides together (Image 1, below). I like to leave my selvage edges hanging over the edges of the T here because they’ll get cut off in this process!
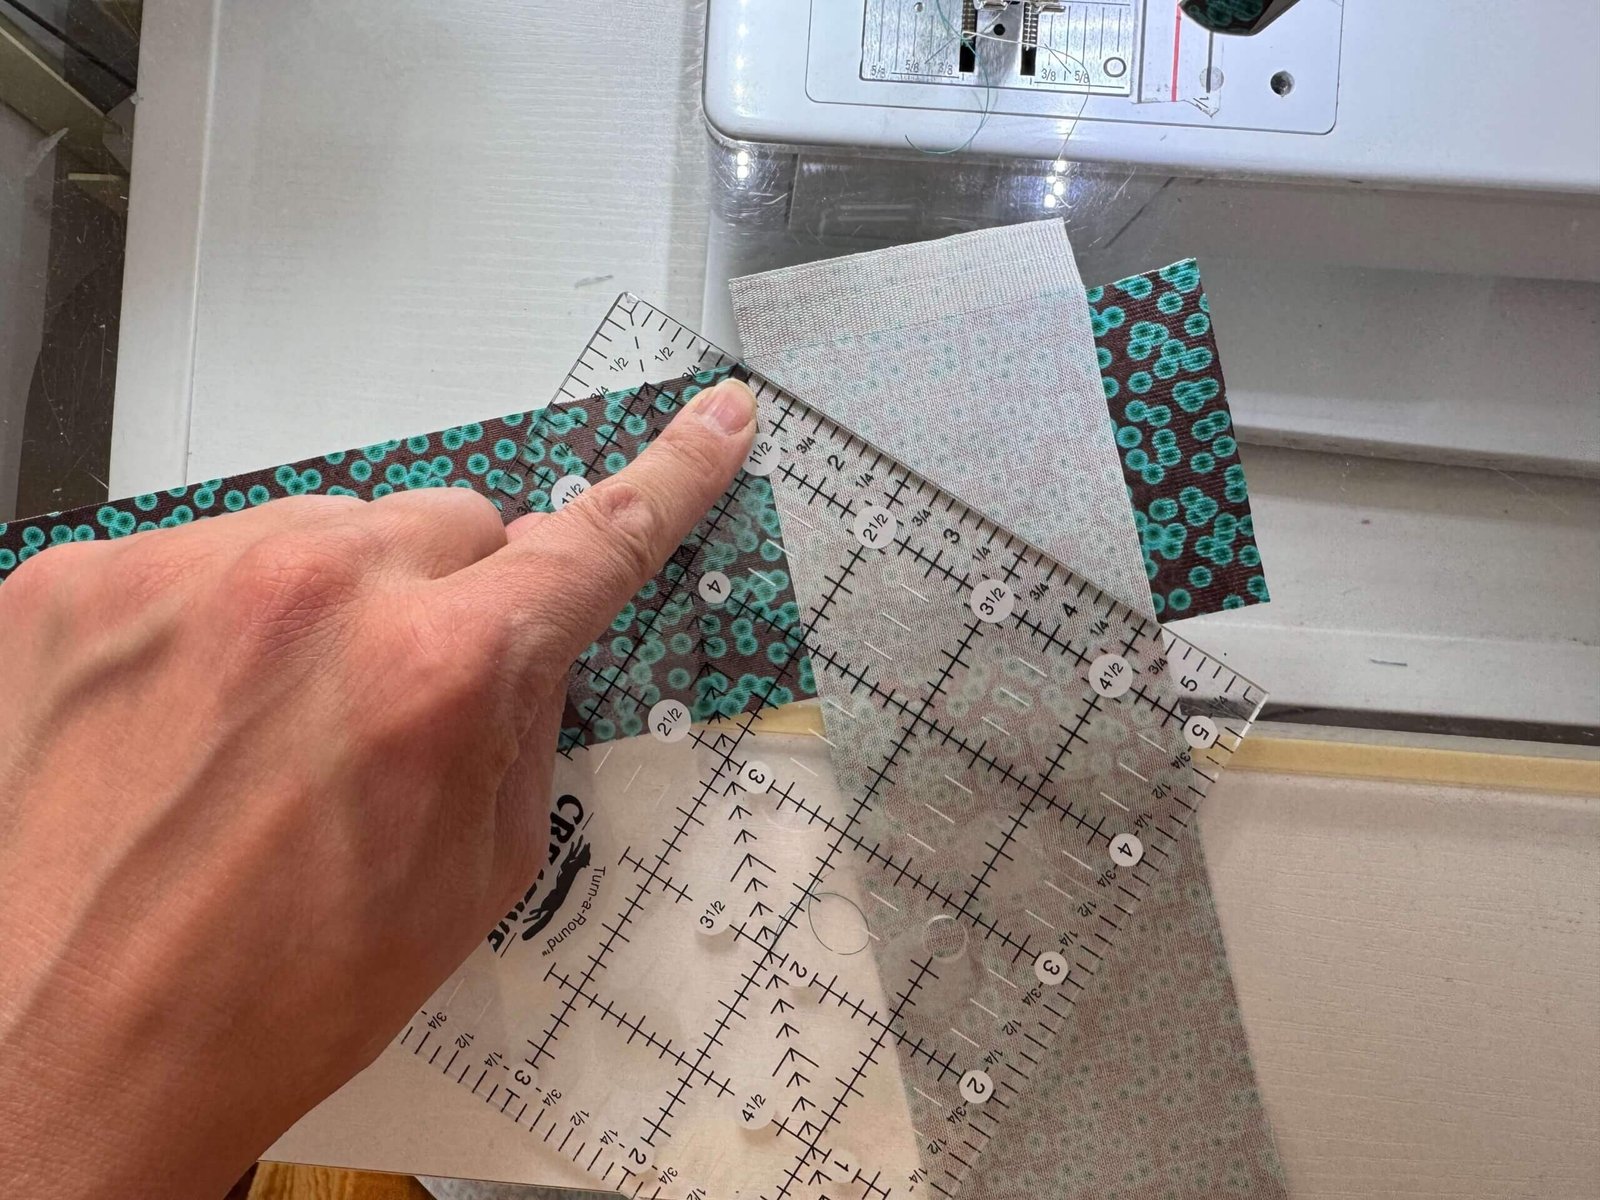
Then, you’ll take a ruler and with an erasable fabric marker, mark a line from one “valley” to the other (Image 2, below).
Next, you’ll stitch through both fabrics on that line.
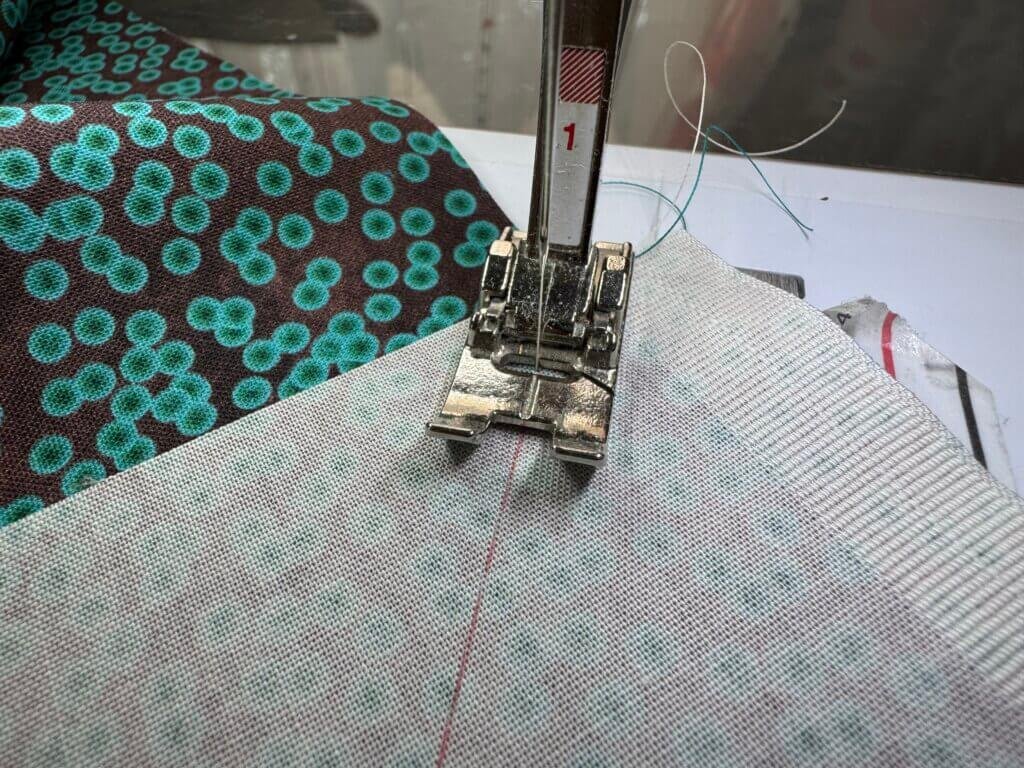
Stitch together all of your strips, end-to-end, just like this!
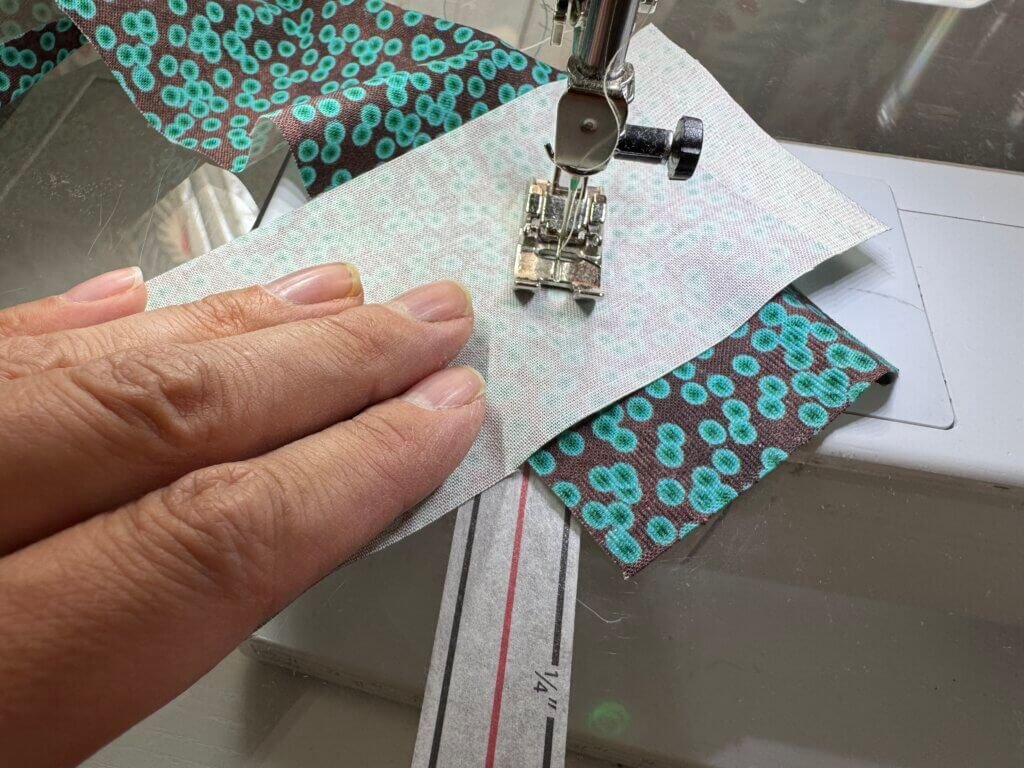
Pssst! If you’re looking for a quicker way and want to skip drawing all of those lines, give this Diagonal Seam Tape a try!! It’s one of my favorite sewing hacks!
Now we want to trim off that extra triangle: Simply put the 1/4 inch mark of your ruler on top of the stitches you just sewed. Trim off whatever extends past the ruler.
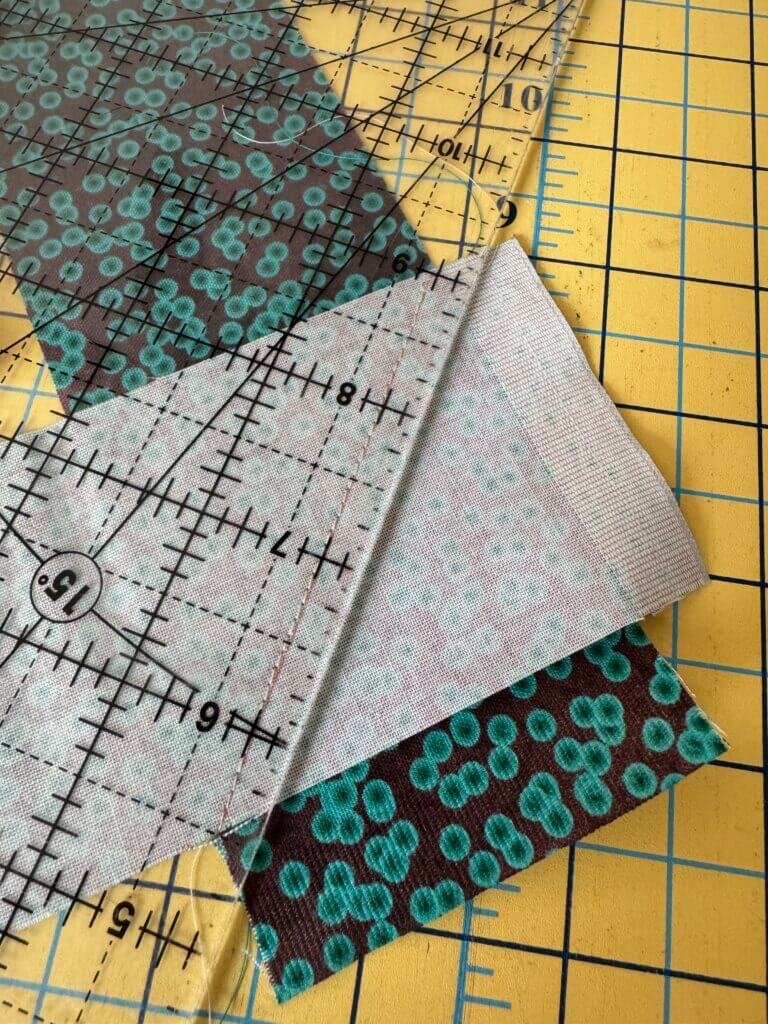
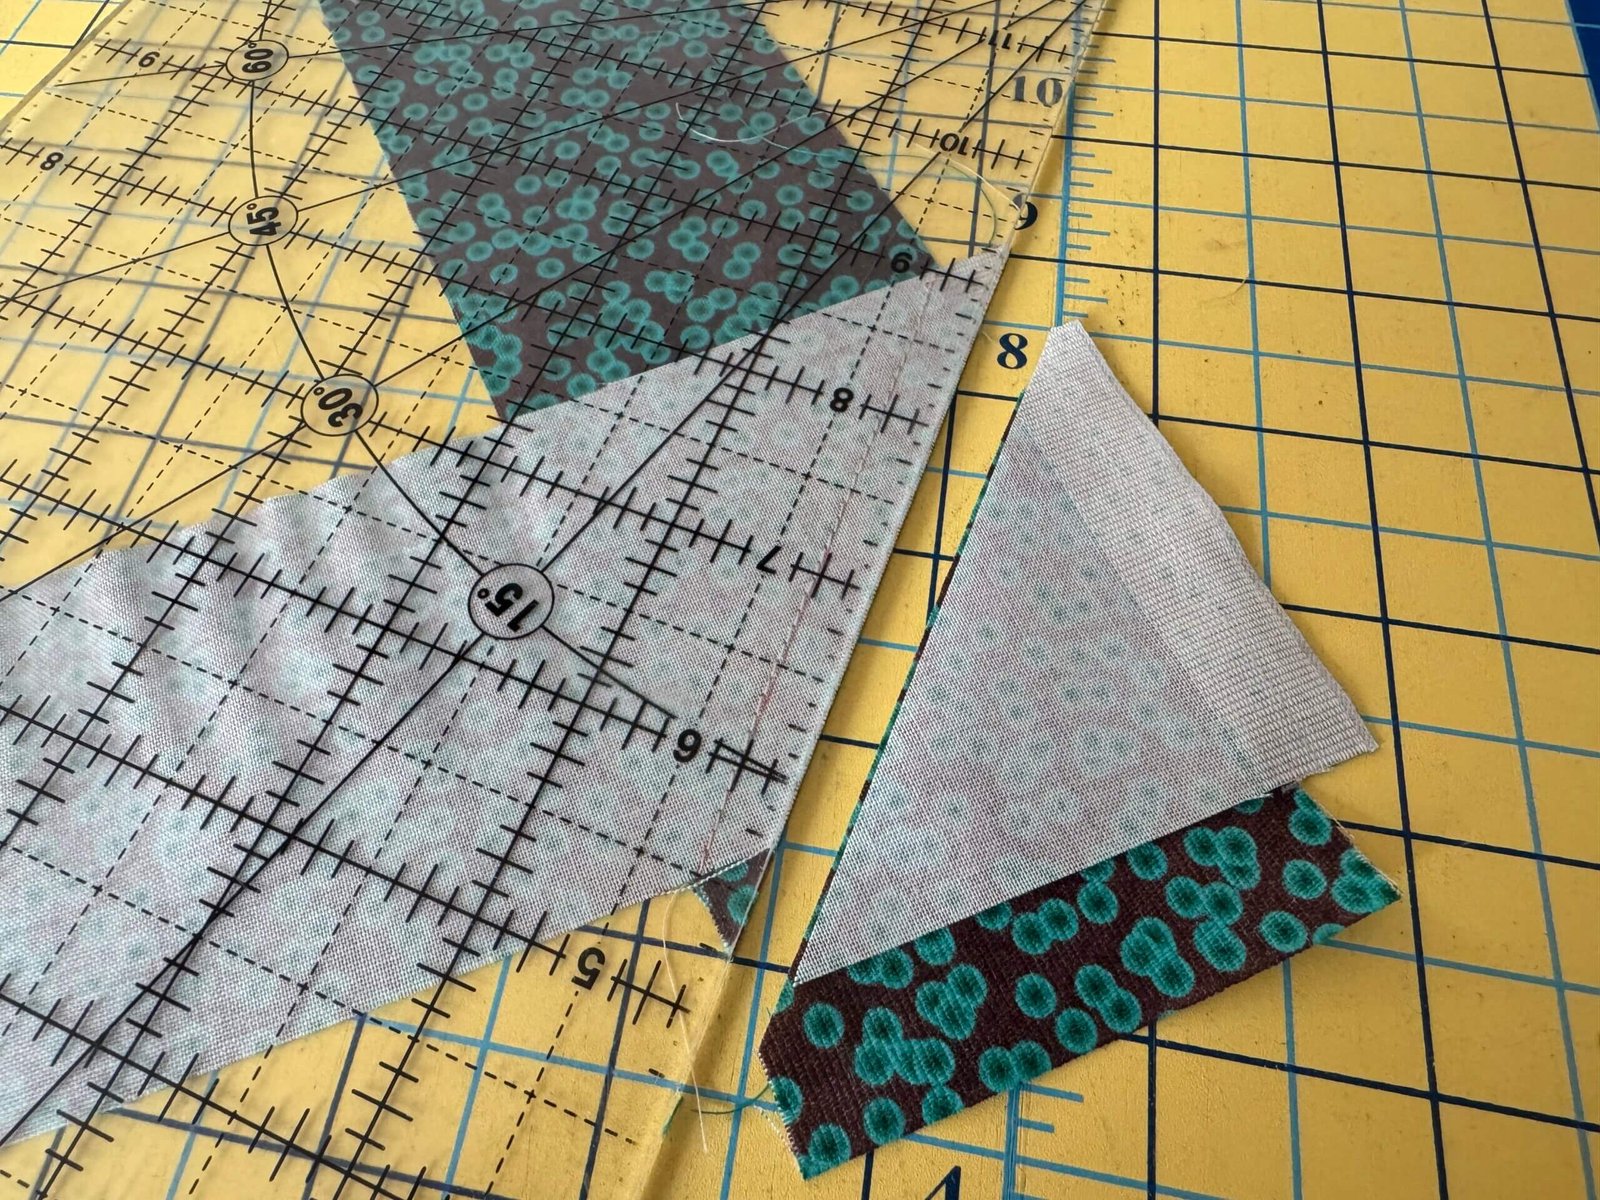
Repeat on all of the spots where you pieced your strip together.
Pressing Binding
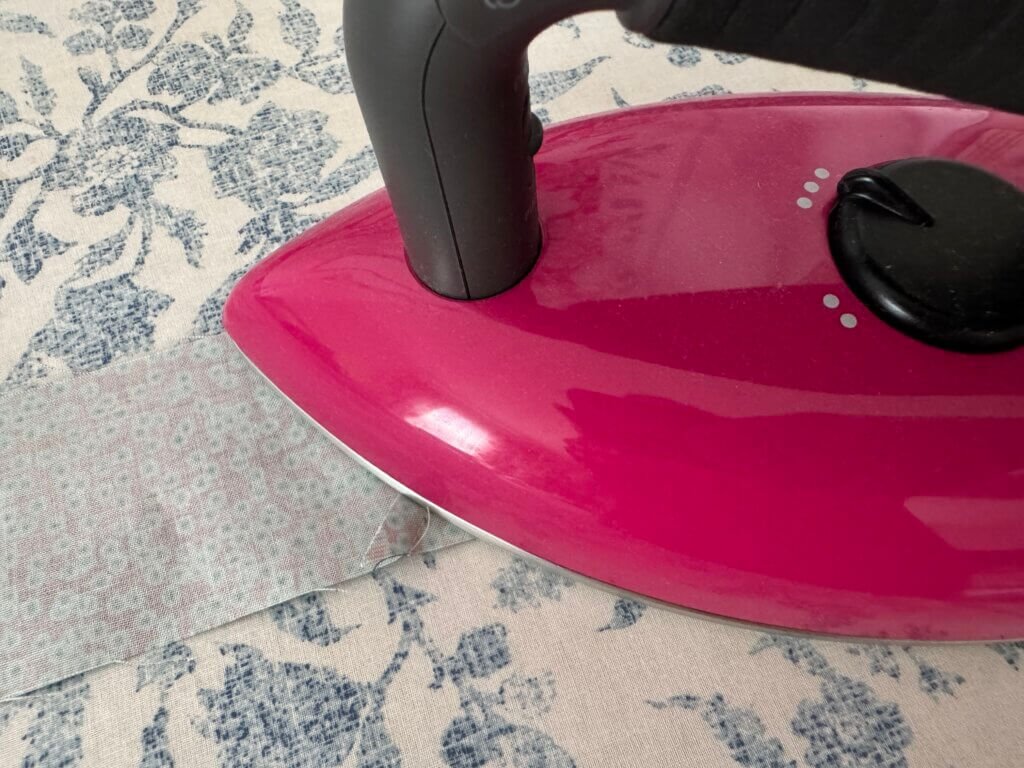
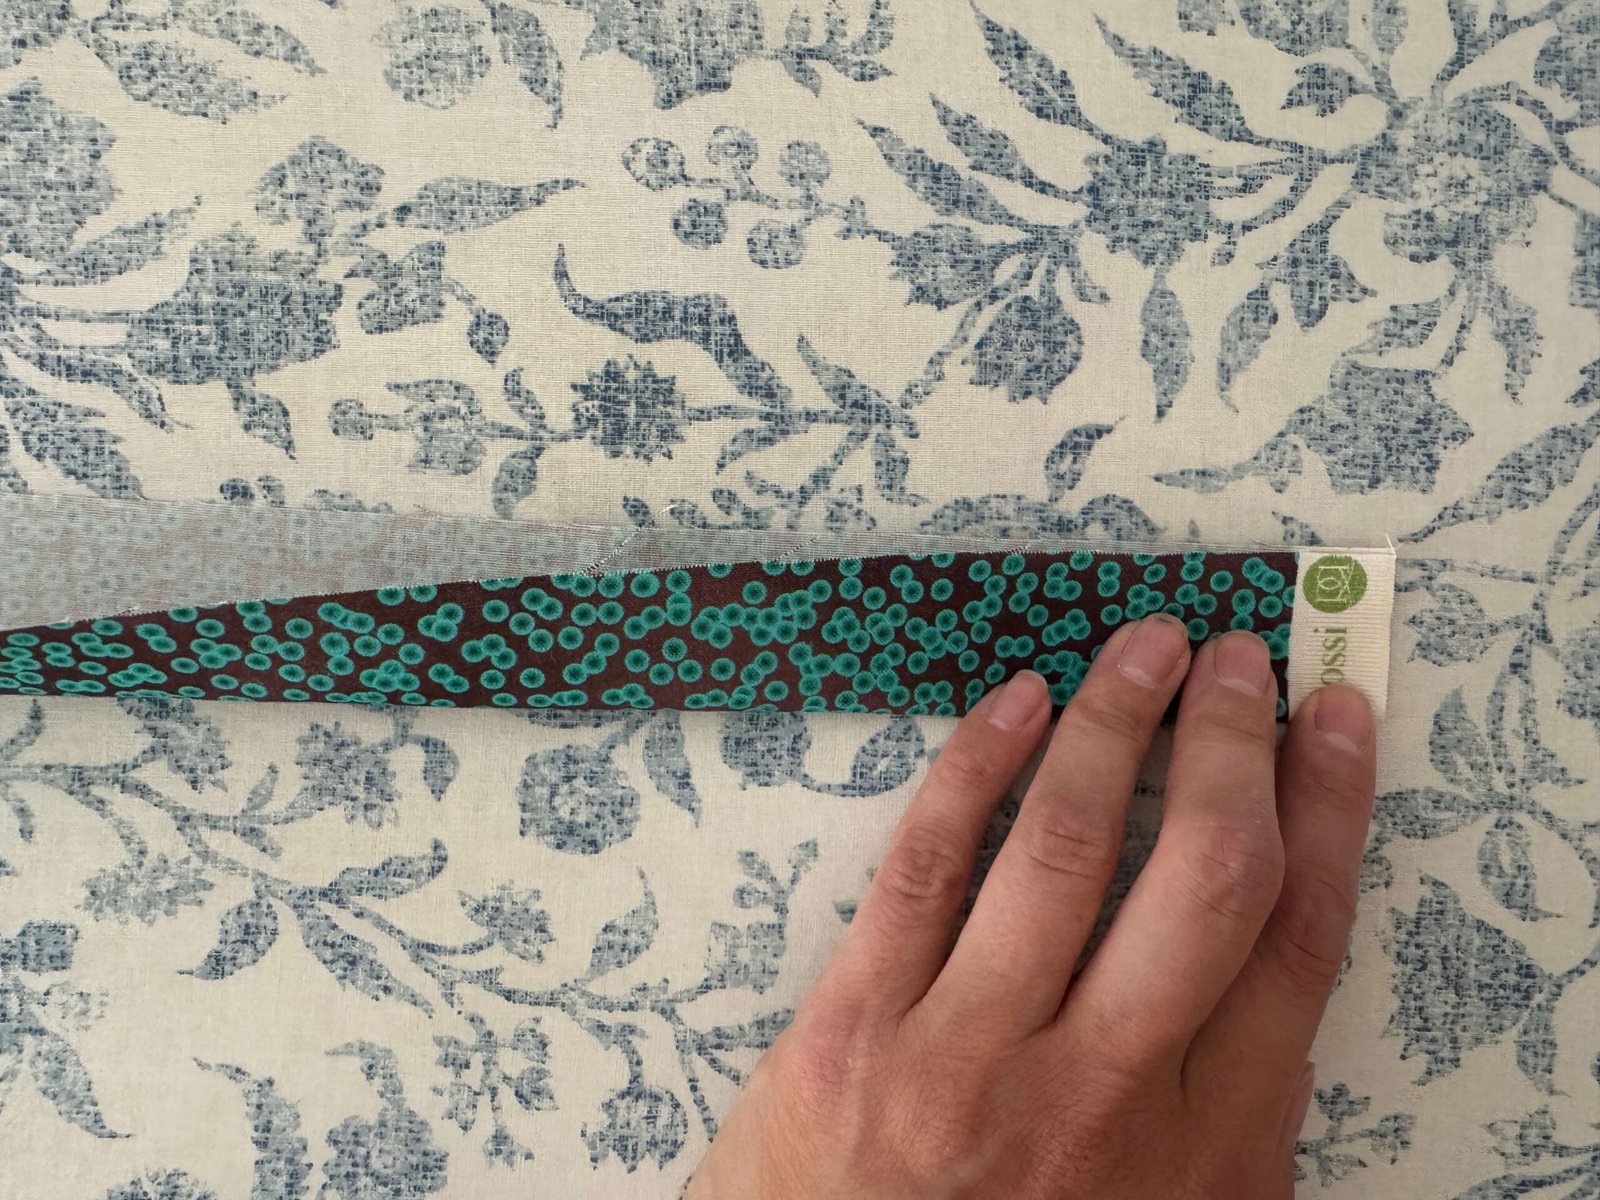
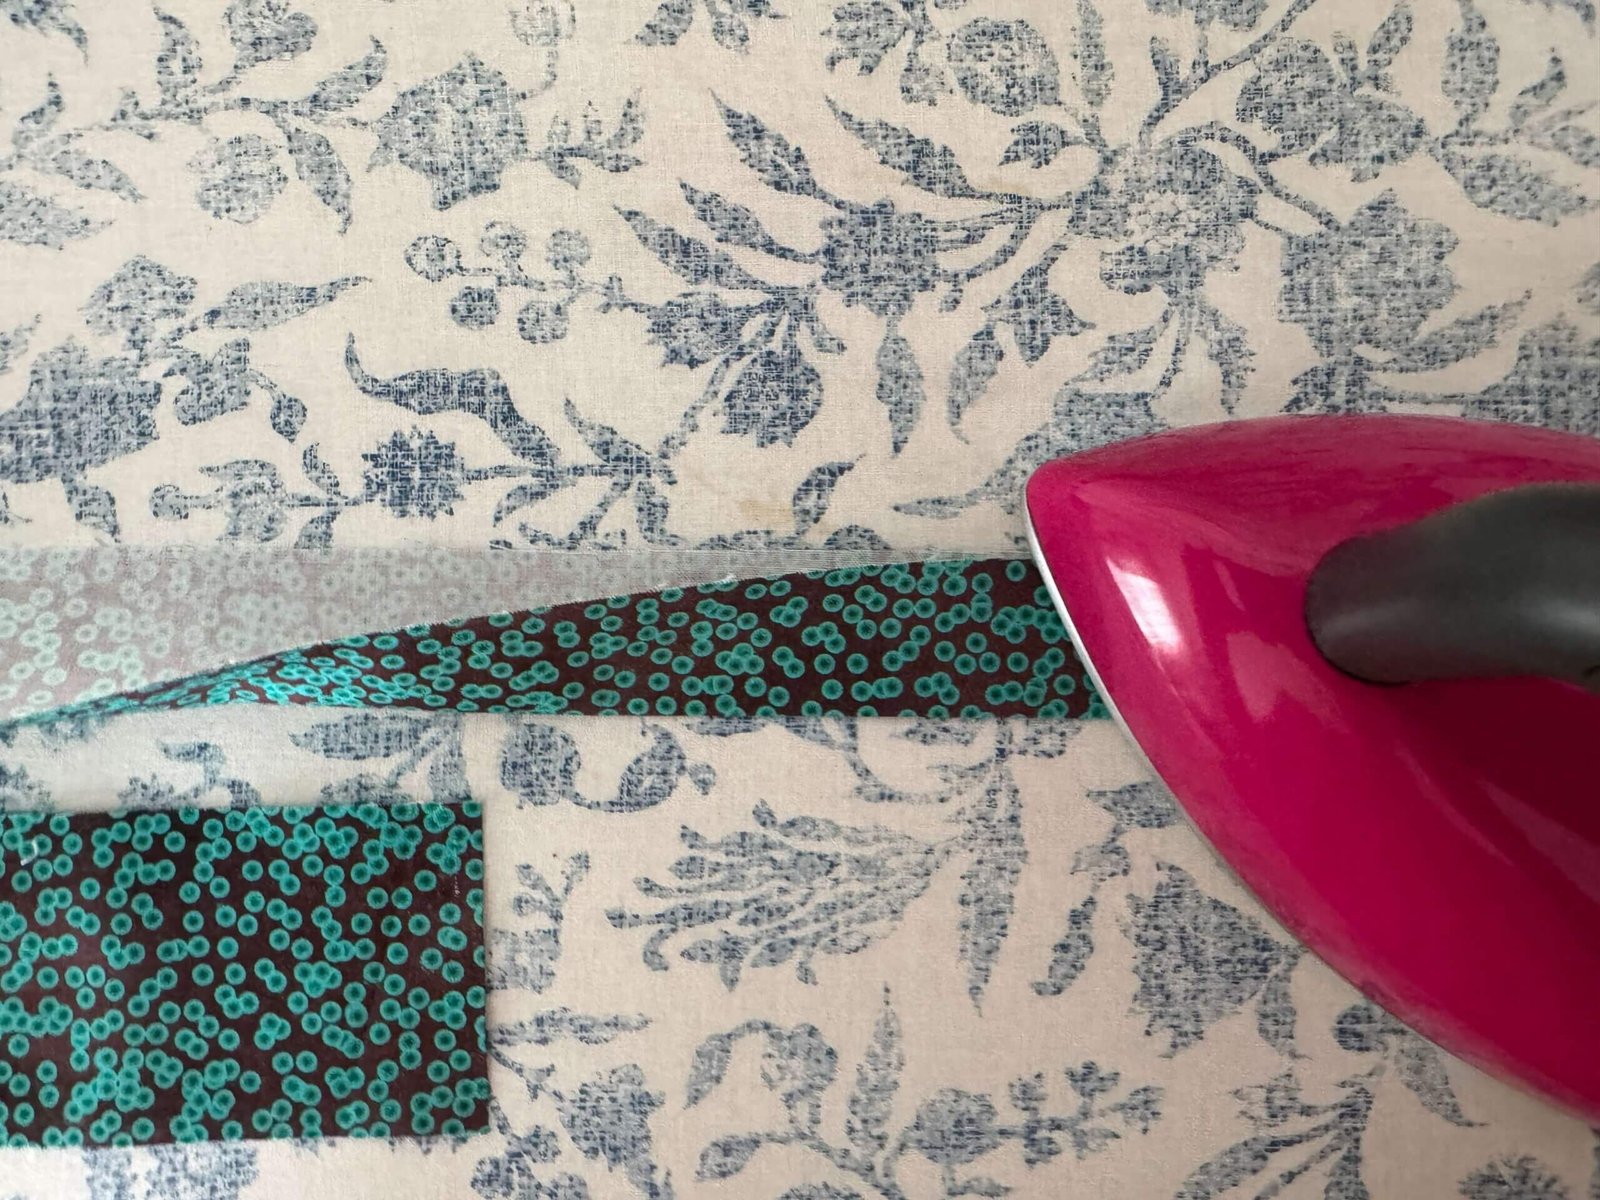
Next, we’re going to head on over to the ironing board and press this binding. First thing’s first though, we’ve got to press those seams flat! I like to press them to one side.
Next, you’re going to fold the binding in half, wrong sides together, and press. Do this all the way down your strip.
Store or Stitch!
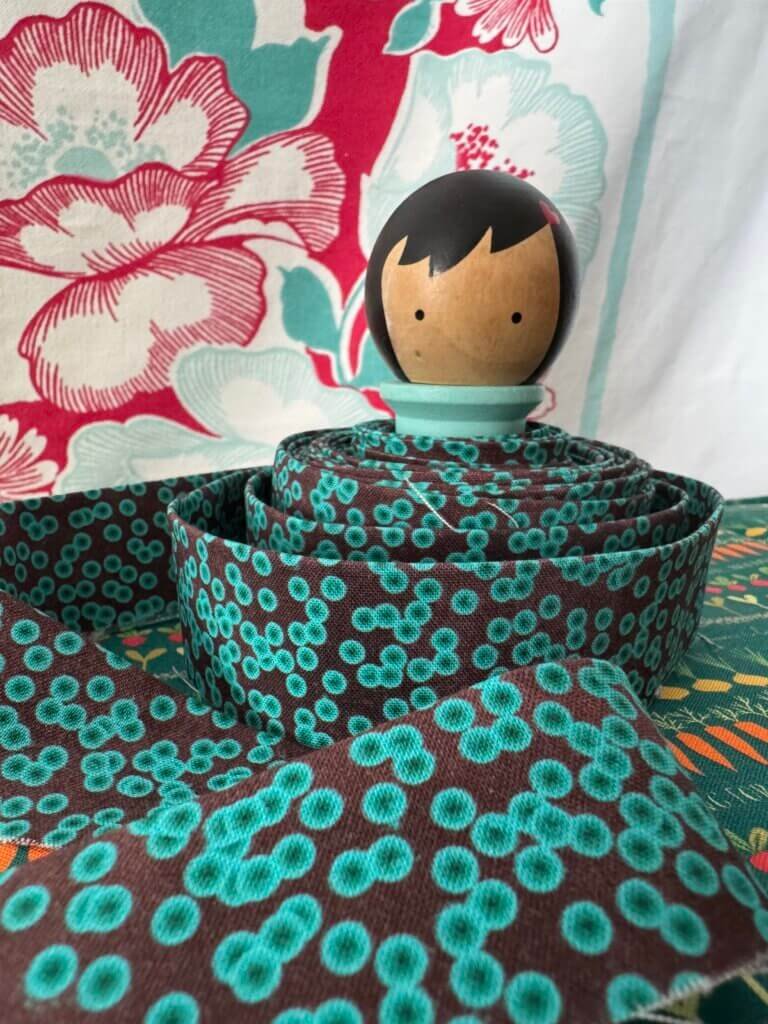
Now that it’s finally all stitched and pressed, you can roll up your binding and save it for when you’re ready for it, or stitch it onto your project! I love nothing more than wrapping my binding on one of these ADORABLE Binding Buddies!
More Binding Resources
Click on any of the tutorials below to see more!

Up Your Binding Game:
Try Big Stitch Binding!
Recommended for this Tutorial

The Little Book of Big Stitch Binding